How to Export Bank Statements
Prerequisites
- ✓Make sure you have uploaded your bank statement in the Bank Statements section
- ✓You must have access to the Reports page
- ✓You understand your workspace role and permissions
Outcome
- Generate bank statements in your preferred format
- Excel exports allow for in-depth review and reporting
Steps
Navigate to Reports
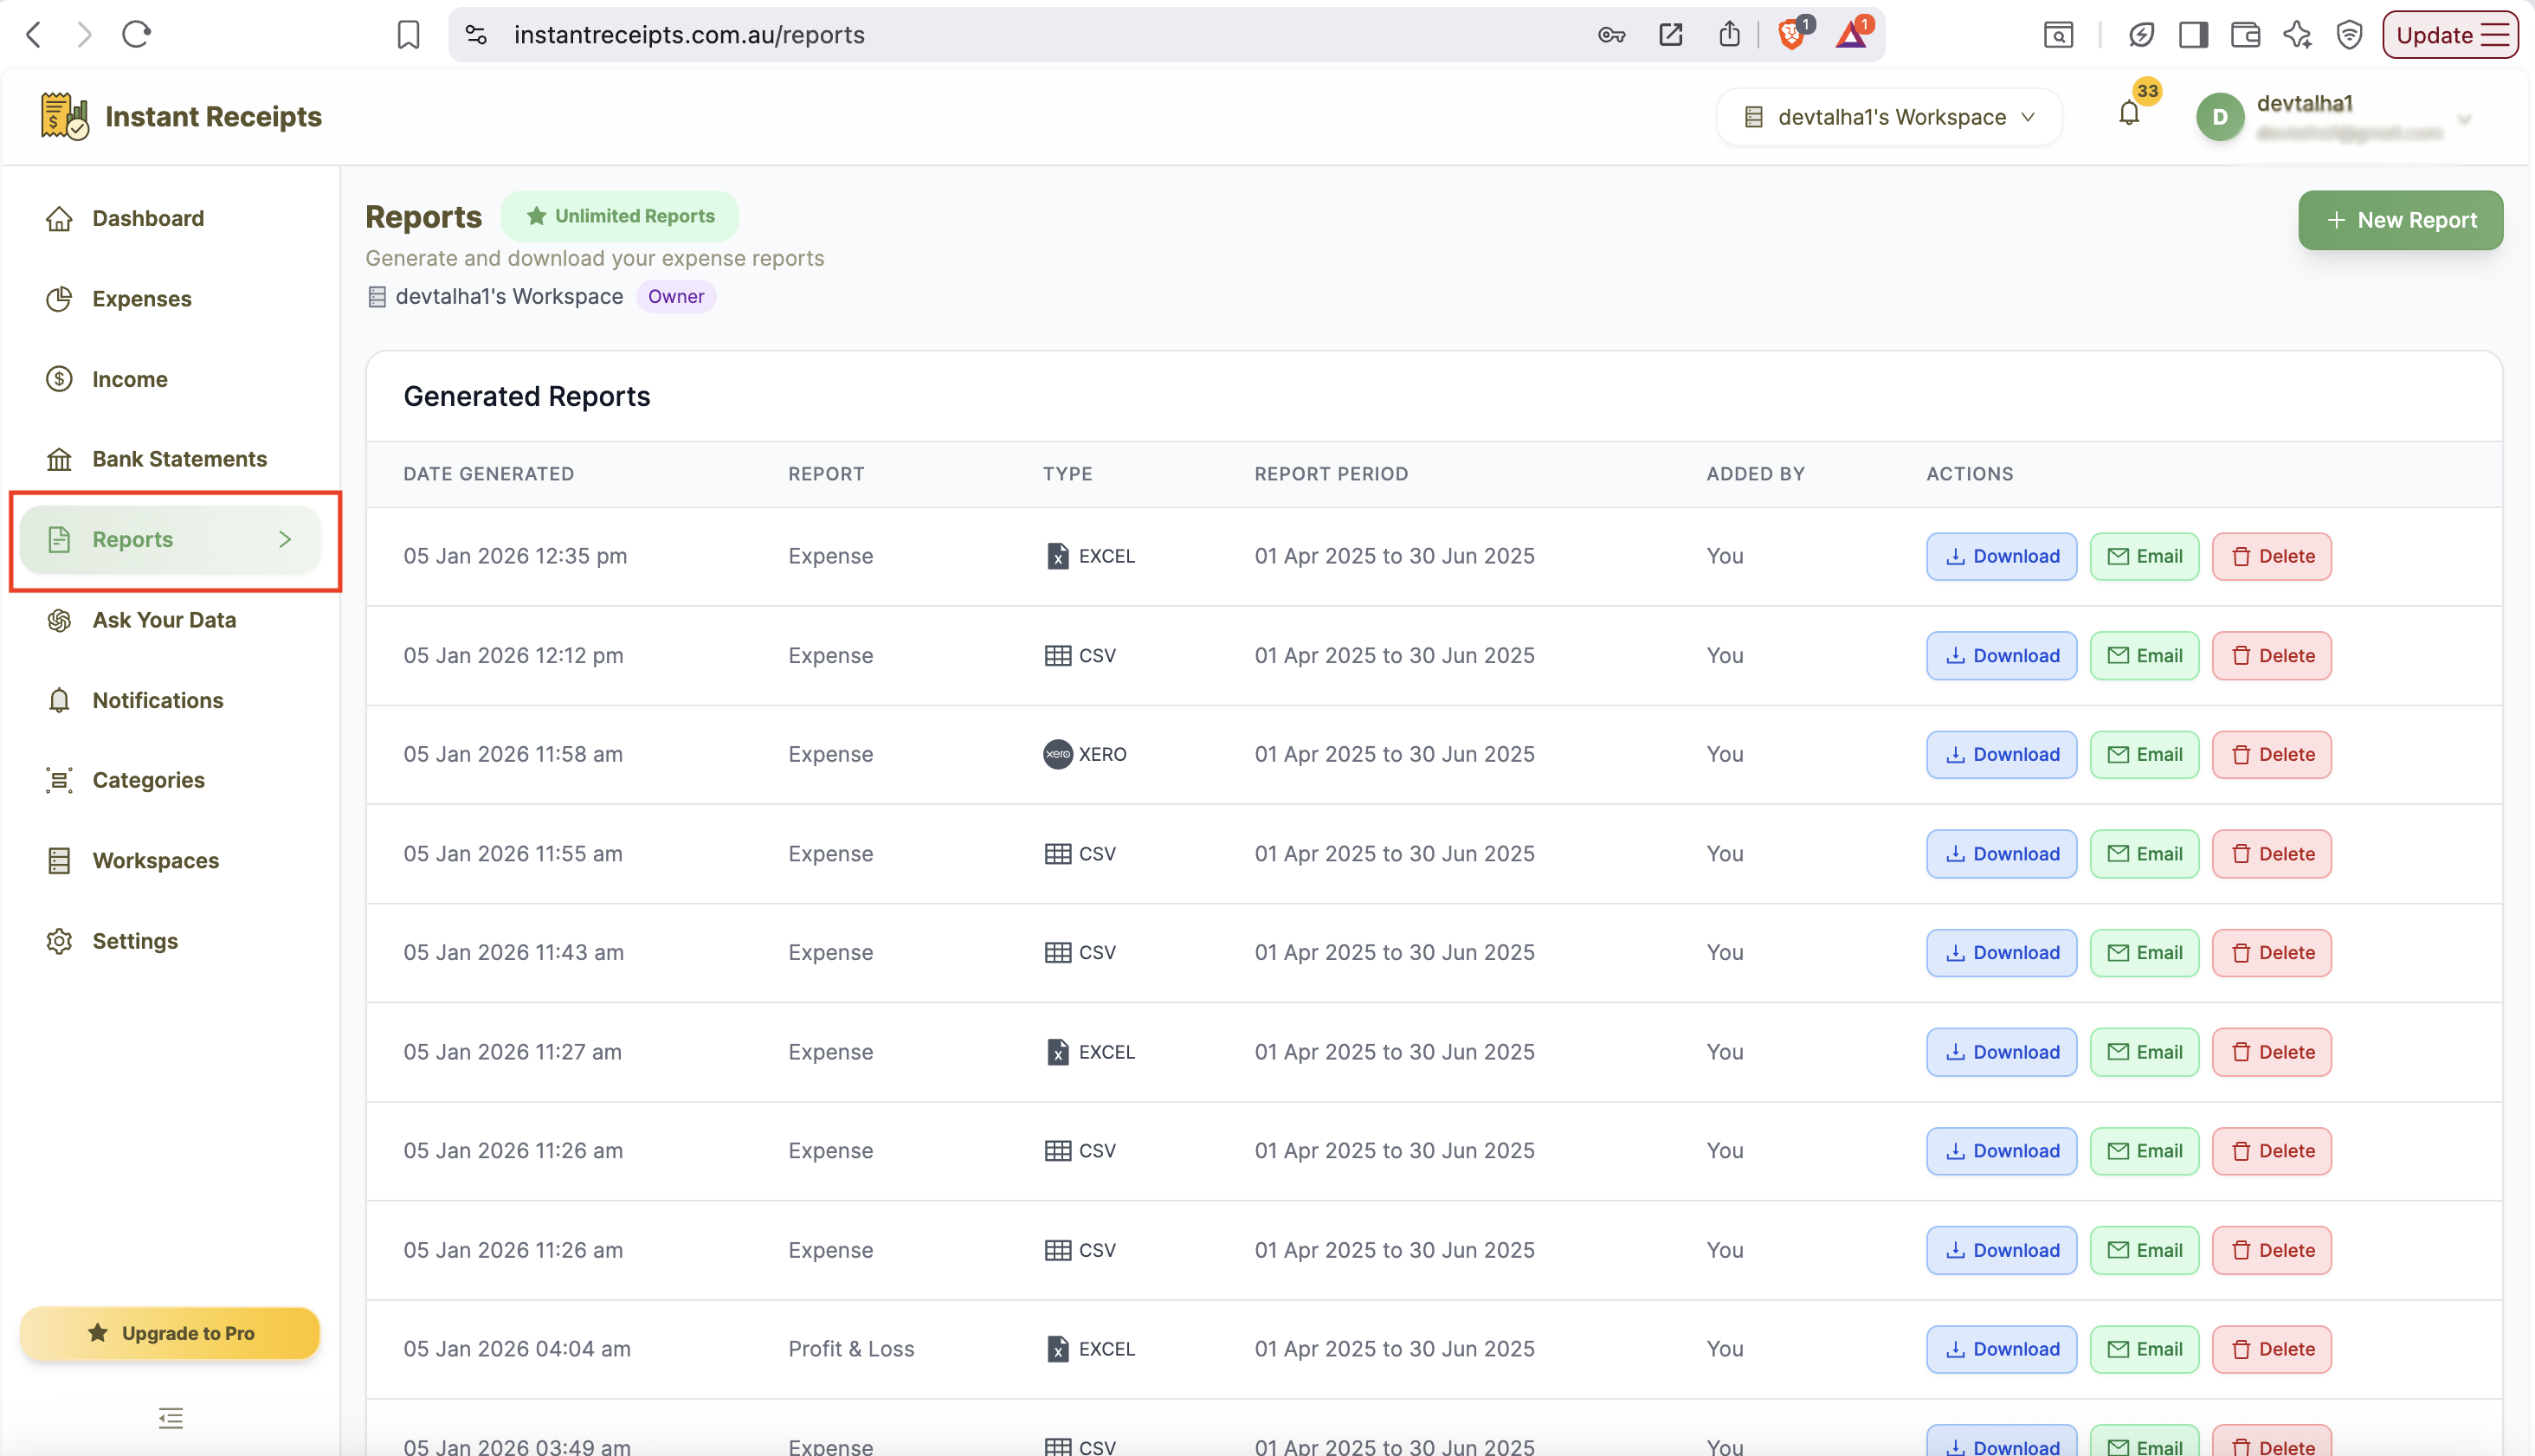
To start, login to your instant receipt account and go to your dashboard. On the dashboard, click on the Report section. After clicking, you will be navigated to the report pages, which will show four tables. These tables include Expense Reports, Bank Statement Reports, Income Reports, and Tax & Compliance.
Click New Report
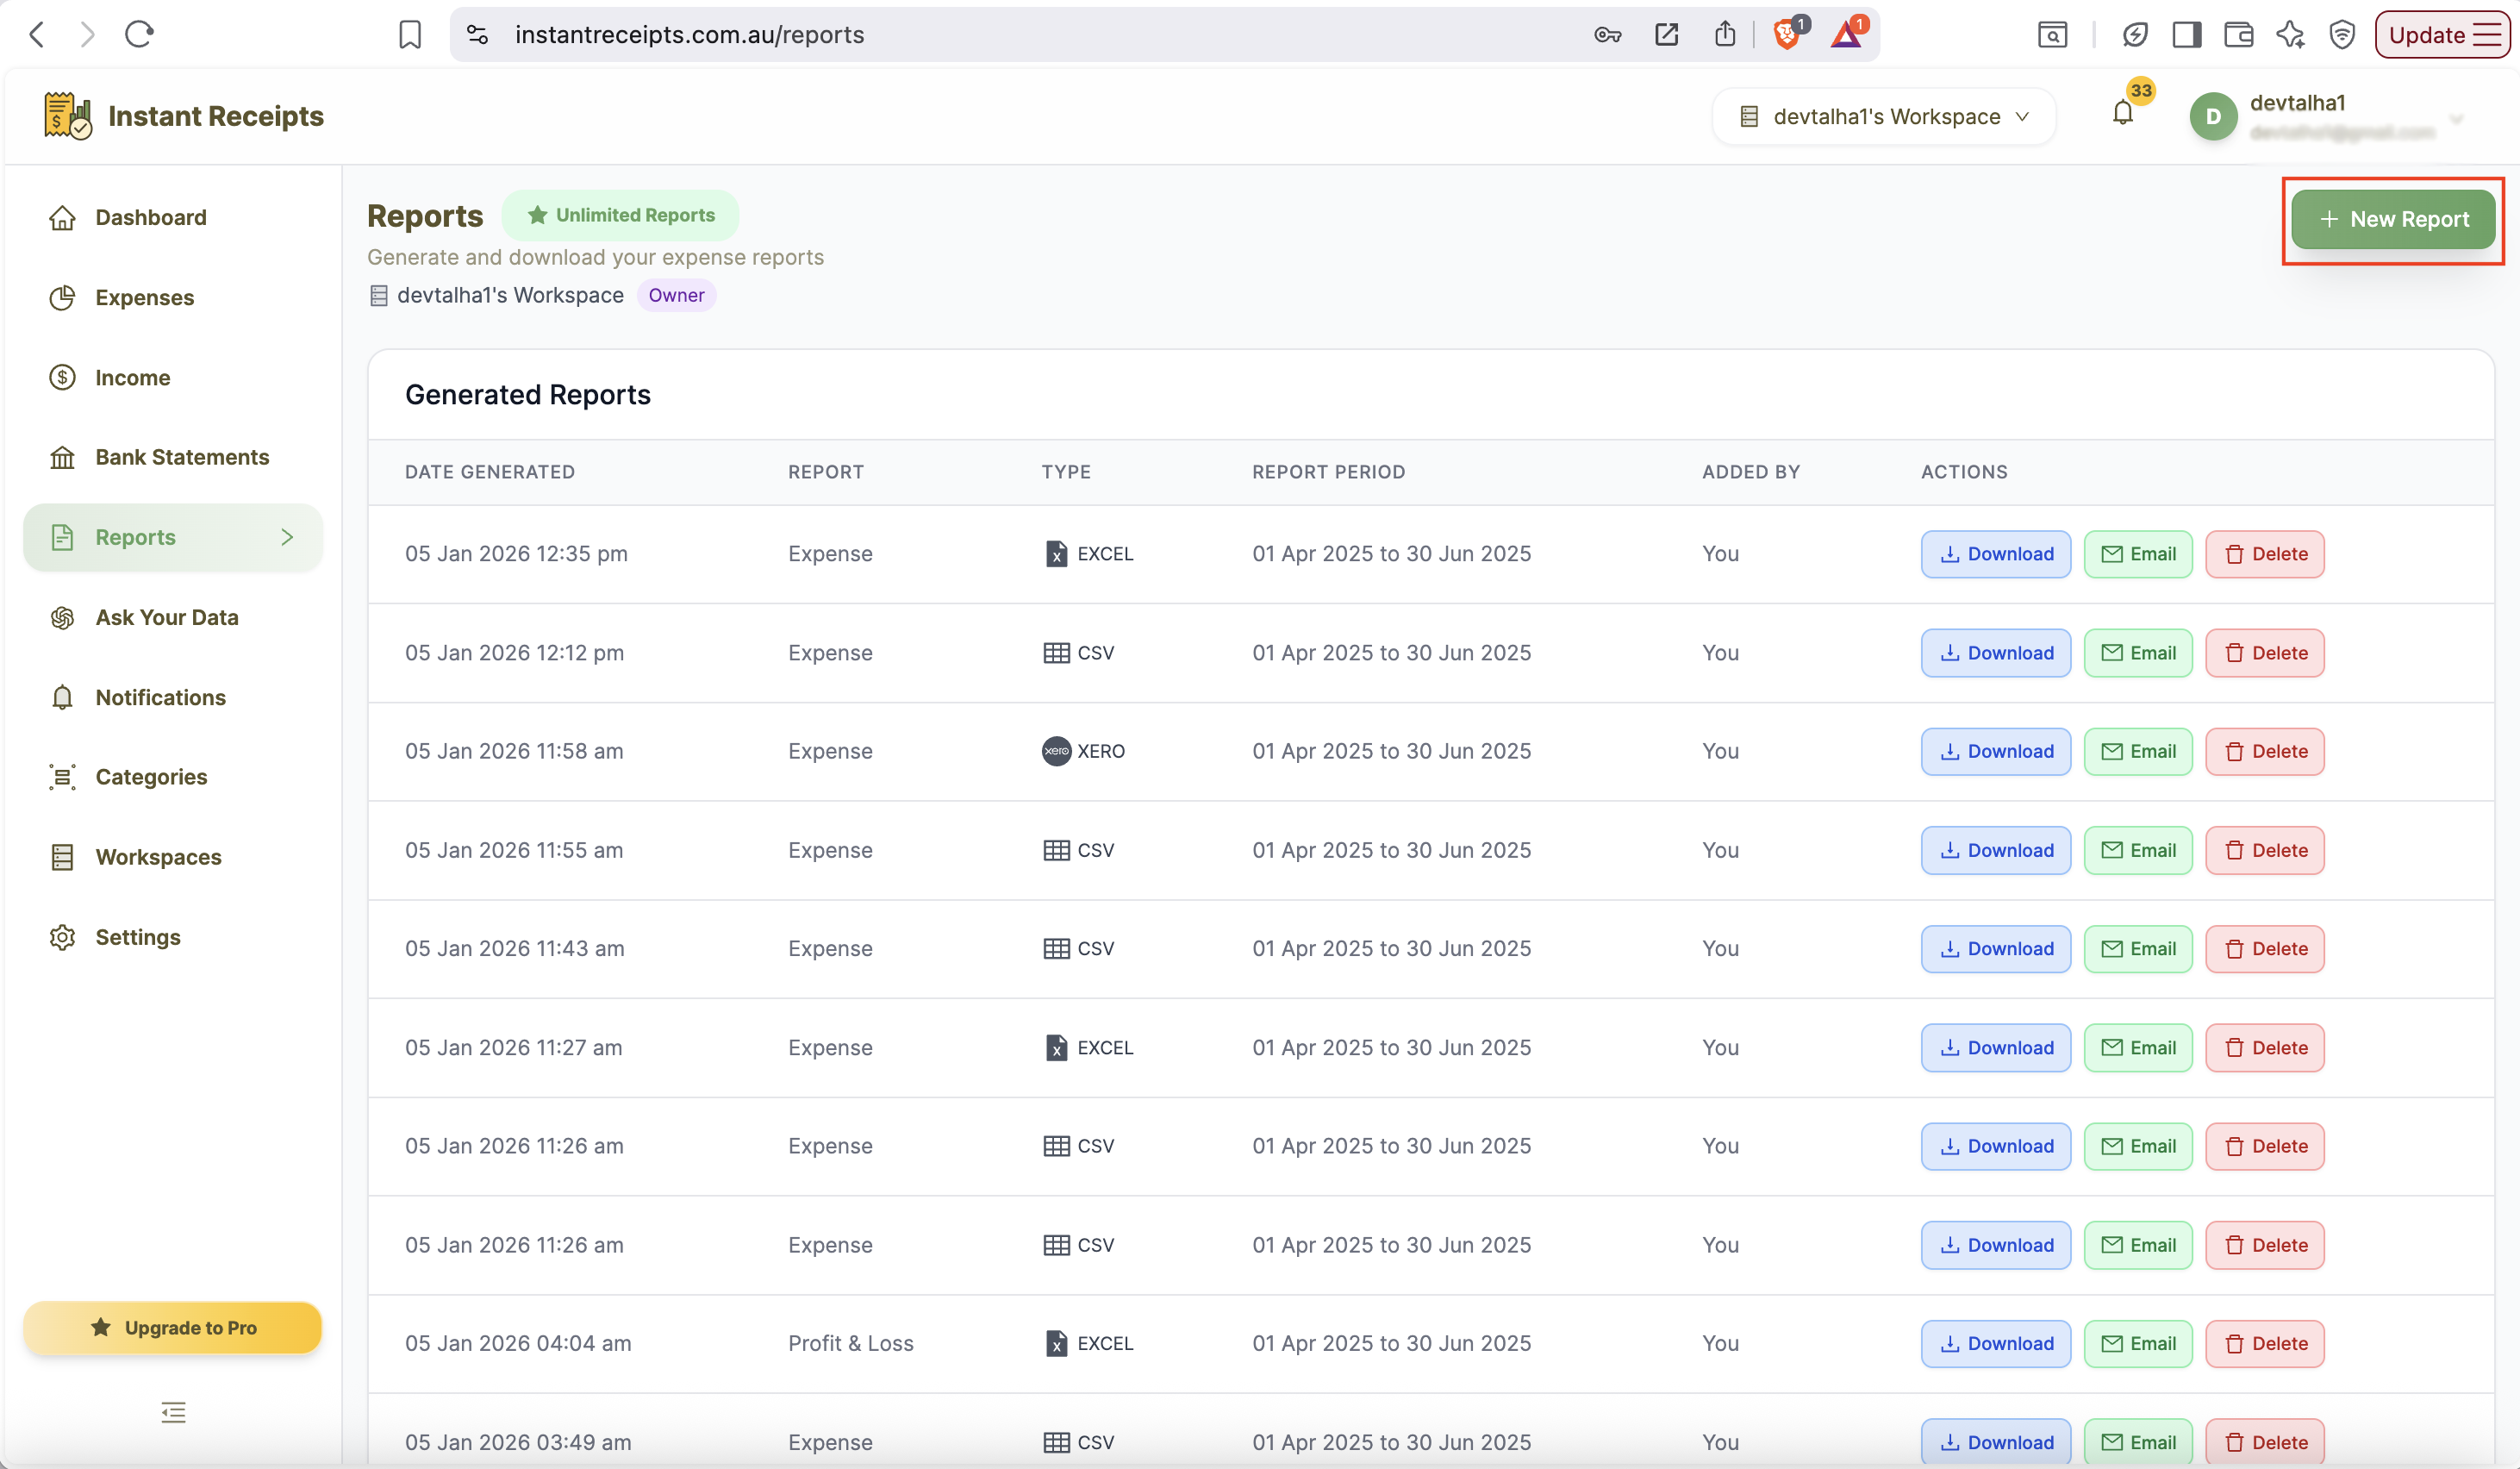
Now, in order to create a new bank statement report, please click on the "New report button". As soon as you click, you will see the expanded report panel. It will show all available options for customising your export.
Select Your Date Range
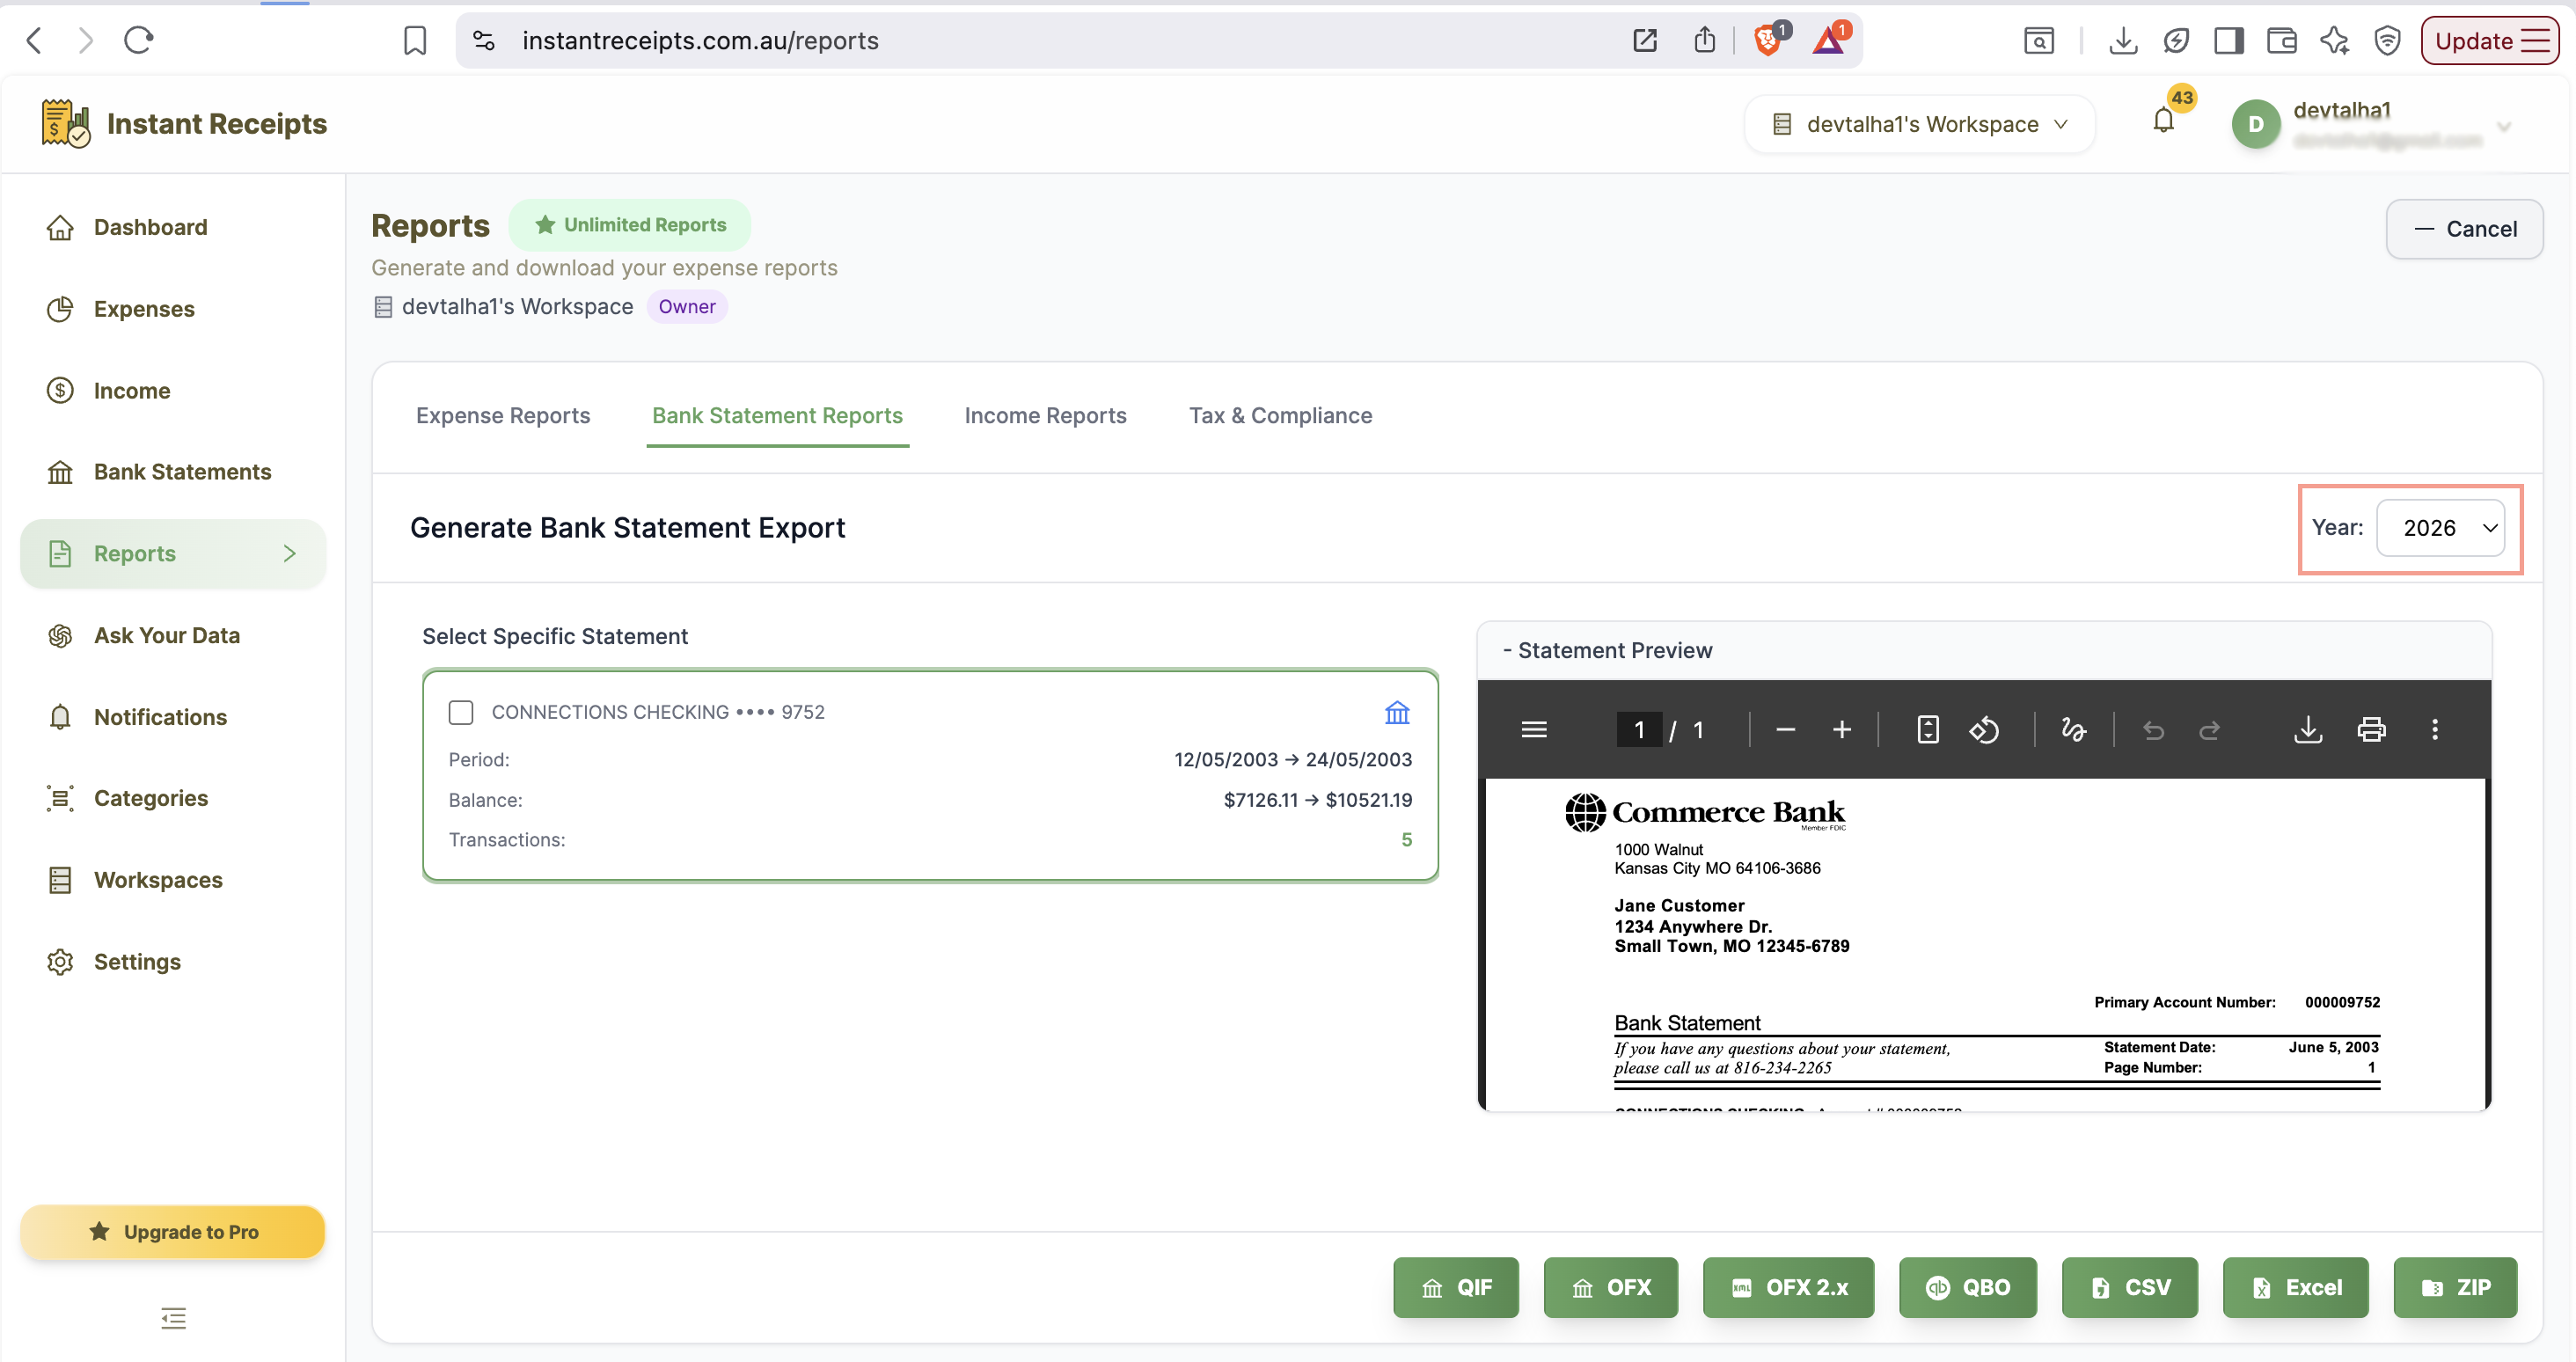
You can either export all your existing bank statement records here just by clicking export, or you can export for a specific date or a date range. For selecting a specific range, you can use Quick Select financial quarters (Q1-Q4) or enter a custom date range.
Select Bank Account (Optional)
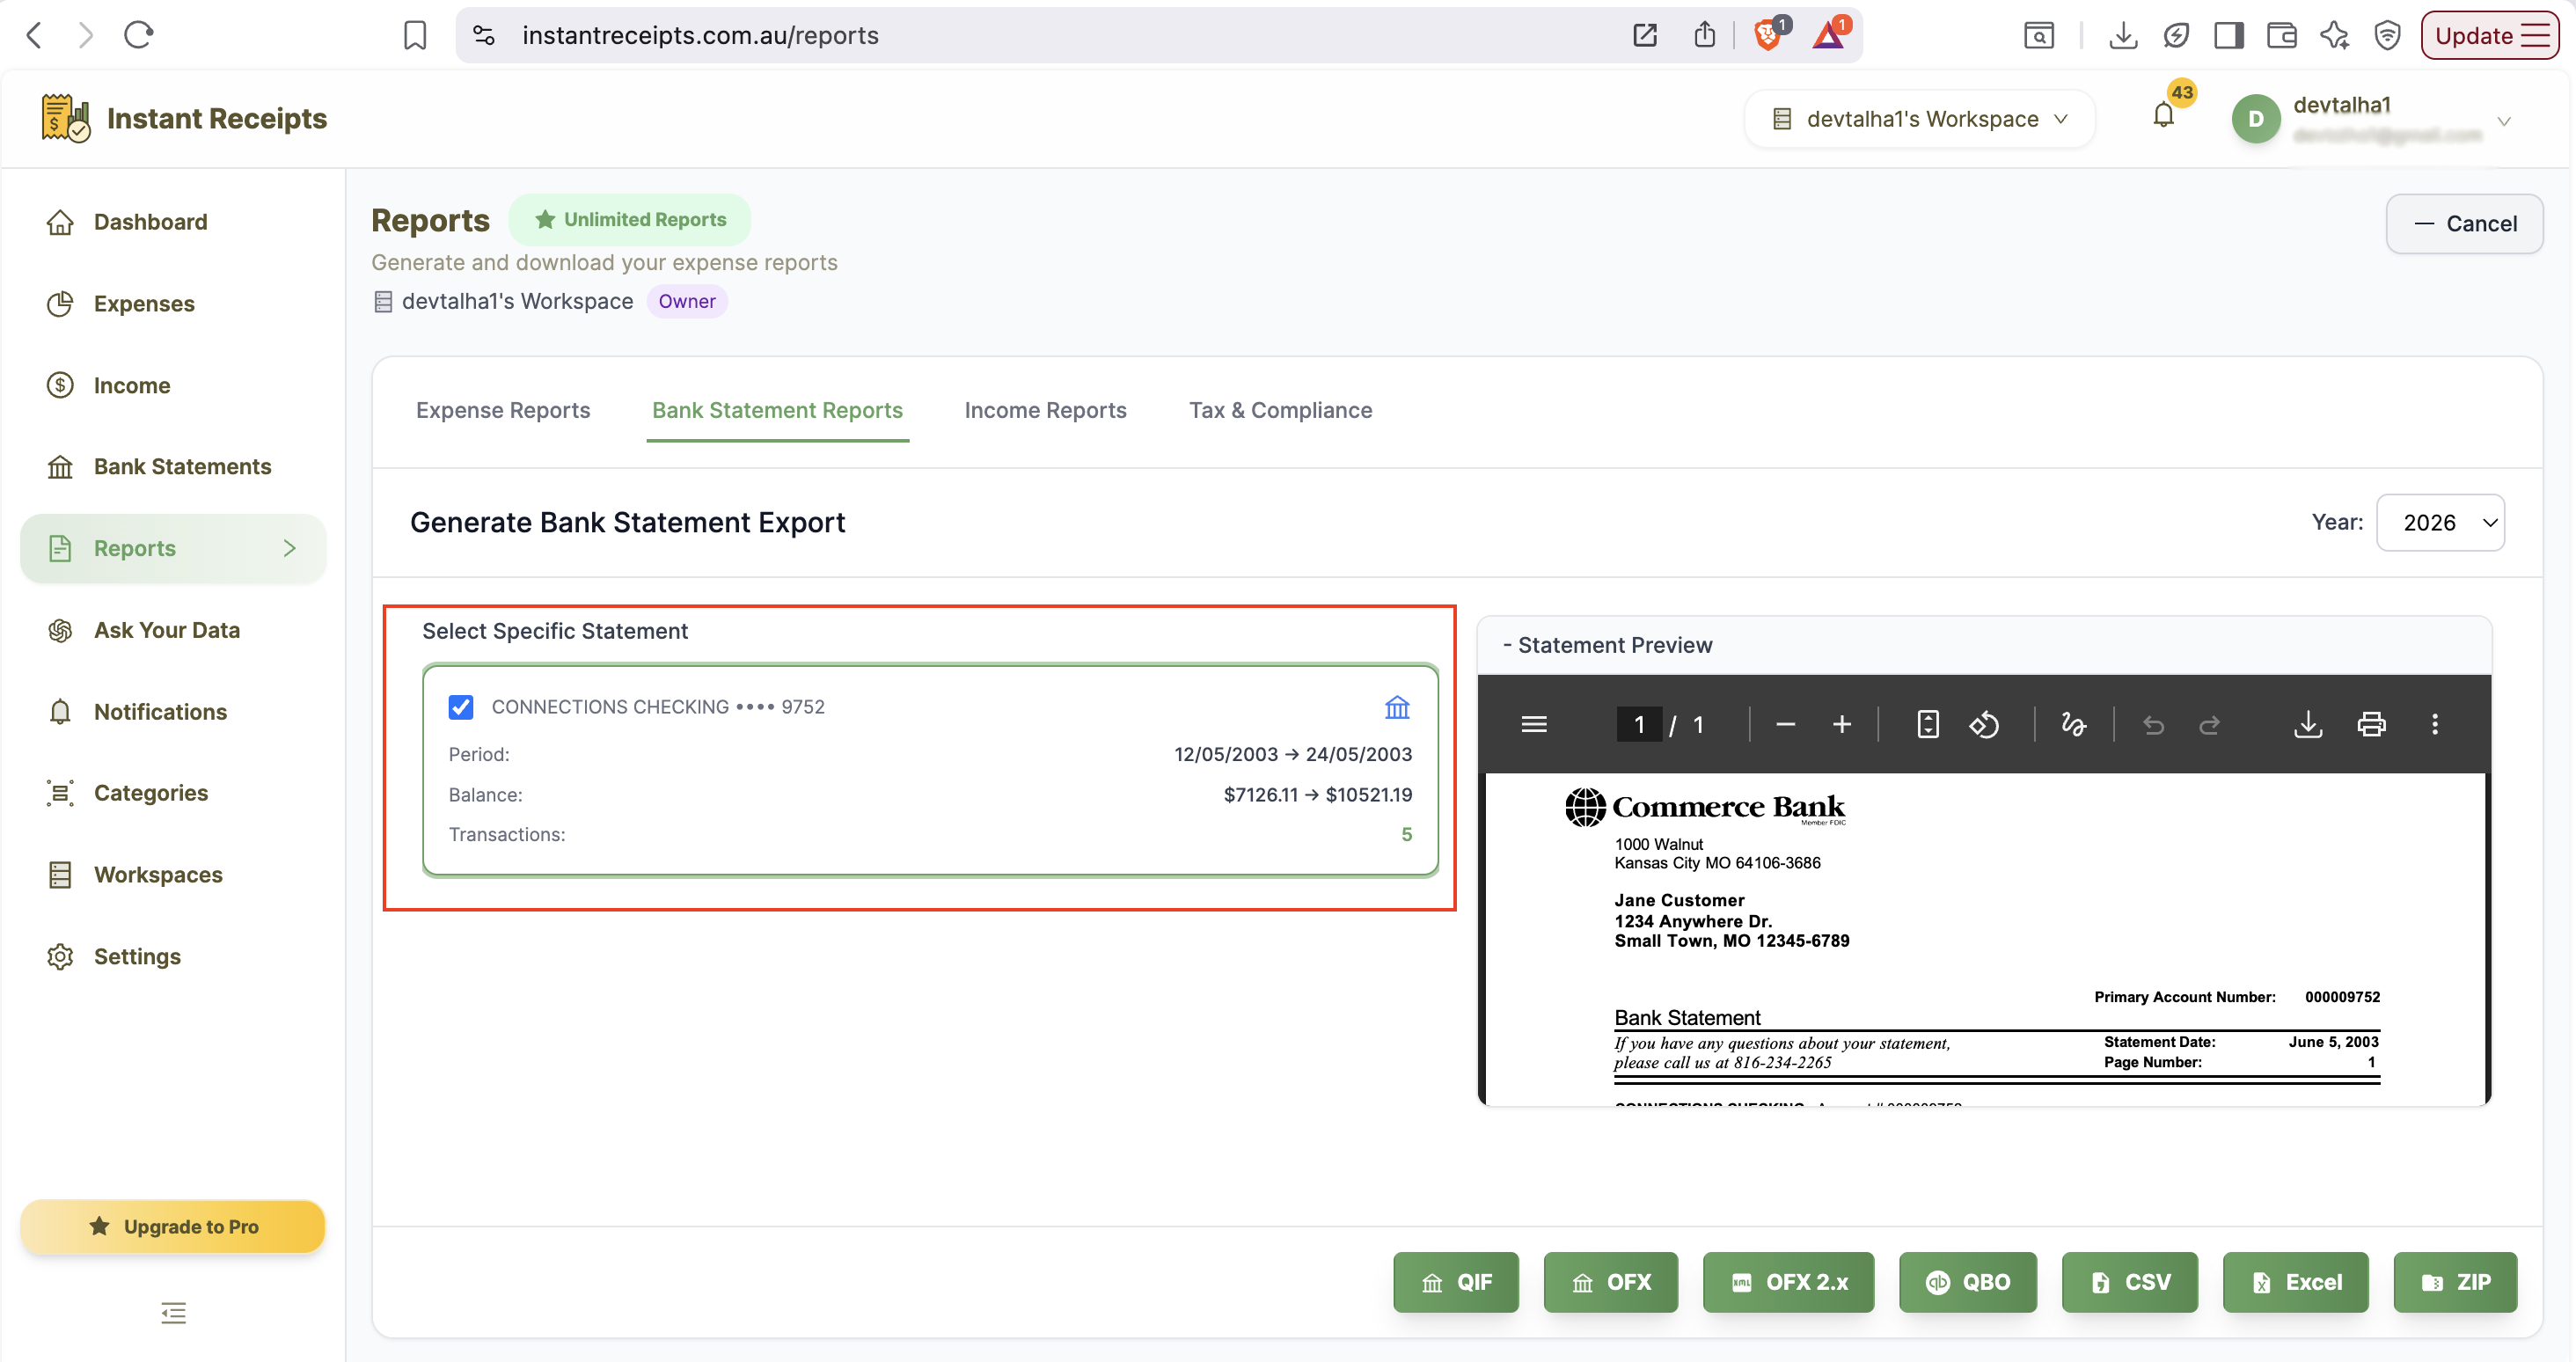
If you want, you can specify the bank account, then only statements related to that bank will export. It's completely optional and works only if you have connected multiple accounts connected to instant receipt. You can export statements for a single account or all accounts.
Choose Export Format
At the bottom of the bank statement report panel, you can select your desired export format from the available options. You can pick from QIF, OFX, QBO, CSV, Excel, or a ZIP file. Remember that each format serves different purposes: CSV for analysis, Excel for advanced analysis, ZIP for backup, QIF/OFX for banking software, or QBO for QuickBooks Online.

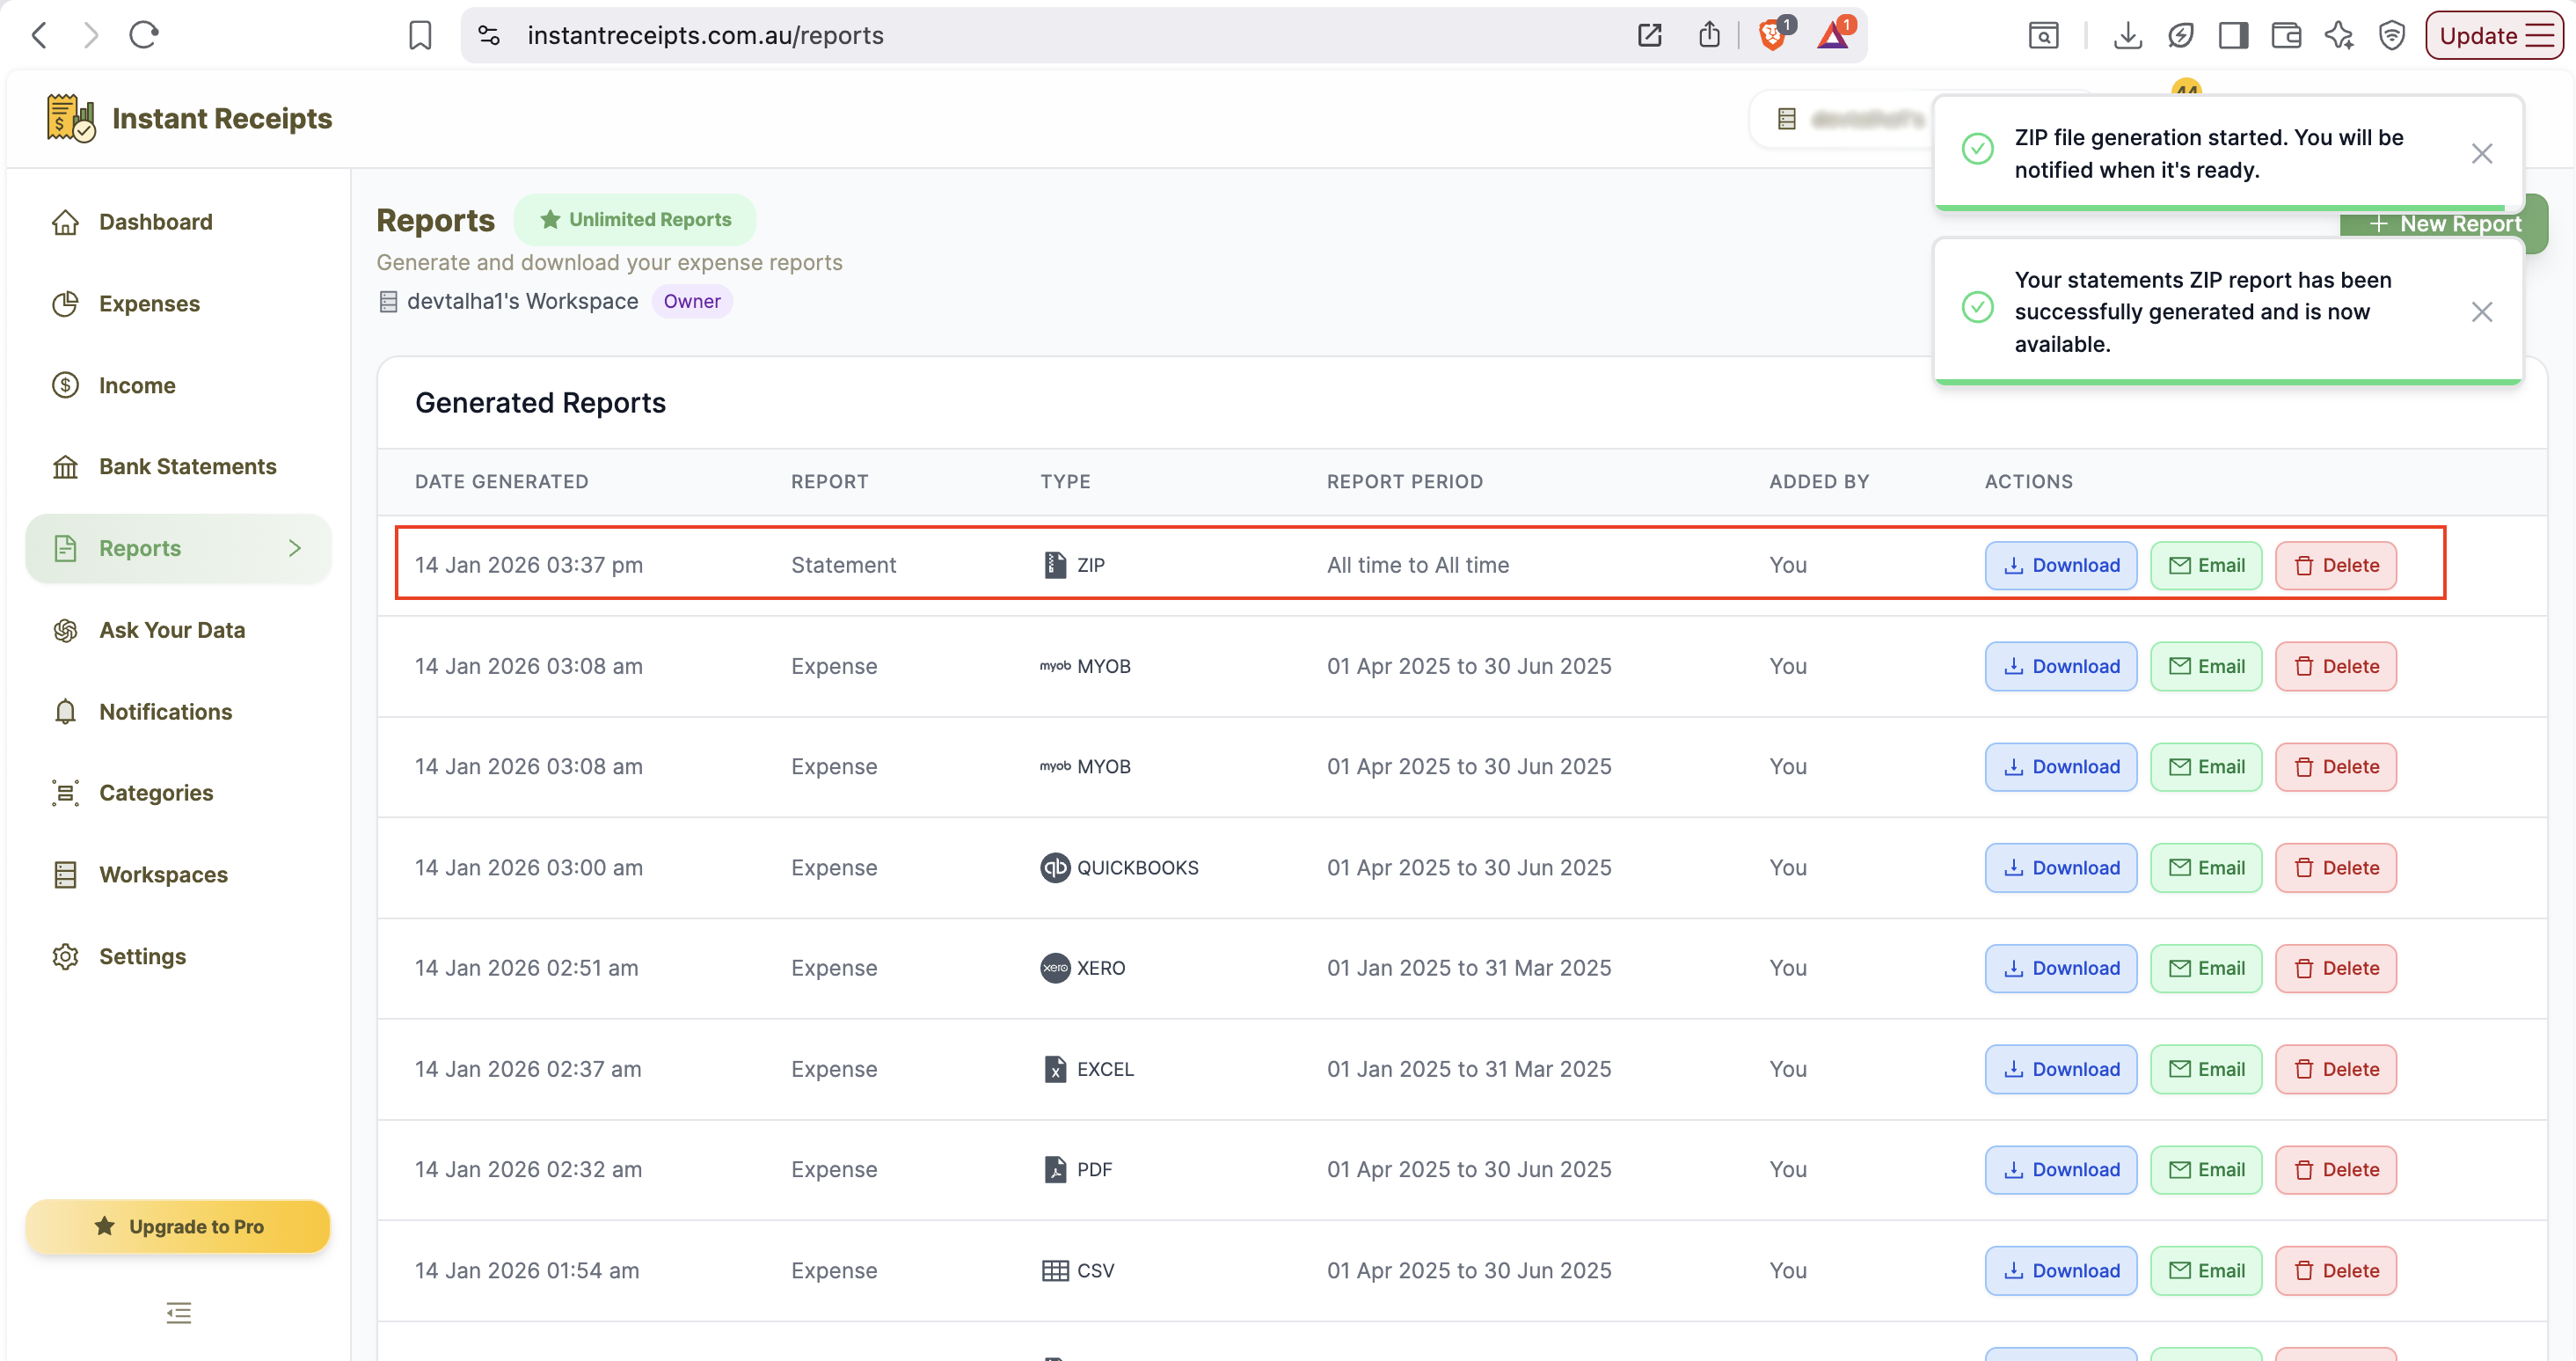
Generate and Download
After selecting the required format click on the export button to export your bank statement. The system will generate your report and notify you when it's ready. You can then download it, email it, or delete it from the Generated Reports section.
Troubleshooting
Please select the date range error
If you see an error for the date range, it means you need to check your date entry, either a financial quarter (Q1-Q4) OR a custom date range. Make sure both fields have valid dates, and the start date must be before the end date.
Please select account error
If you enabled account filtering, you must select at least one bank account. If you don't want to filter by account, uncheck the 'Select by account' checkbox.
No statements available
If you see no statement is available, it means you haven't connected any bank accounts yet. Go to the Bank Statements section to connect your accounts. Once connected, you can now return to Reports to generate exports
Report generation takes too long
If your reports are taking too long, it means you have selected large date ranges with many expenses. That's why it takes longer to process. To resolve this issue, try narrowing your date range or filtering by category to reduce data volume. If the problem still persists, please make sure you have a reliable internet connection.
File won't download
Check your browser's download settings. Try a different browser. Ensure pop-ups aren't blocked. Try the Email option instead of sending the report to yourself.
Can't delete the report
If you are not able to delete the report, you may not have permission to delete reports. Because only workspace owners and admins can delete reports. You have to contact your workspace owner if you need a report deleted.
Report not appearing in the list
If you don't see your report in the list, be patient; the report may be generating. Otherwise please: Refresh the page so you can find the required report. Make sure that you're viewing the correct workspace. Verify you have permission to view reports.
Need more details?
See