Export Expenses as CSV
Prerequisites
- ✓You have uploaded expenses in the Expenses section
- ✓You have access to the Reports page
Outcome
- A CSV file containing your expense data
- A format ready for detailed analysis and custom reporting
- A file compatible with Excel, Google Sheets, and text editors
Steps
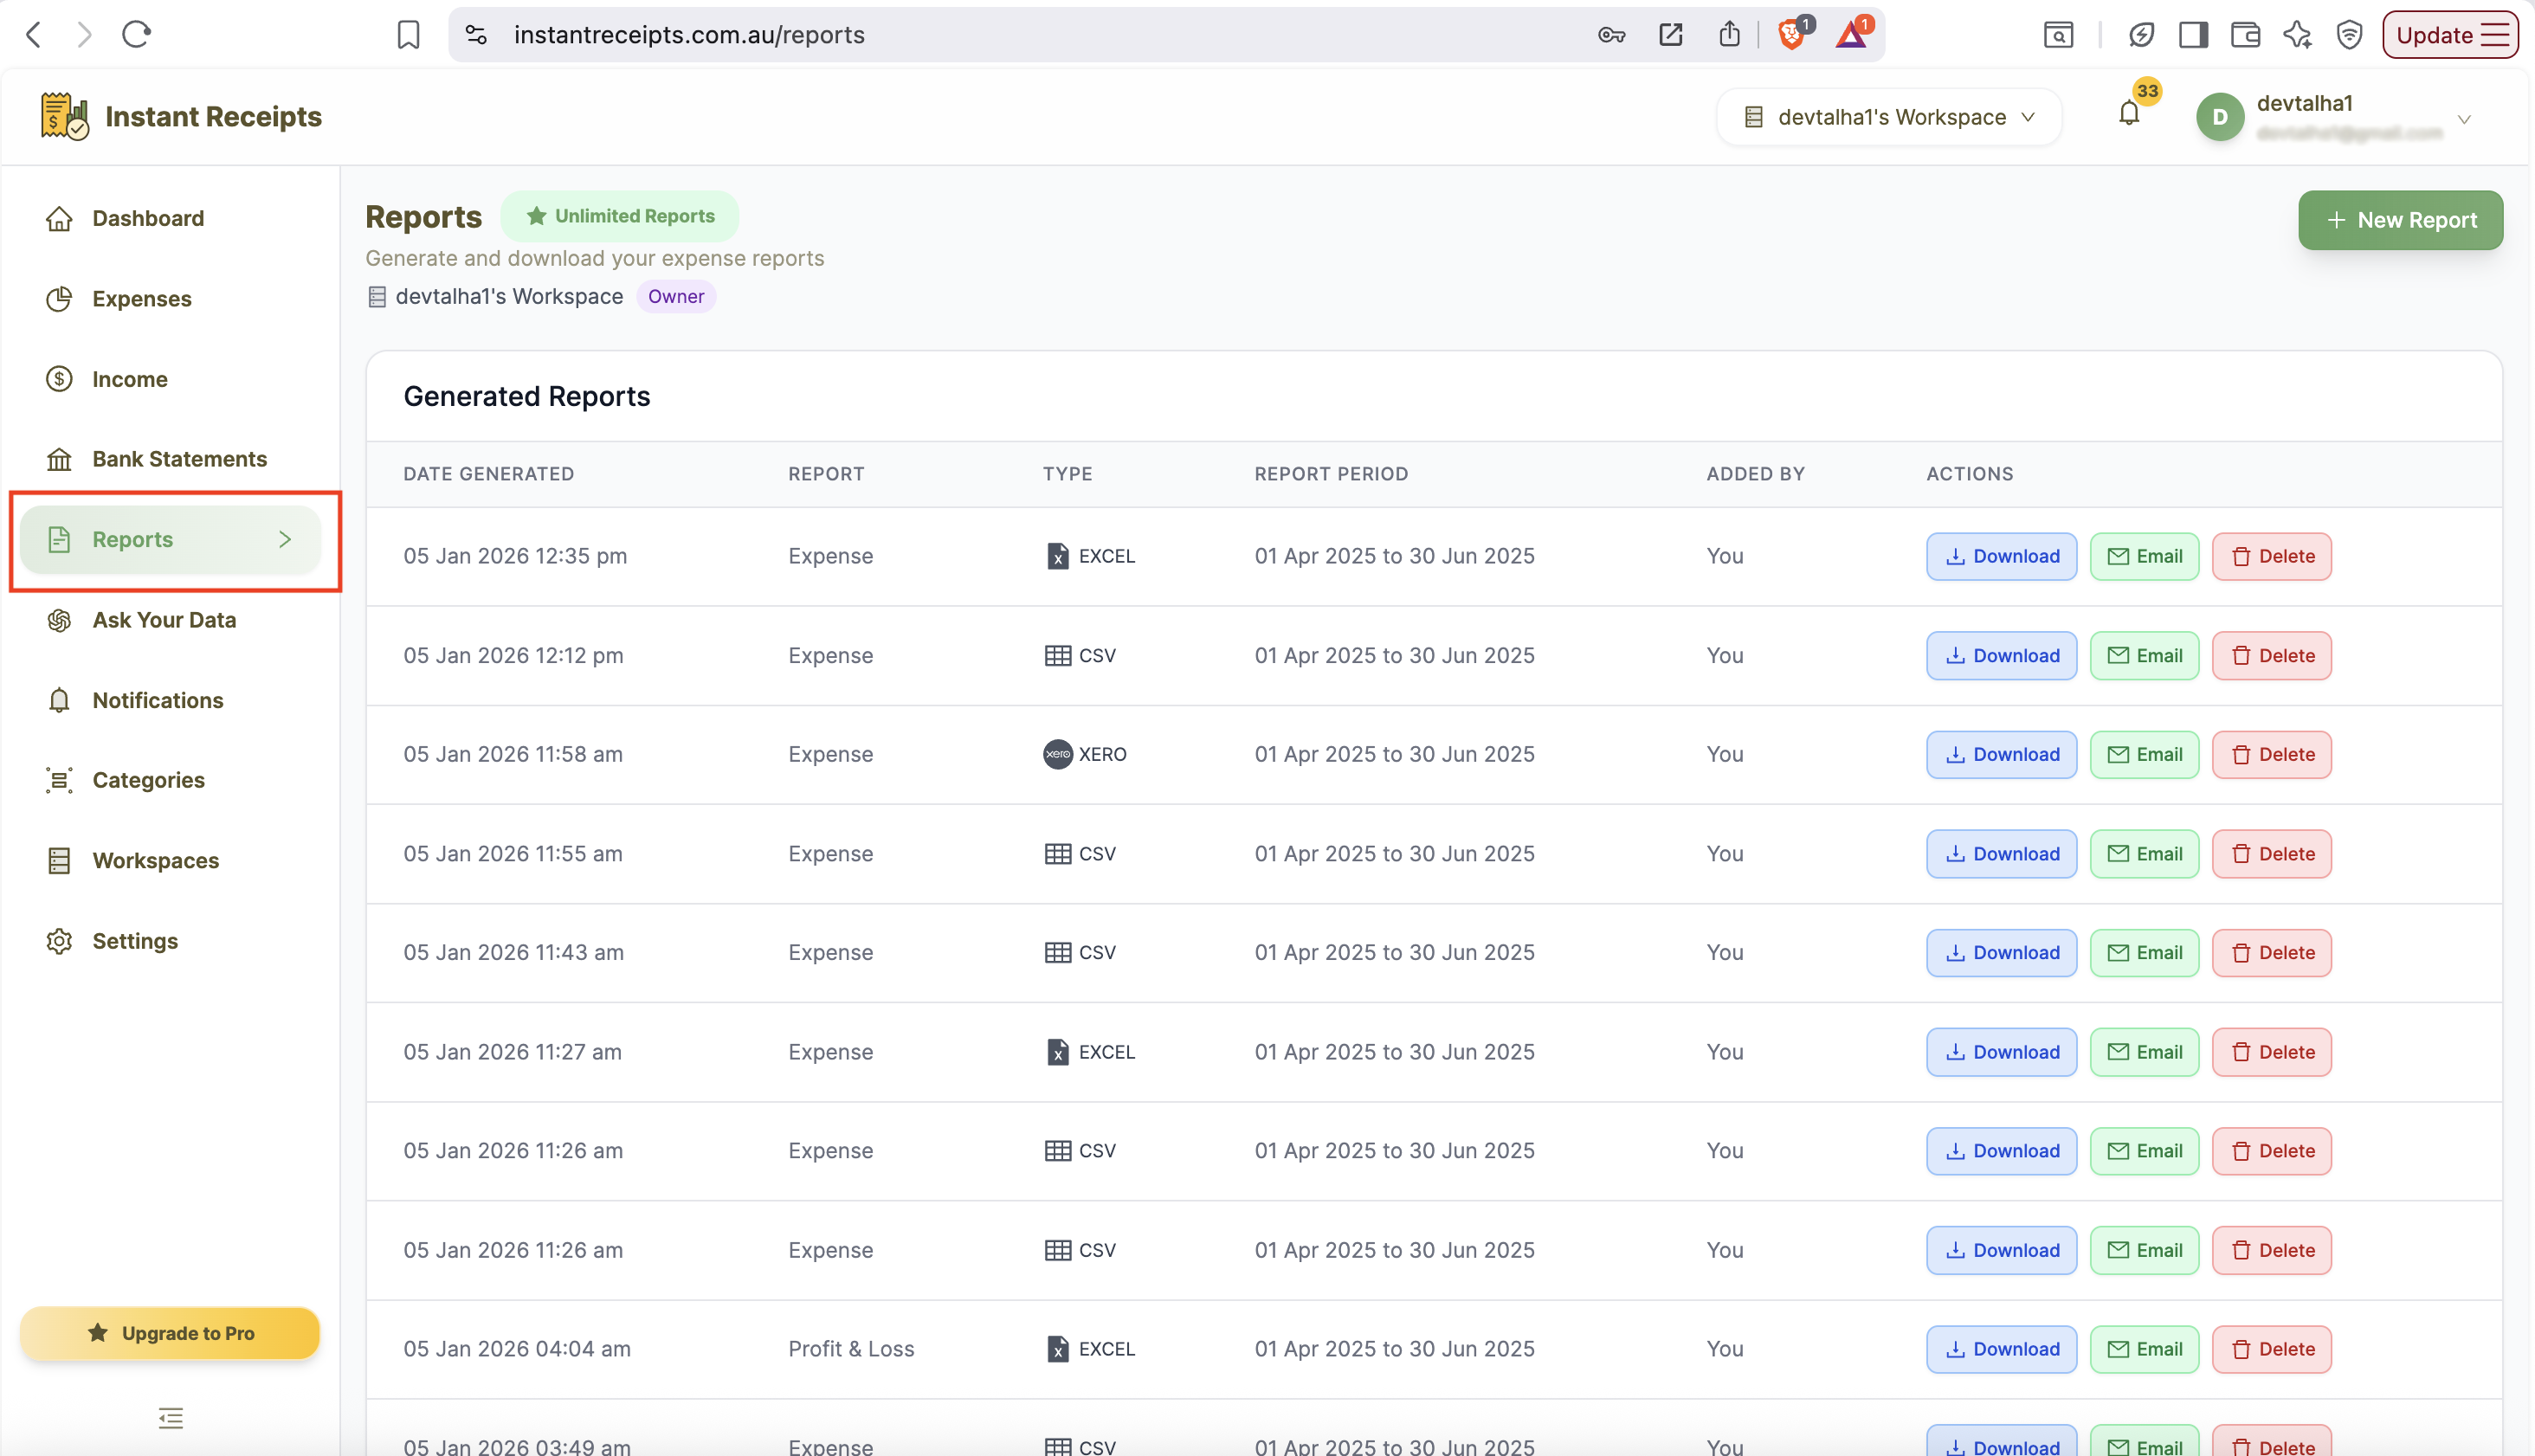
Navigate to Reports
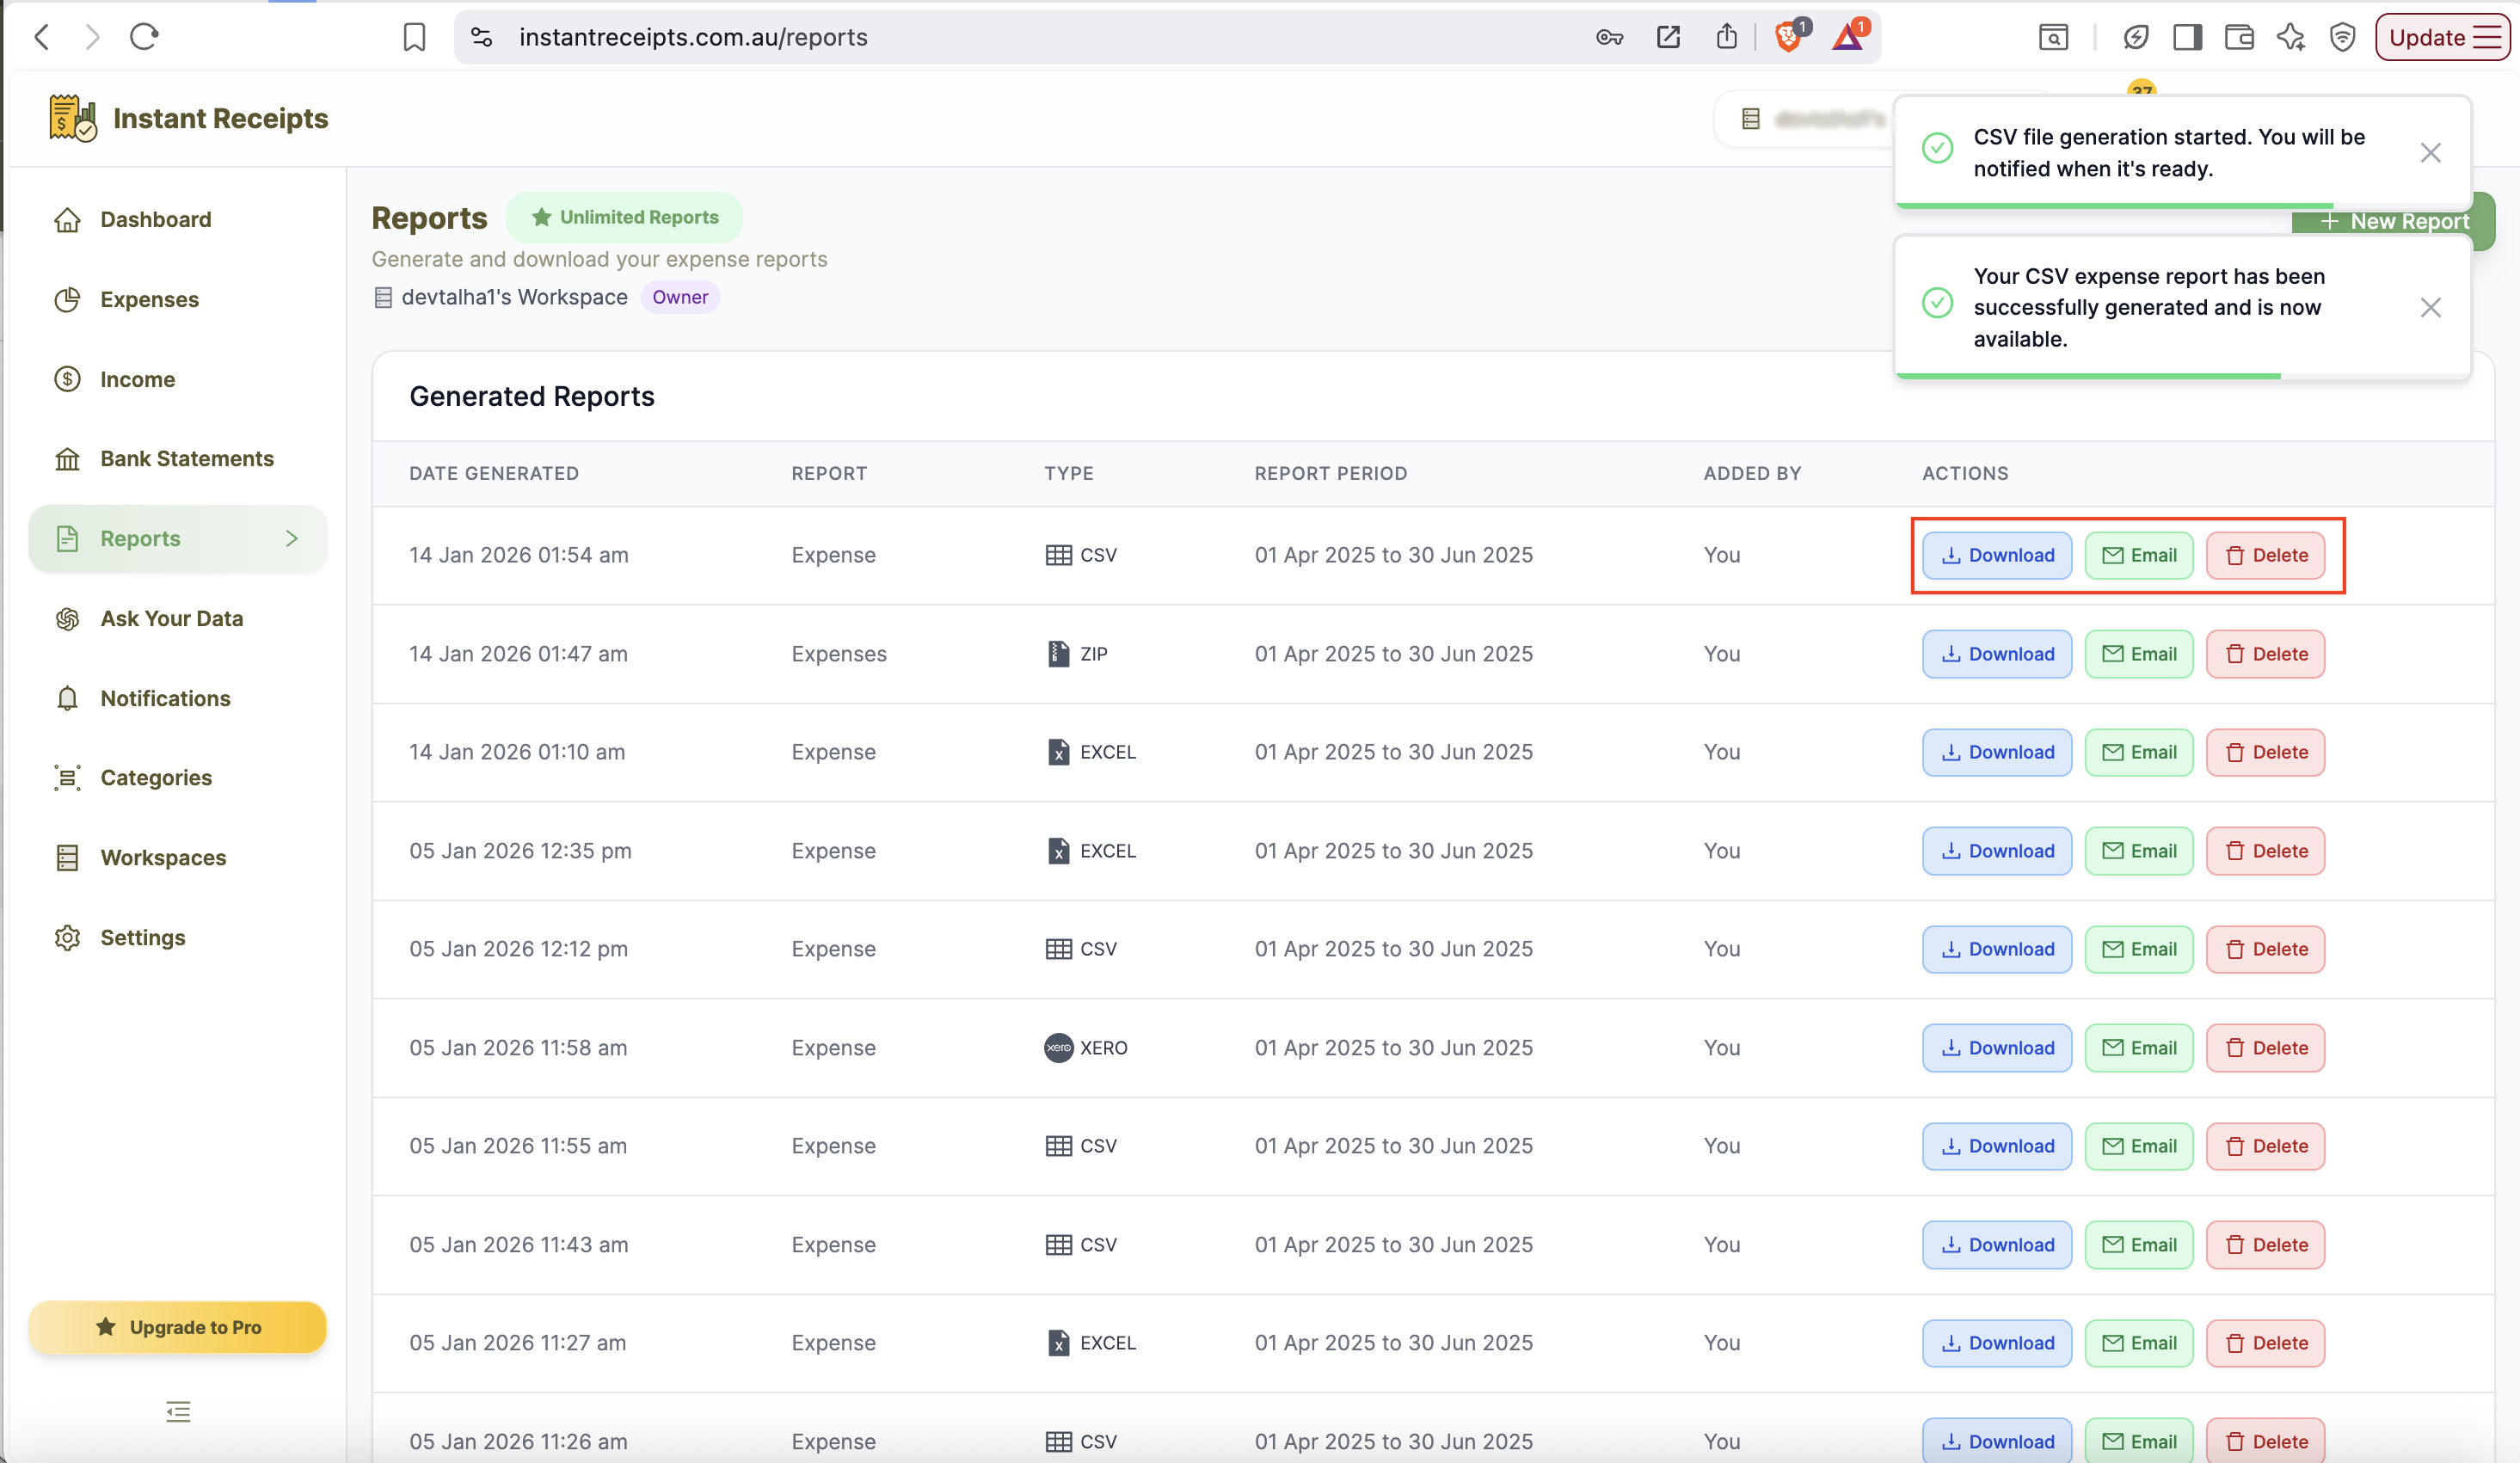
Start by navigating to the report page. For this, go to your dashboard and click on reports. You will find this in the main navigation section. When the report page opens, you will see four tabs. These will include: Expense Reports Bank Statement Reports Income Reports Tax & Compliance.
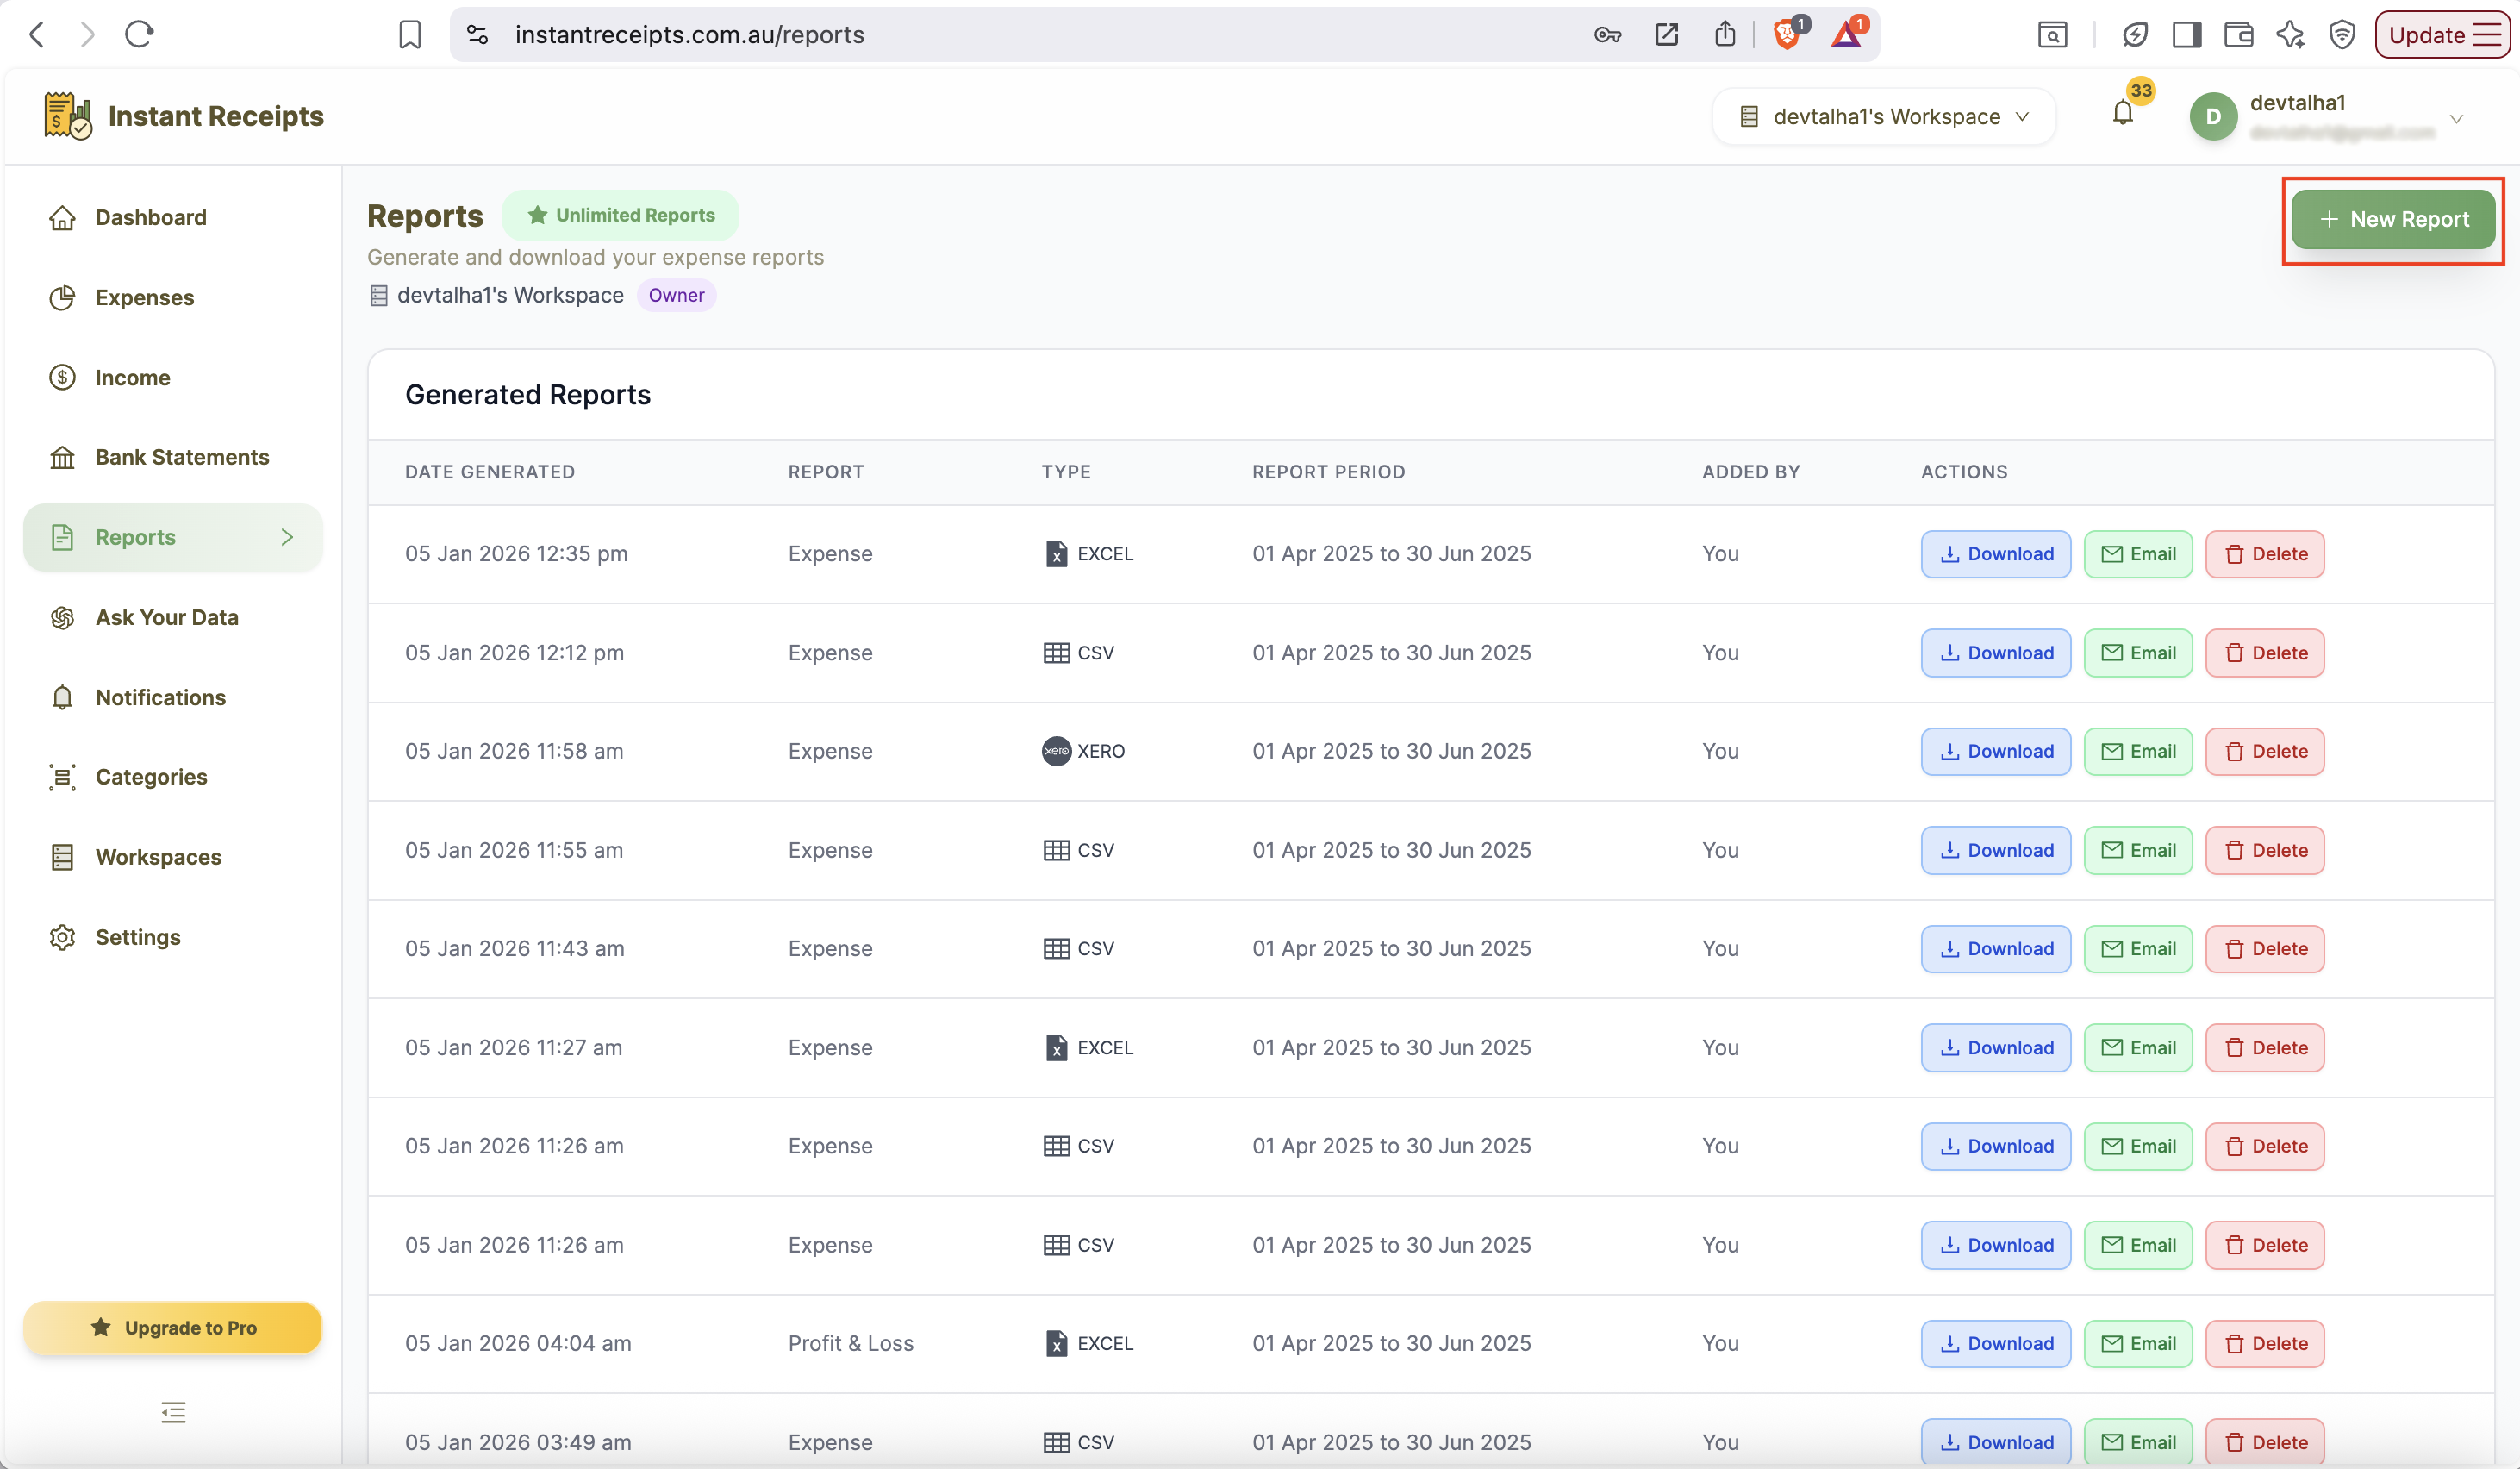
Click New Report
Now you will find a green button for new reports on the top right corner of this page. You can click on this to start creating a new report. After clicking on this button, a new report generation panel will appear. It will show all available options for customisation of your export.
Select Your Date Range
From this new panel, you can select the date range for which you need to export your expenses. There are two ways for this: the first one is Quick Select financial quarters (Q1-Q4). Secondly, you can enter a custom date range manually. If you don't select either, all existing expense records will be included.
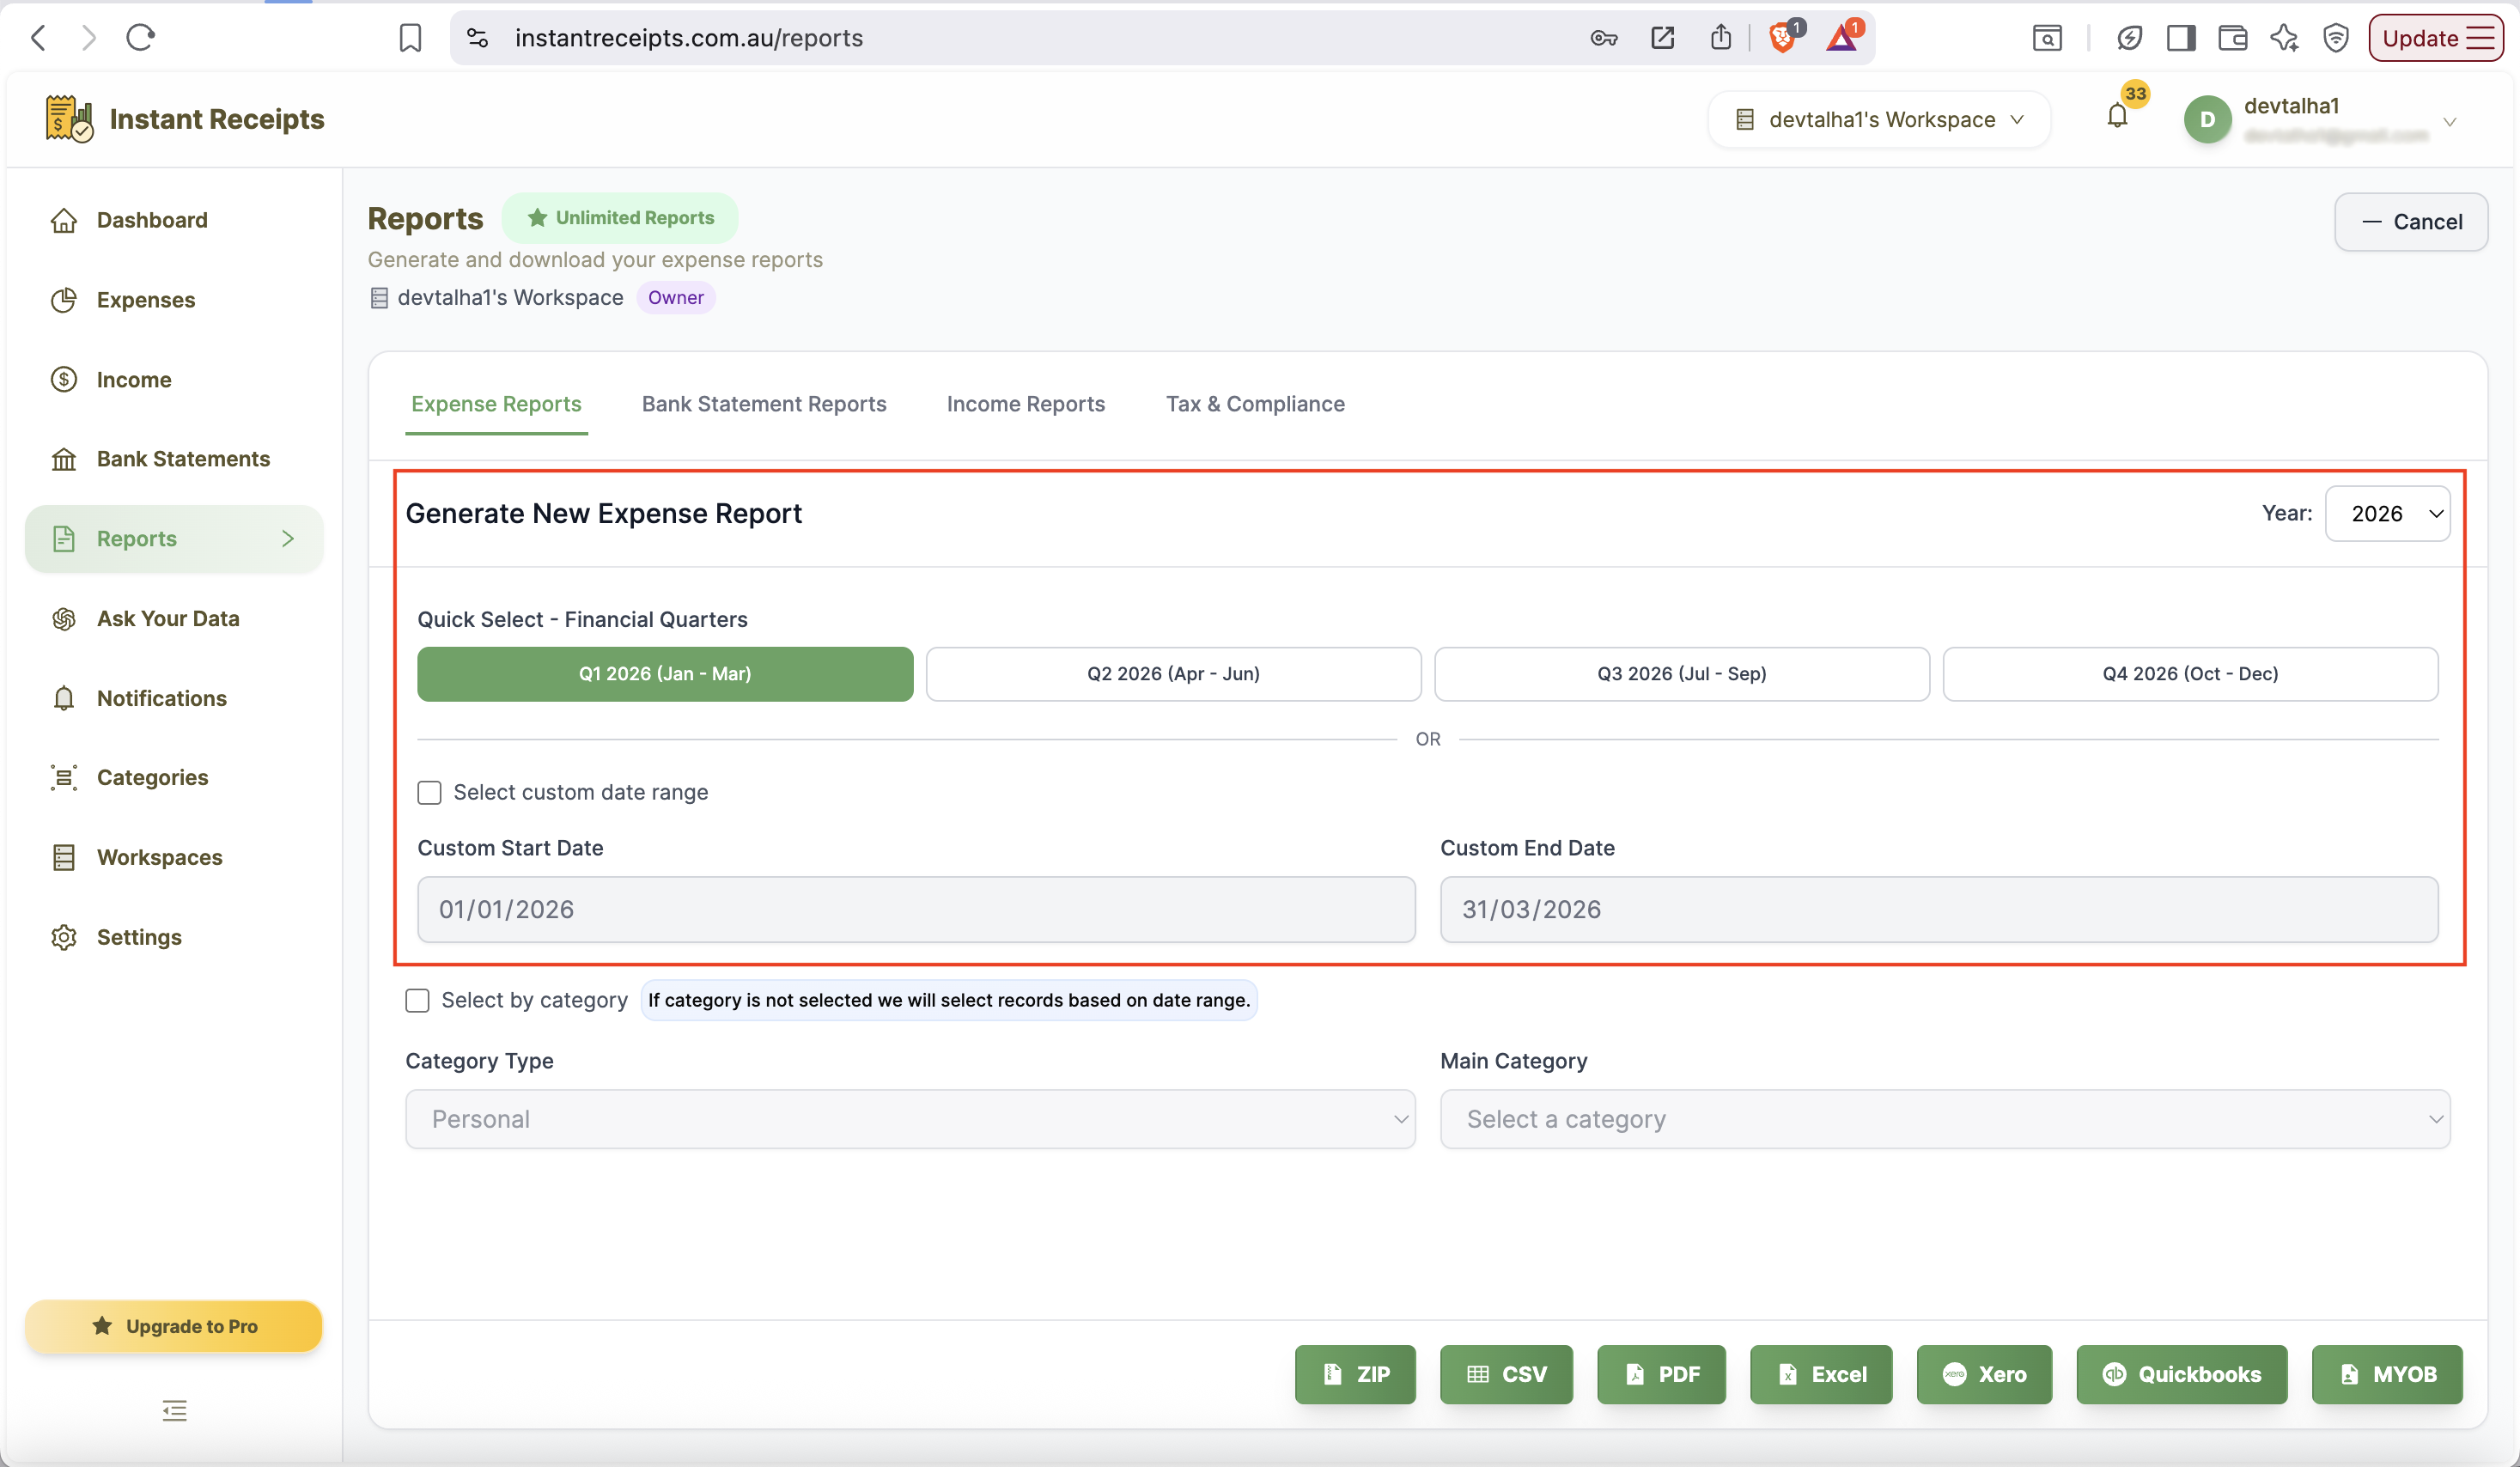
Filter by Category (Optional)
Another incredible feature that you can find here is that you can apply a filter. You can select your expense type from the category section, either personal or business. When you select the specific date range and category on those expenses in that duration and category will export.

Click the CSV Button
At the bottom of the expense report creating you can see different available formats. From there, find the CSV format button. Click on the CSV button, and you are all done.
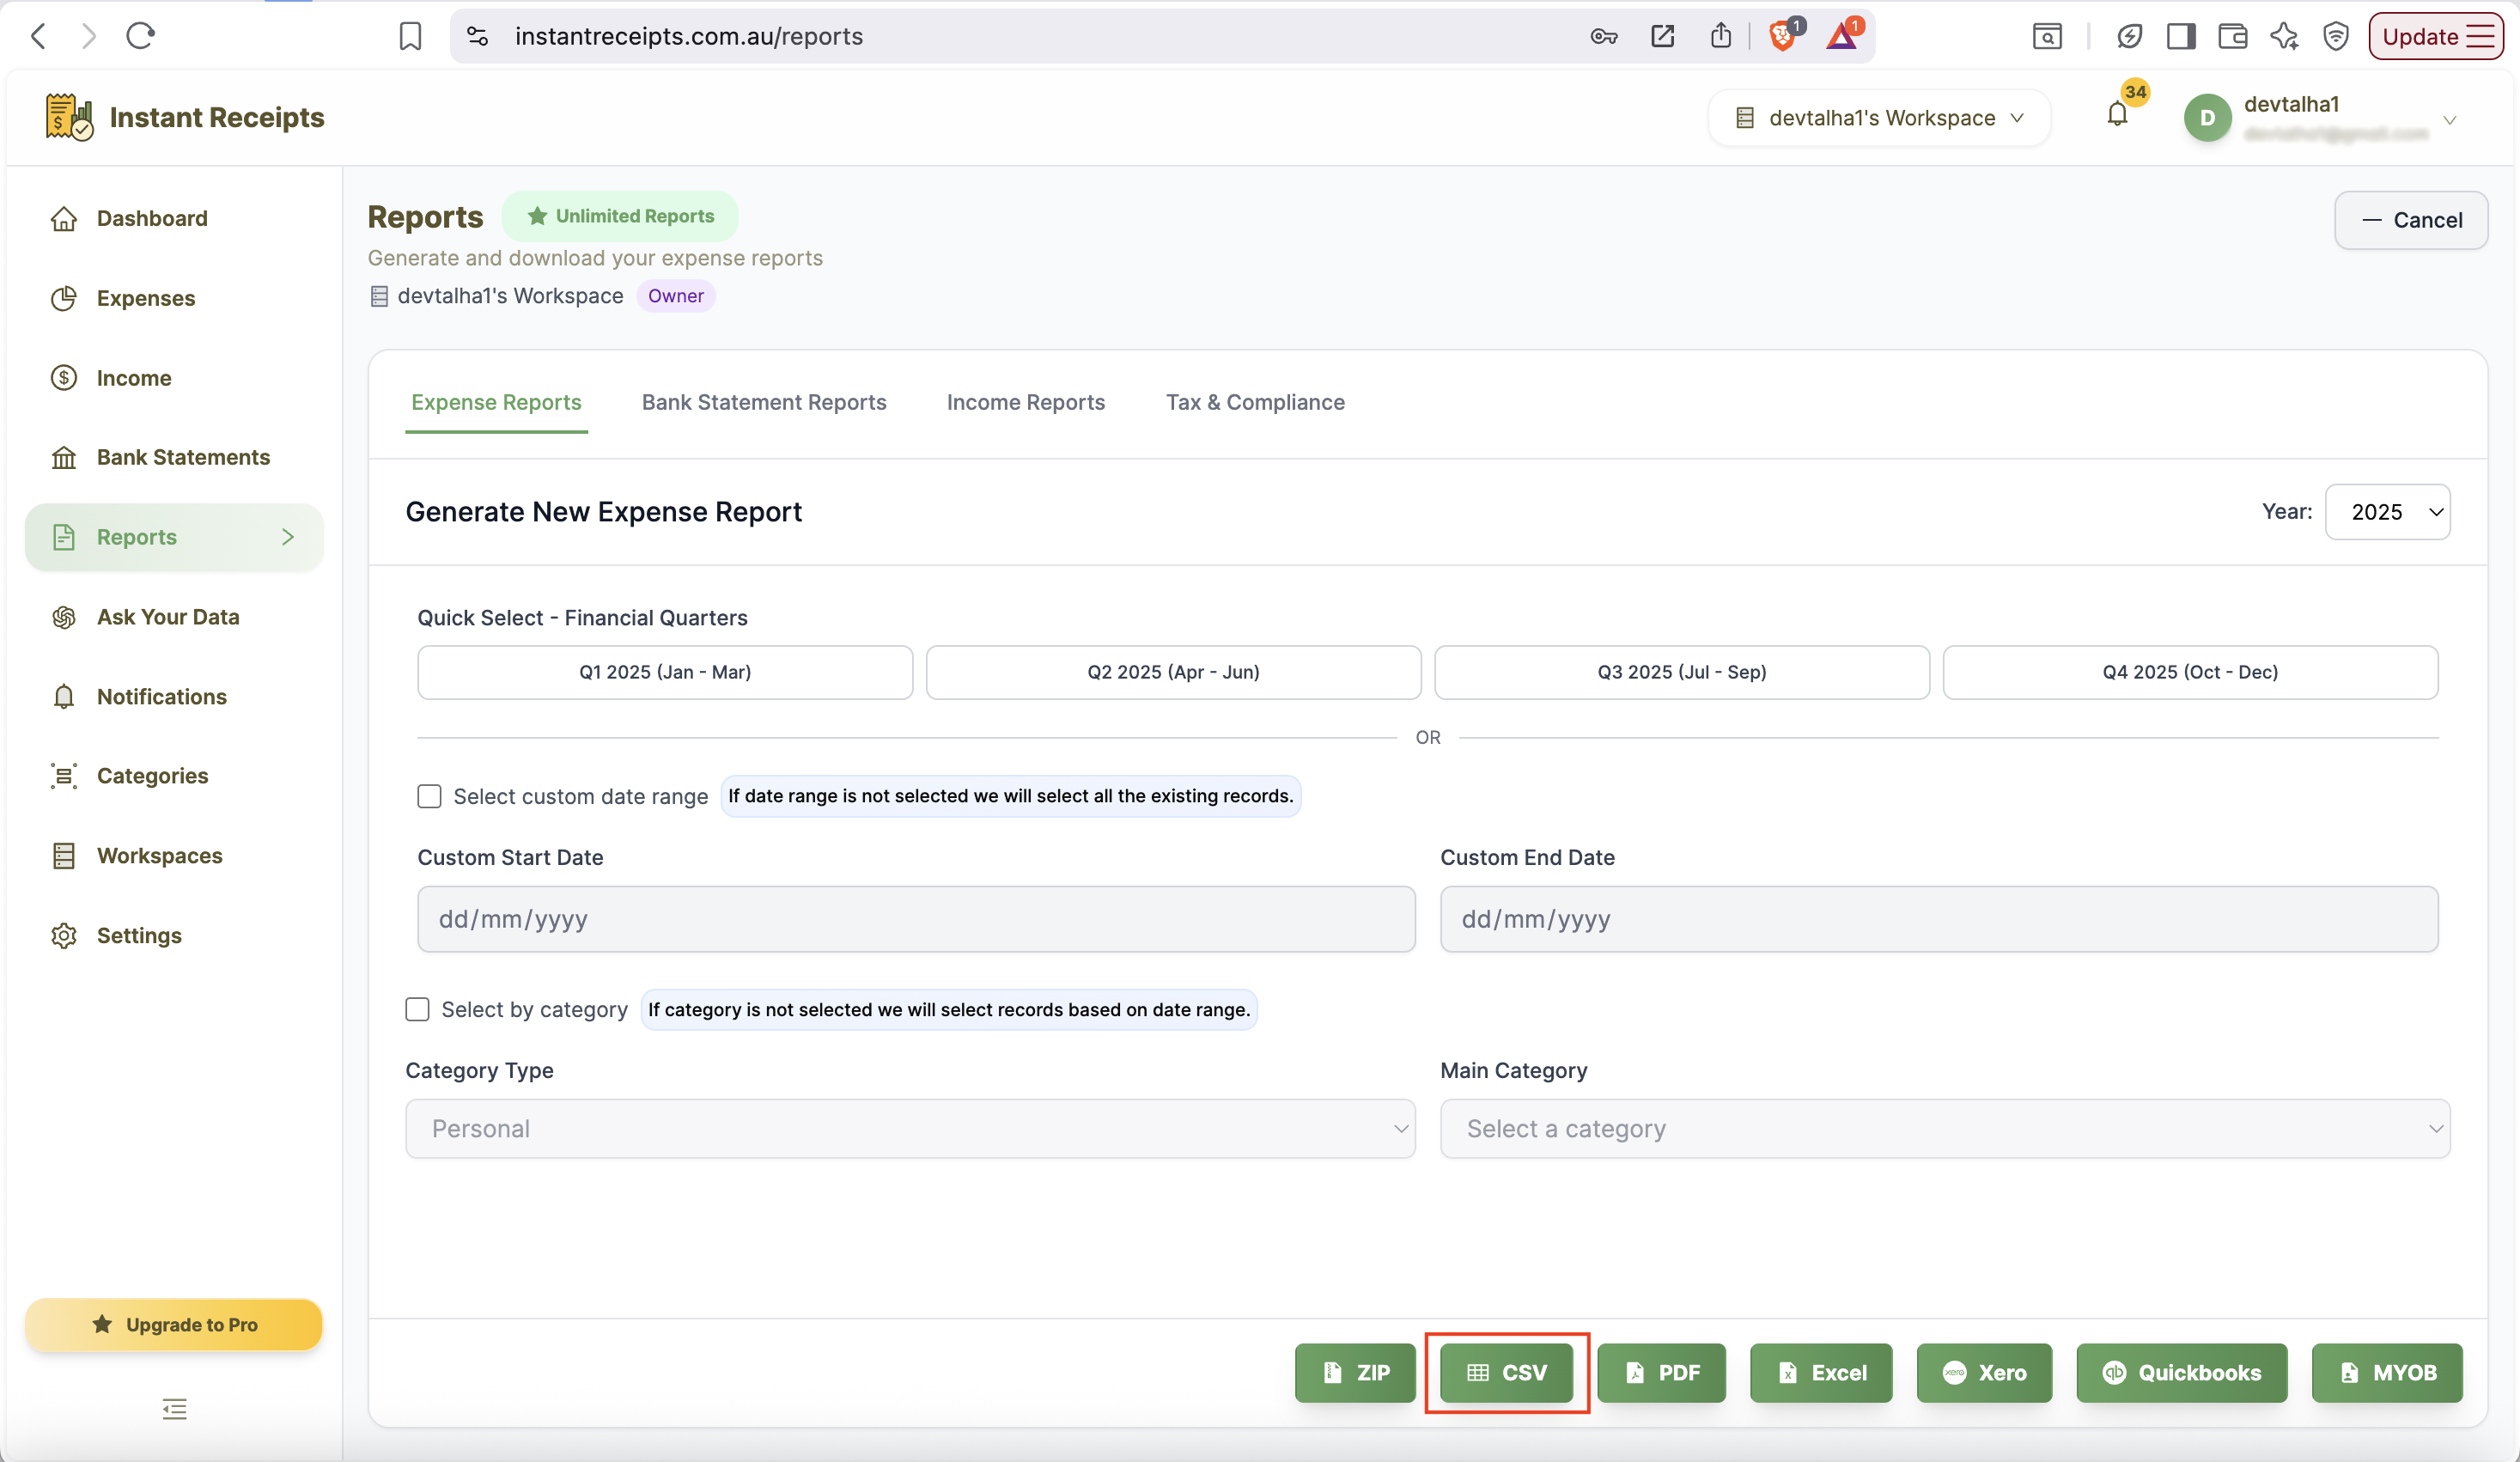
Download and Open CSV File
Once selected, you can simply download the file easily. Now you can open the expense report in any of your desired spreadsheet applications and analyse it.
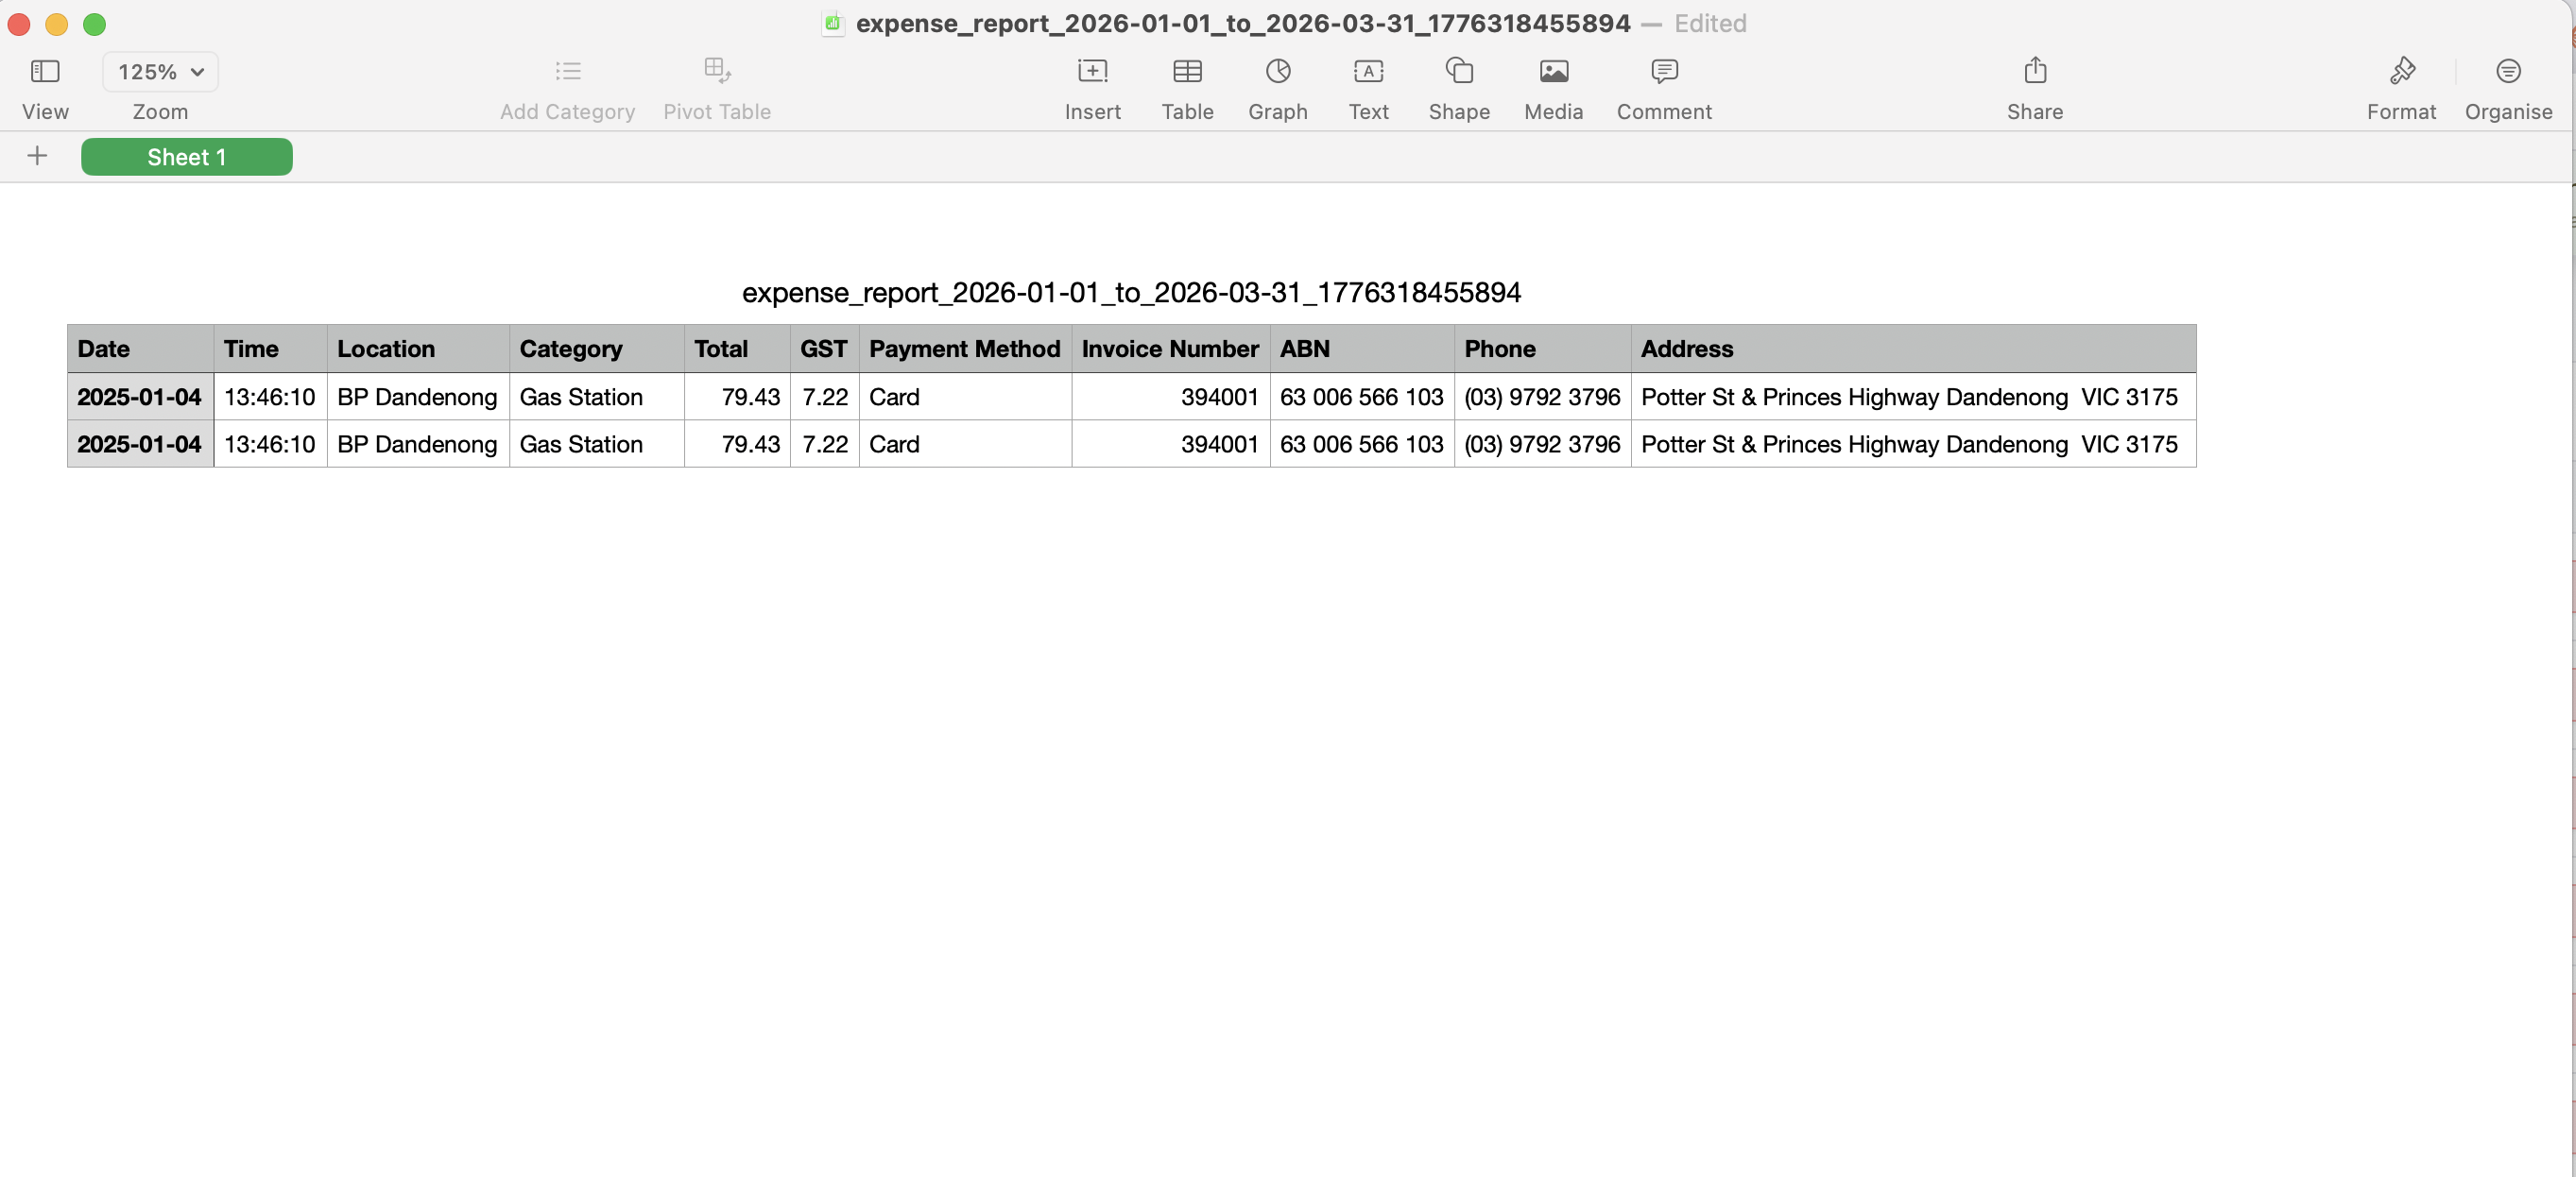
Review Exported CSV Preview
After downloading the CSV file, you can preview the exported data to ensure everything has been correctly generated. This final step helps you confirm that all expenses, categories, and totals are accurate before using the file for reporting or tax purposes.
Troubleshooting
CSV file opens with strange characters
If you observe some unusual characters after opening the CSV file, it may be due to an encoding issue. To resolve this issue, you can open the file with Excel using UTF-8 encoding. You can also use Google Sheets, which can handle encoding automatically.
Data appears in one column.
While opening the expense CSV file, if it only shows one column, it means the comma delimiter is not recognised properly by the spreadsheet. To resolve this issue, you can use the "Text to Columns" feature while opening the file in Excel. In the case of Google Sheets, try to import the file properly.
Formulas are showing instead of values.
If you see formulas in your data, its completely normal for a CSV file to open like this. It means your application is showing your data in raw format. However, the data is correct.
Need more details?
See