
Export Bank Statements as QBO
Prerequisites
- ✓You have uploaded your bank statement in the Banking section
- ✓You have a QuickBooks Online account
- ✓You have access to the Reports page
Outcome
- Seamless integration with QuickBooks Online
- No manual formatting required.
Steps
Navigate to Reports
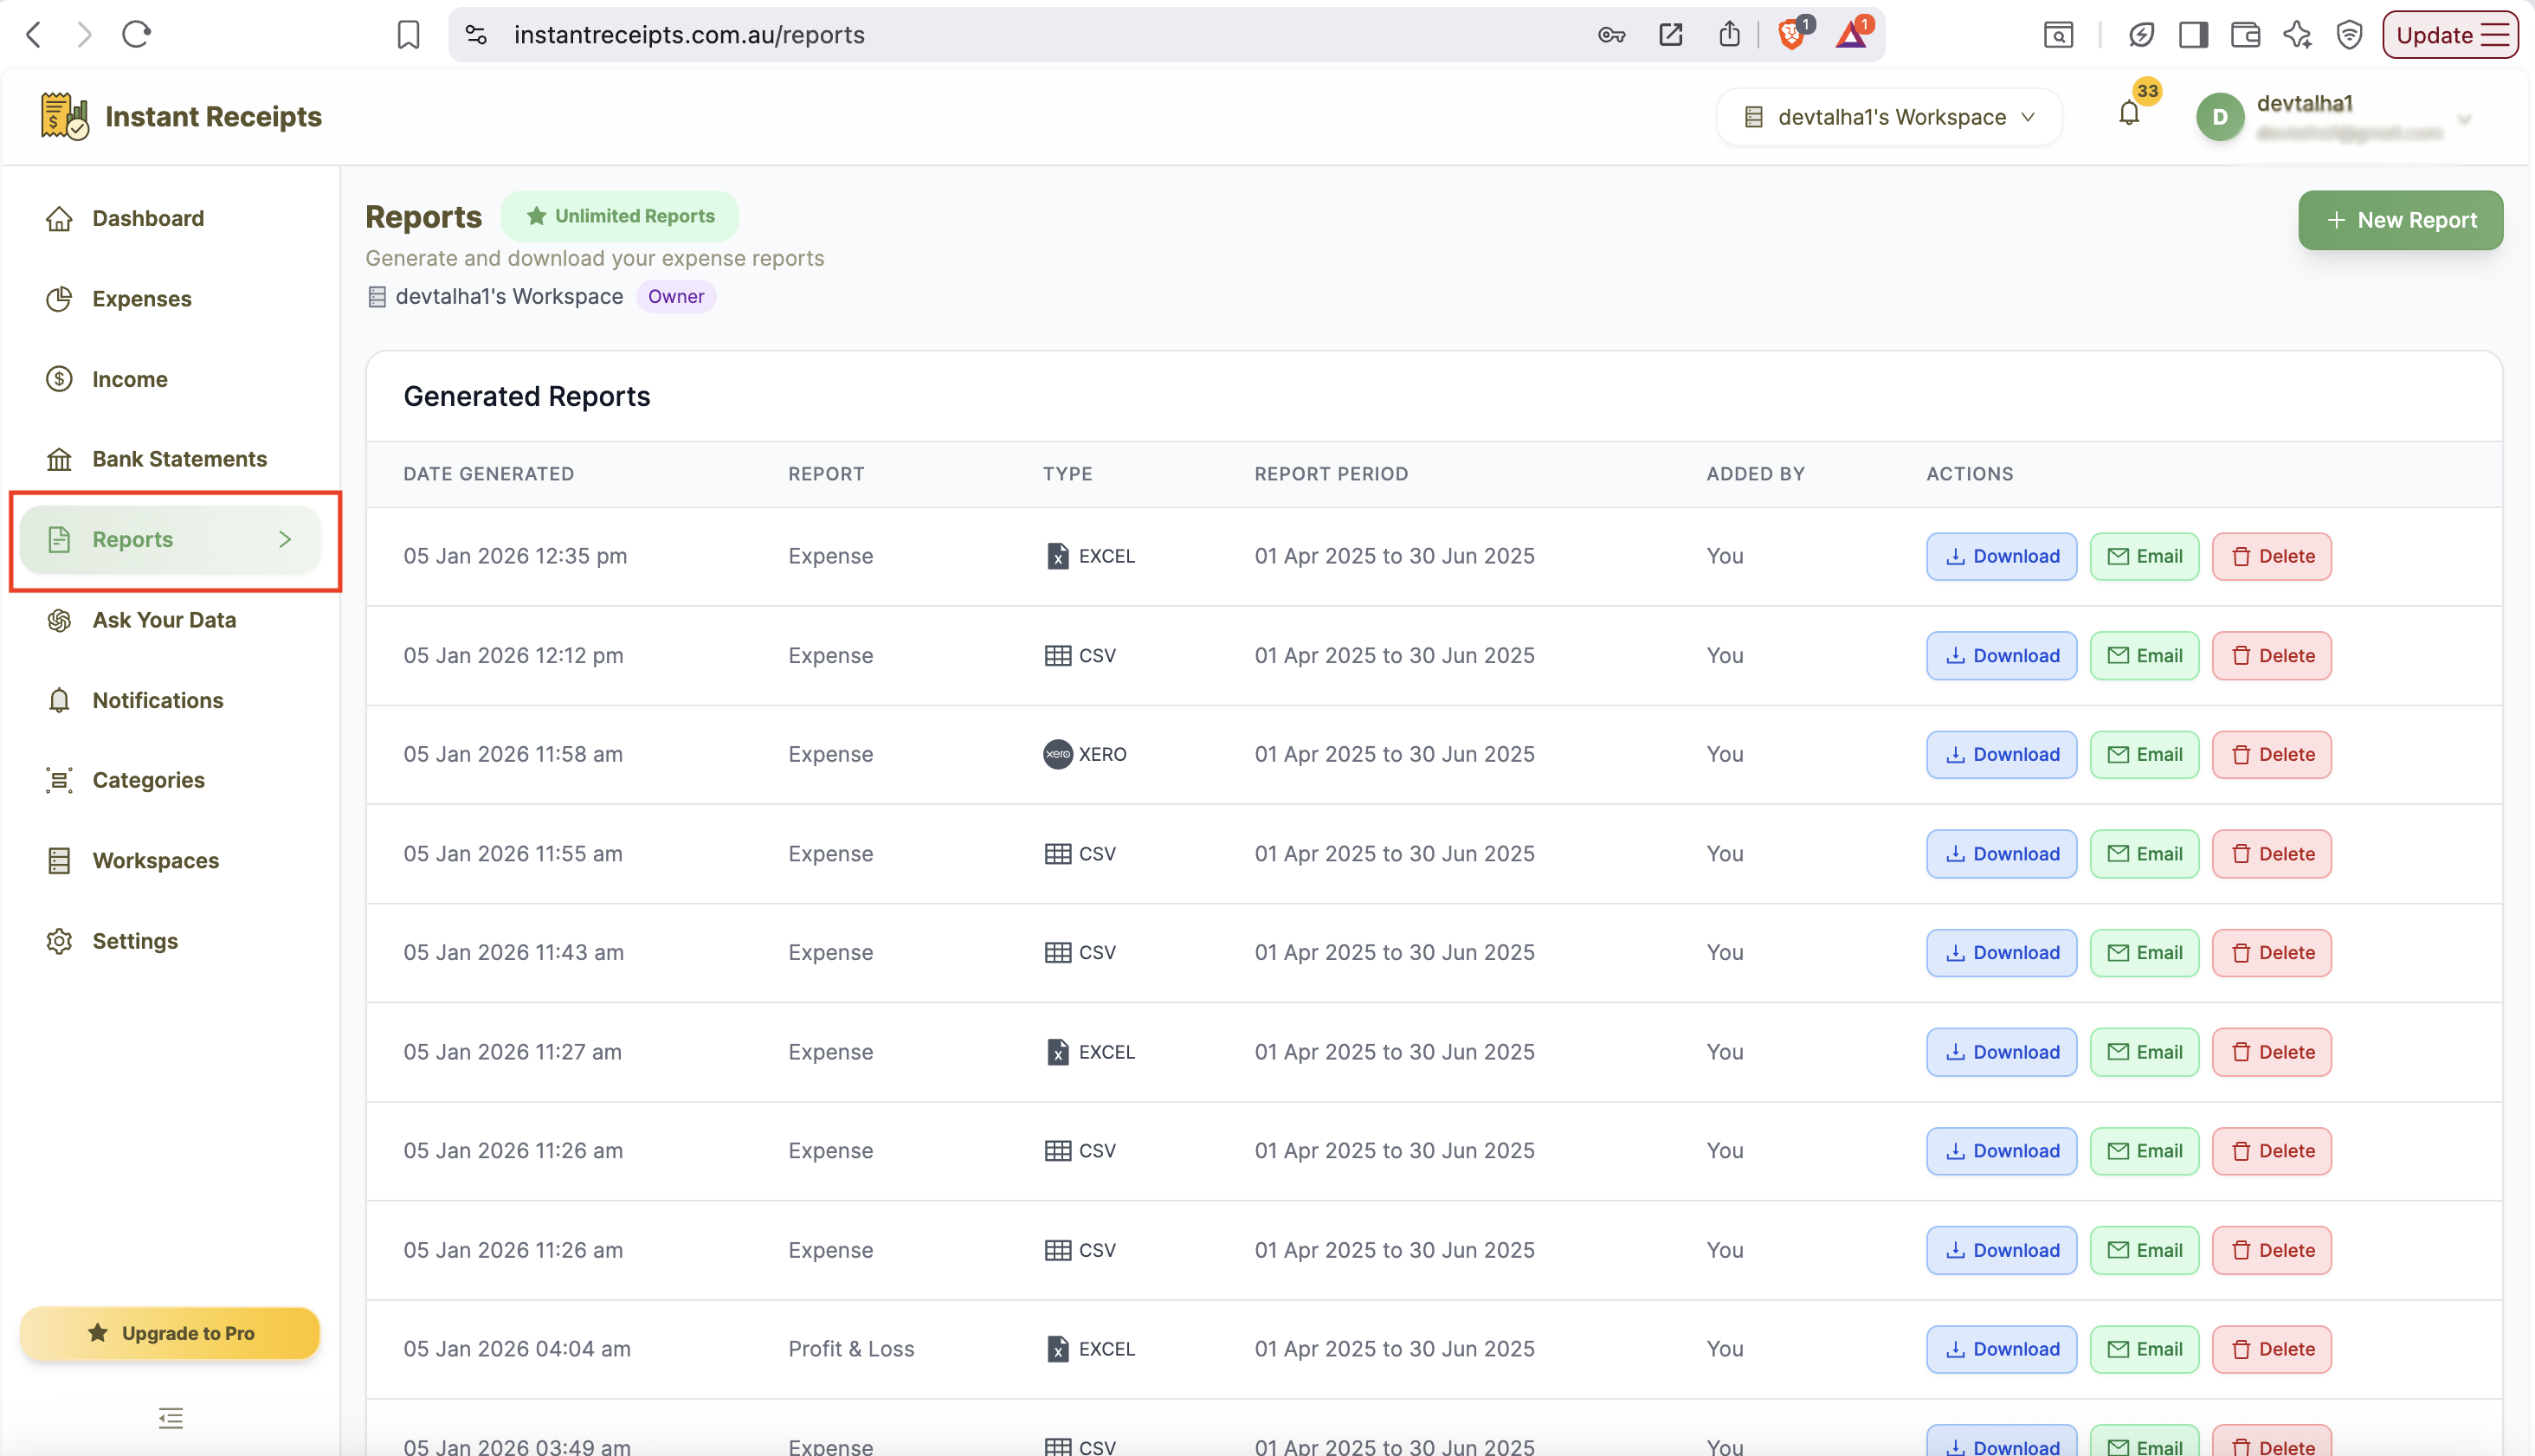
To start, login to your instant receipt account and go to your dashboard. On the dashboard, click on the Report section. After clicking, you will be navigated to the report pages, which will show four tables. These tables include Expense Reports, Bank Statement Reports, Income Reports, and Tax & Compliance.
Click New Report
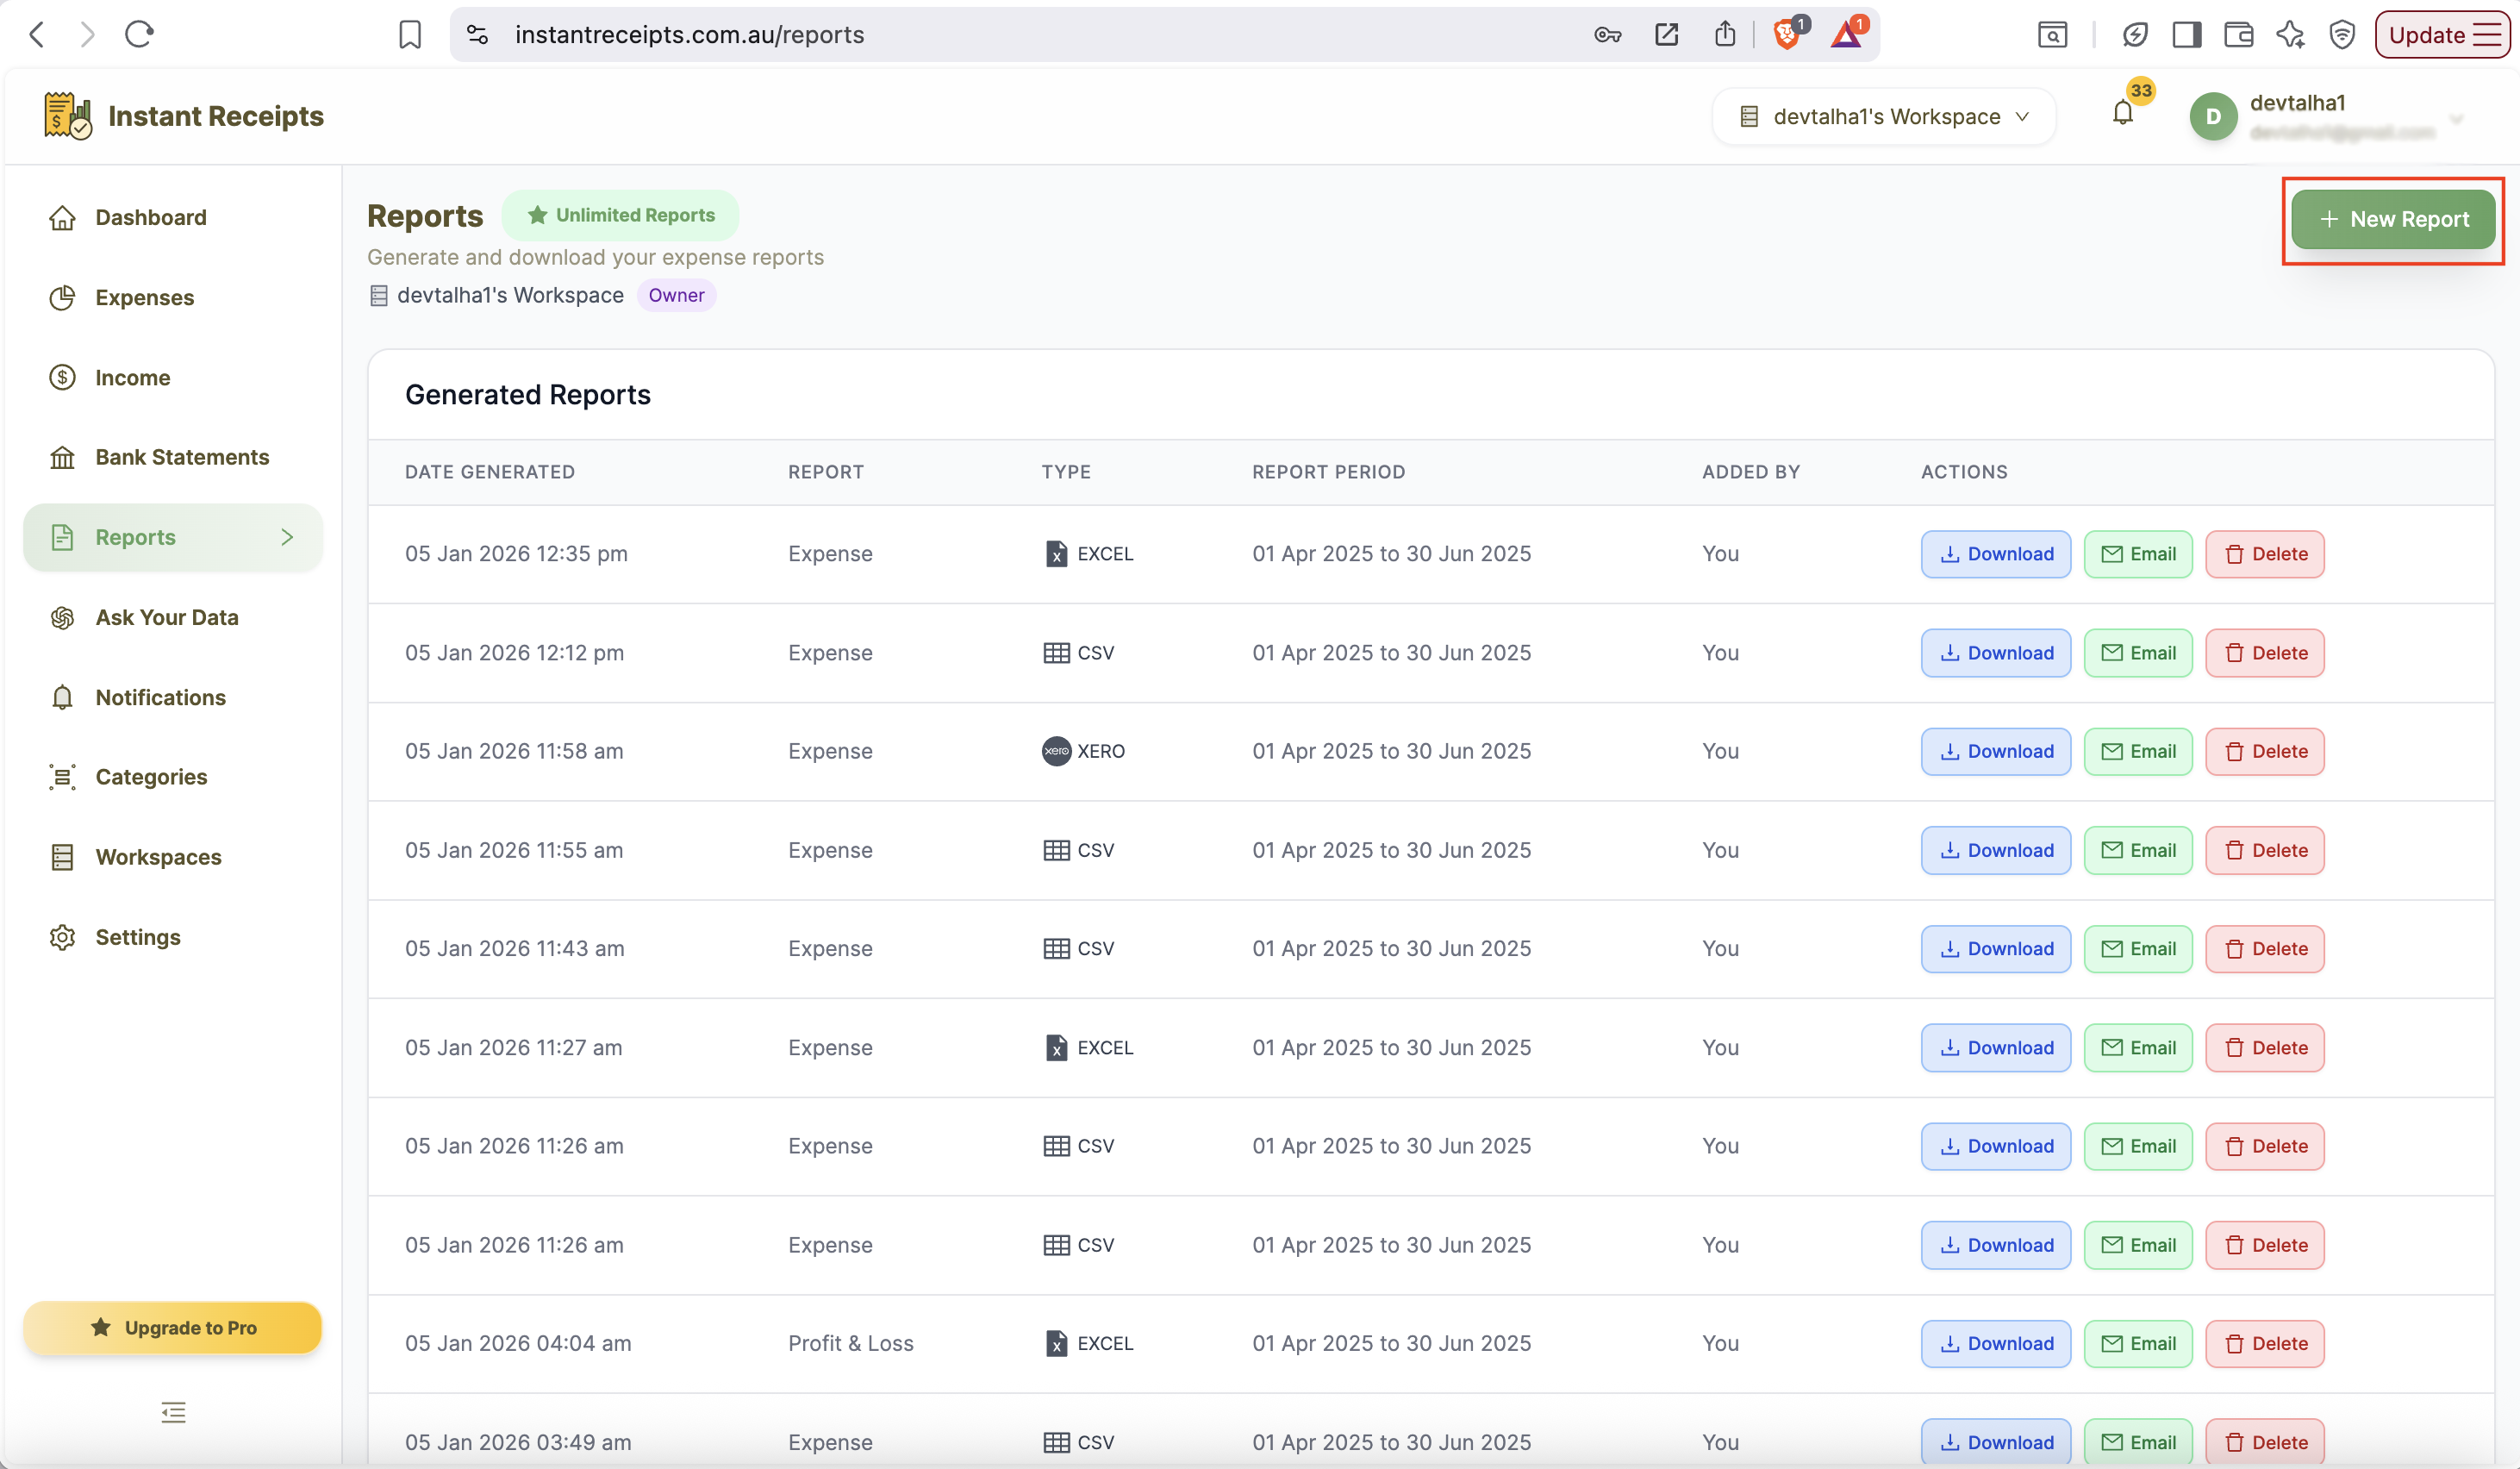
Now, in order to create a new bank statement report, please click on the \"New report button\". As soon as you click, you will see the expanded report panel. It will show all available options for customising your export.
Select Your Date Range
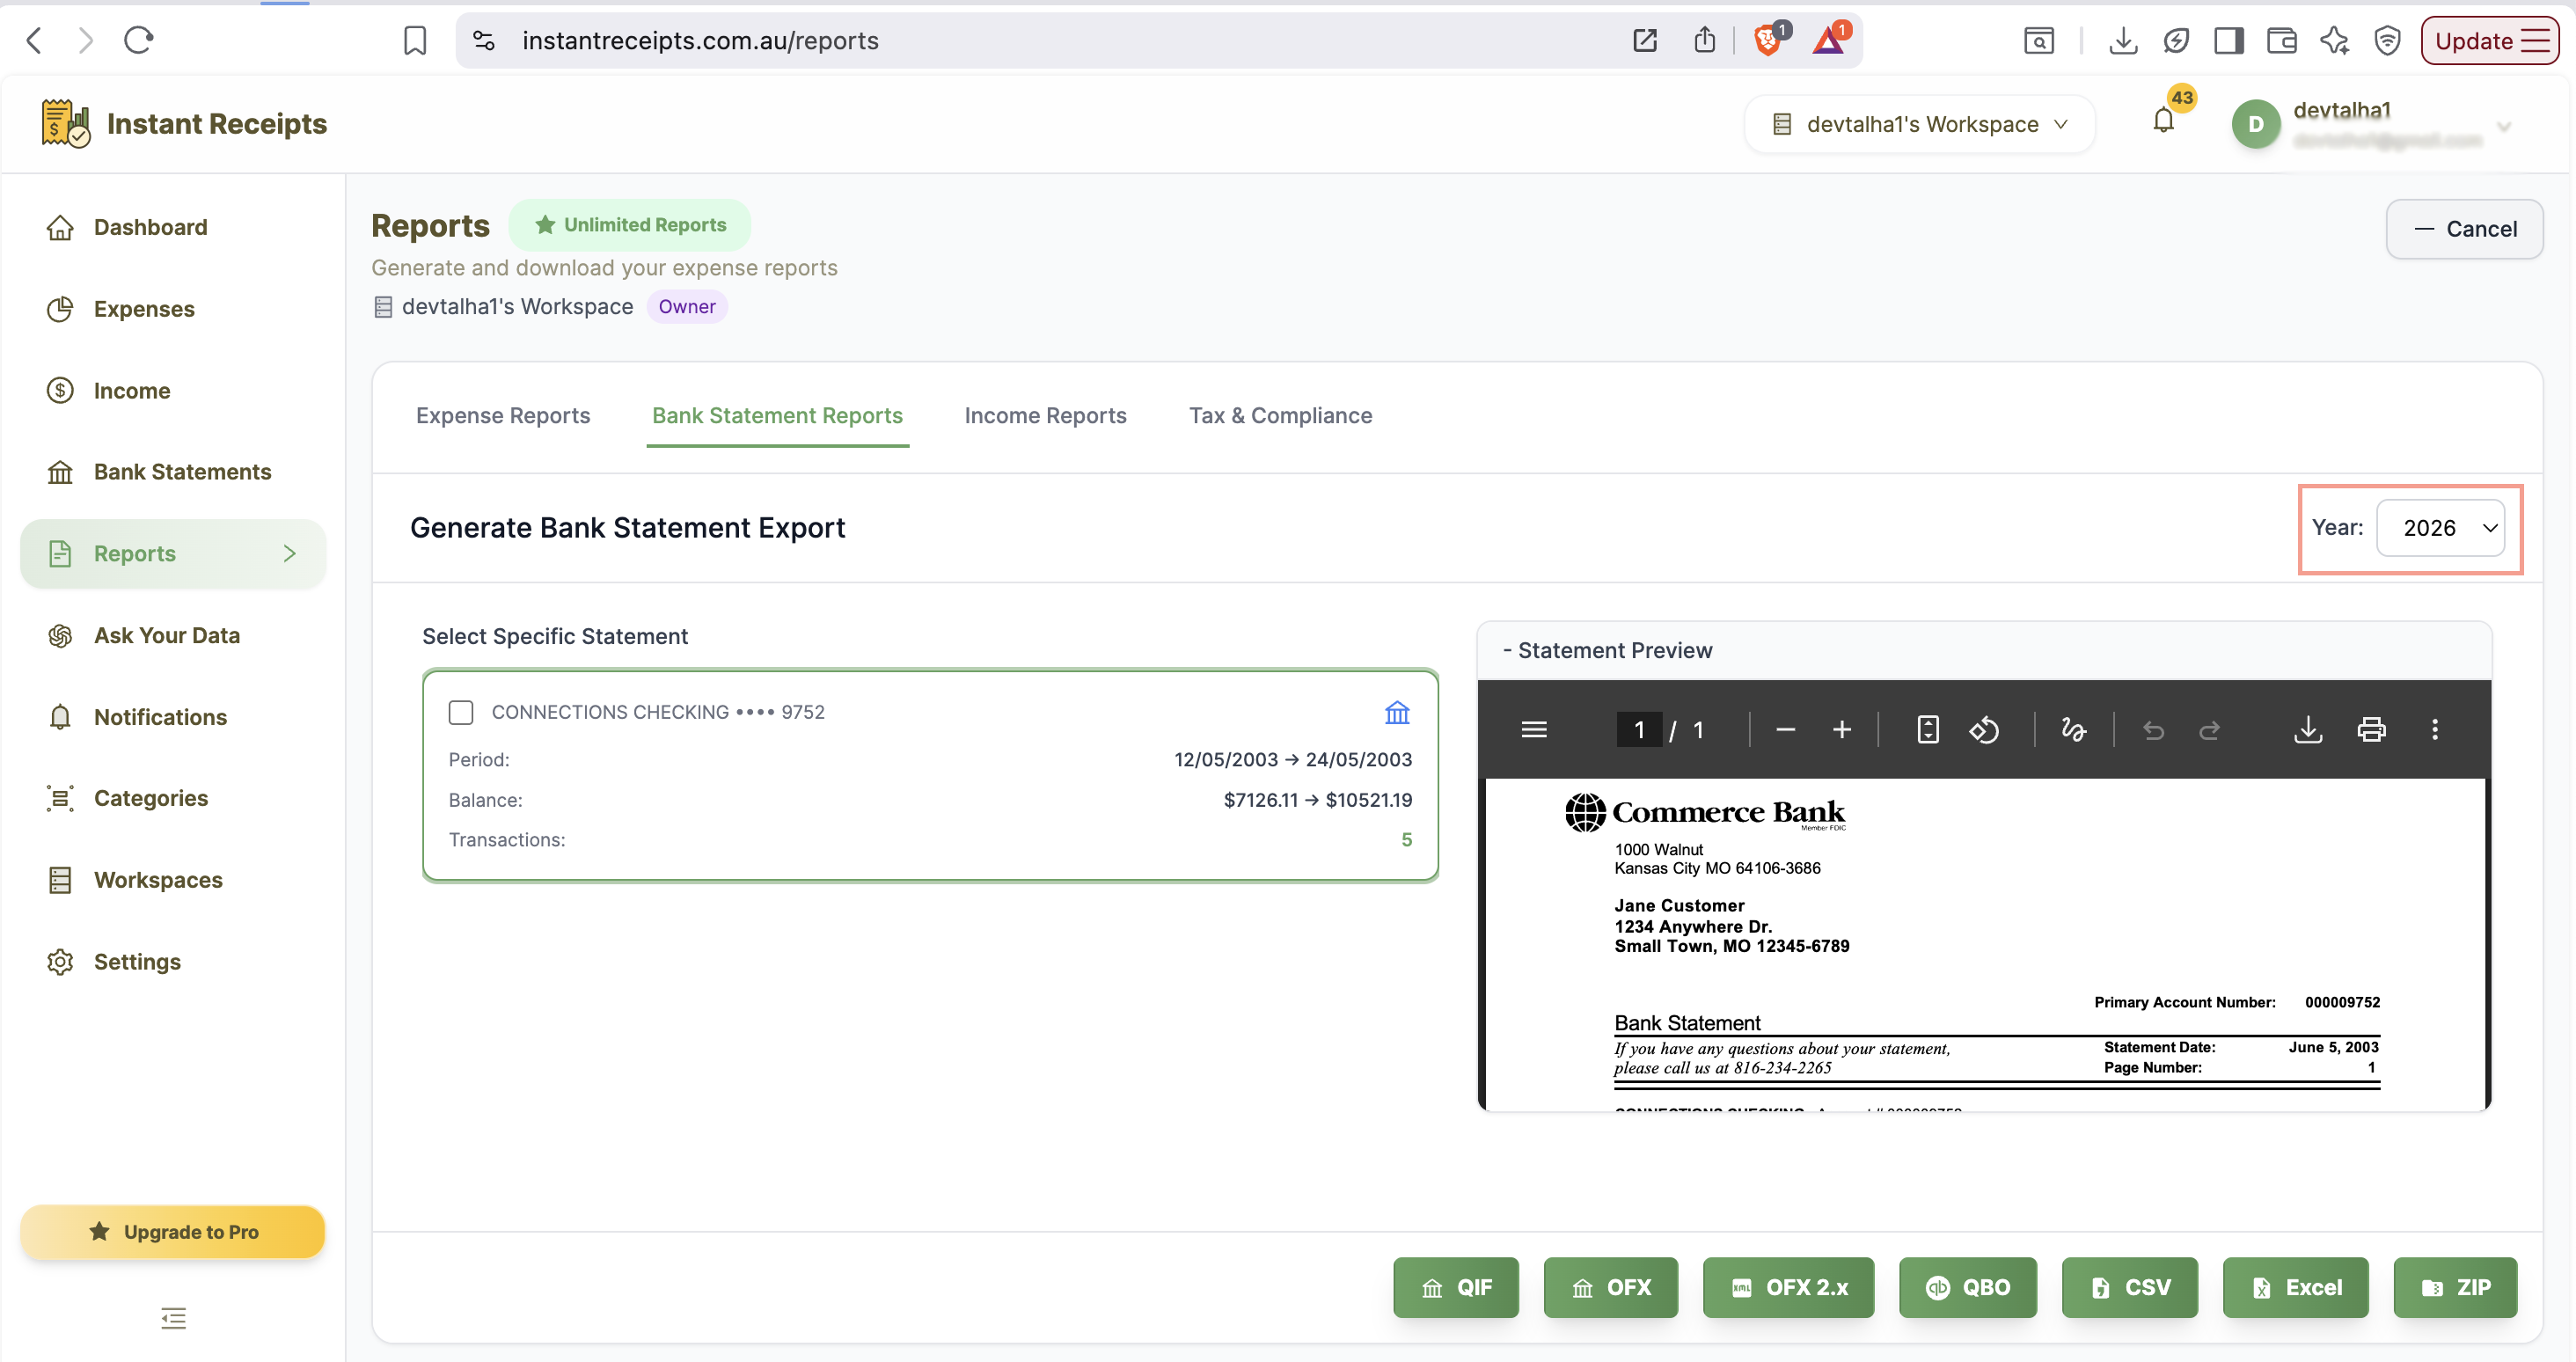
You can either export all your existing bank statement records here just by clicking export, or you can export for a specific date or a date range. For selecting a specific range, you can use Quick Select financial quarters (Q1-Q4) or enter a custom date range.
Select Bank Account (Optional)
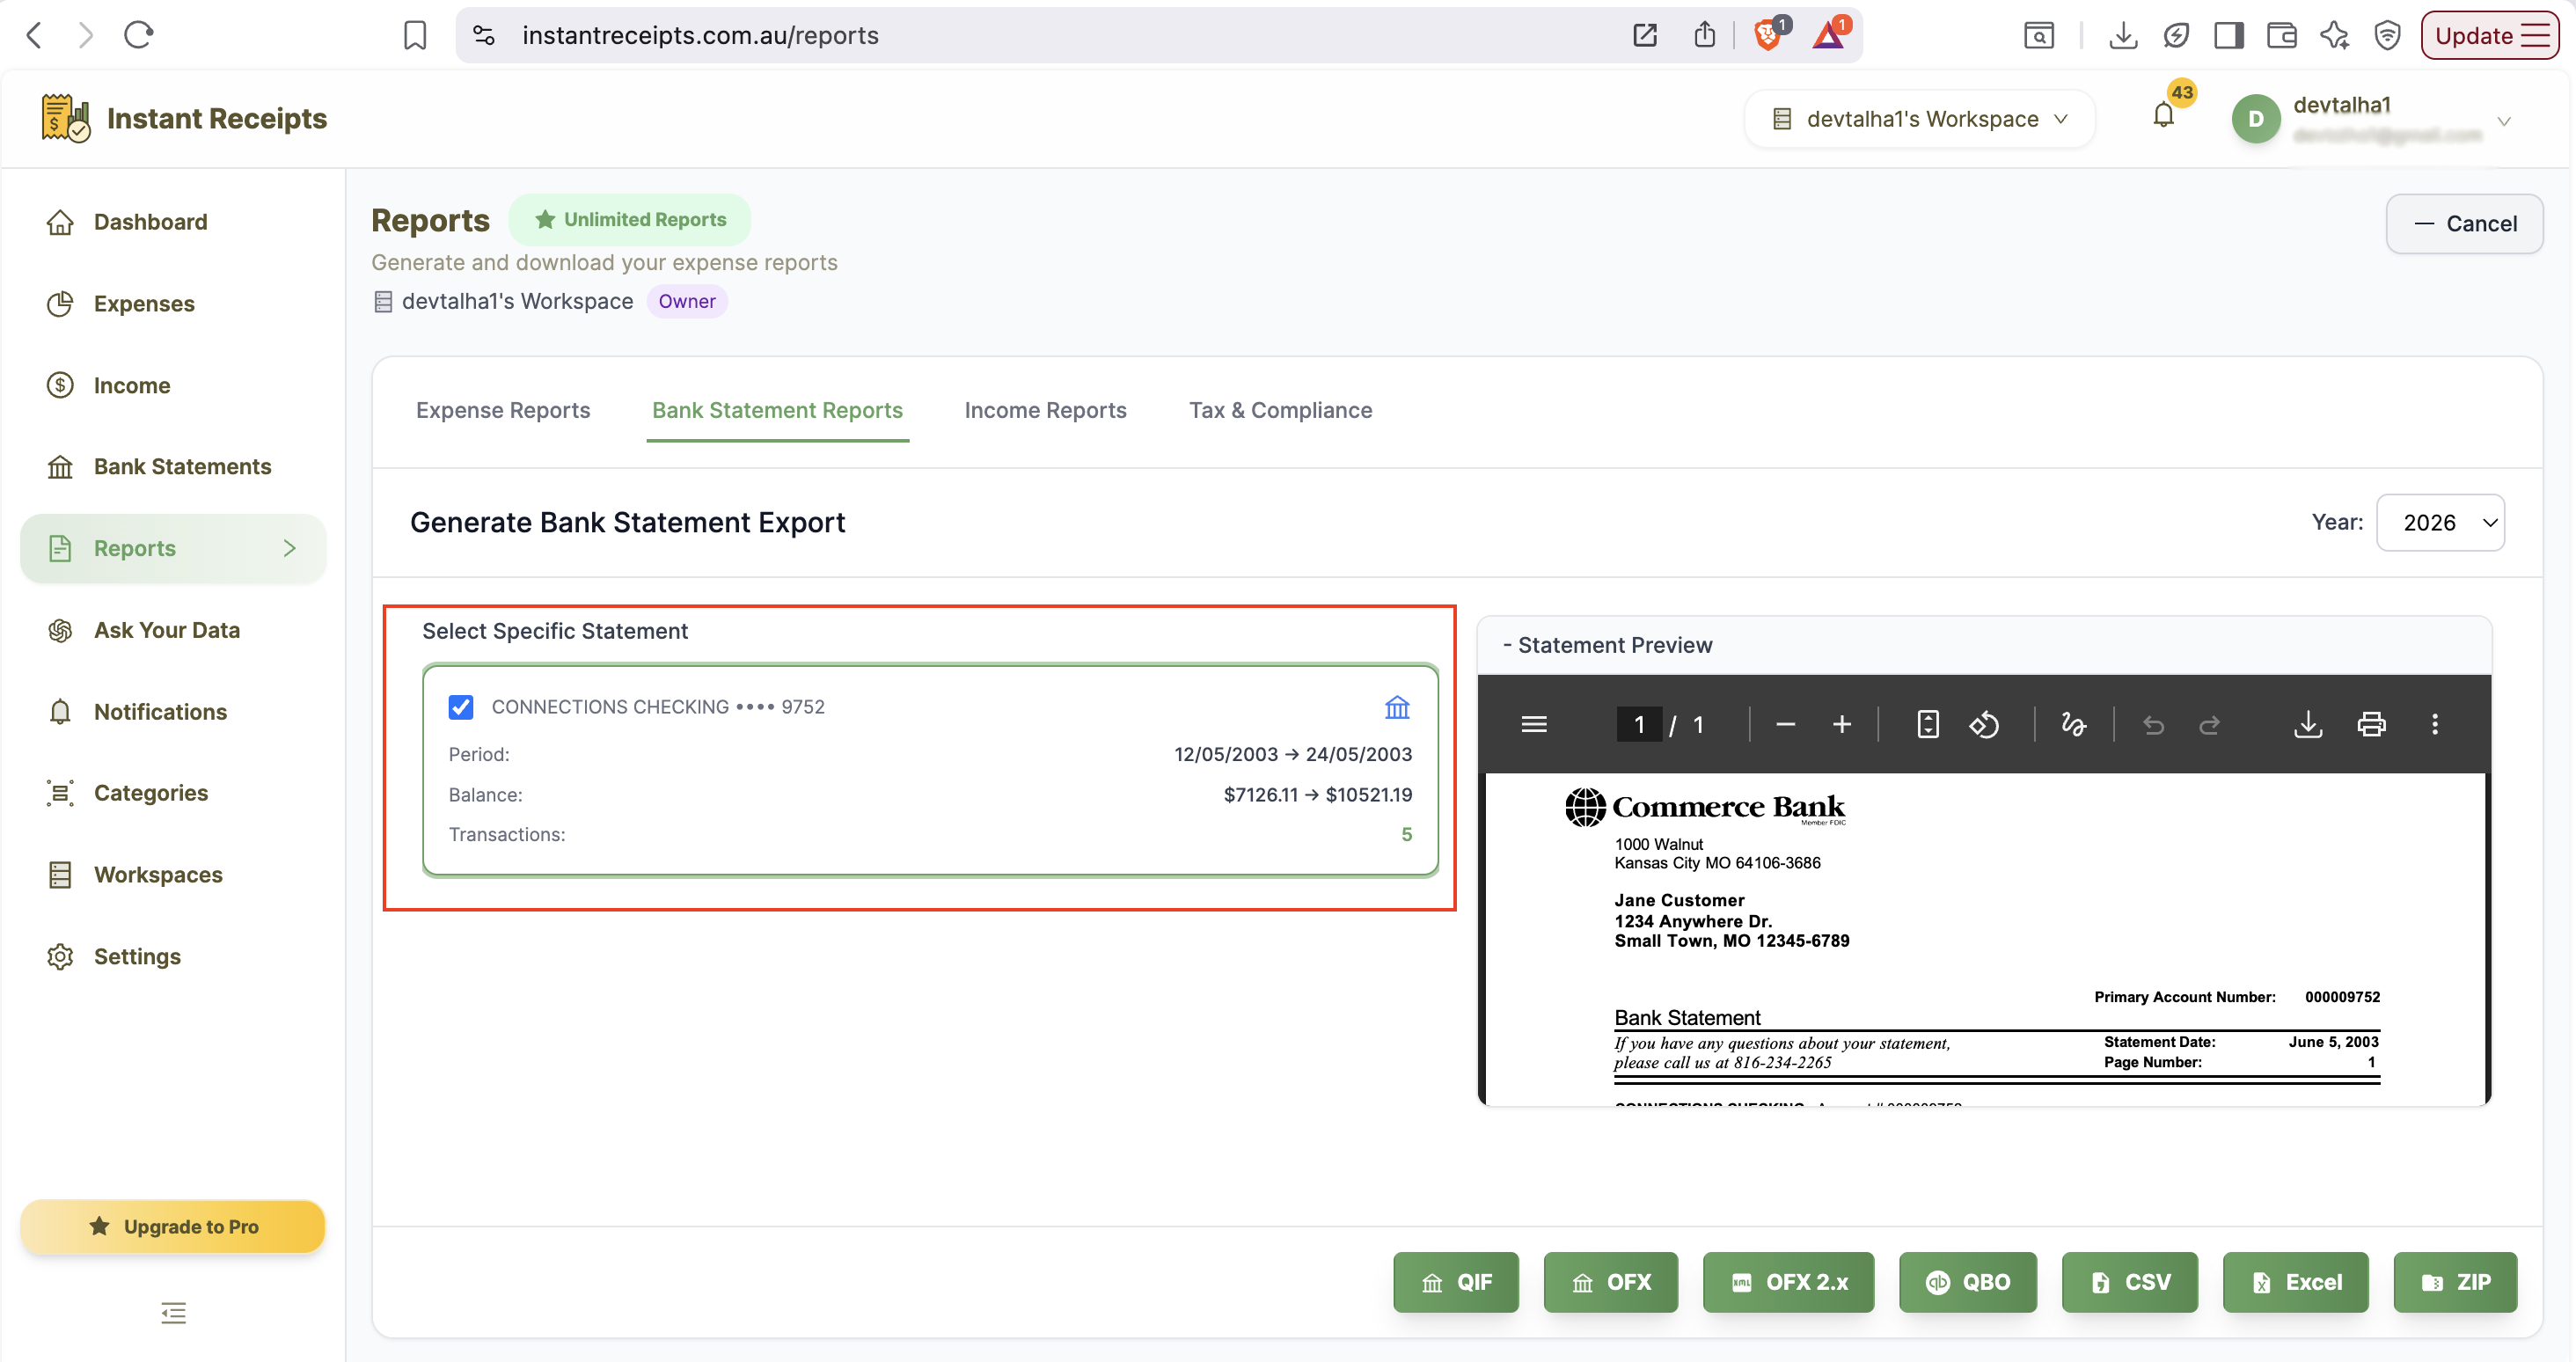
If you want, you can specify the bank account, then only statements related to that bank will export. It's completely optional and works only if you have uploaded statements for more than one account to instant receipt. You can export statements for a single account or all accounts.
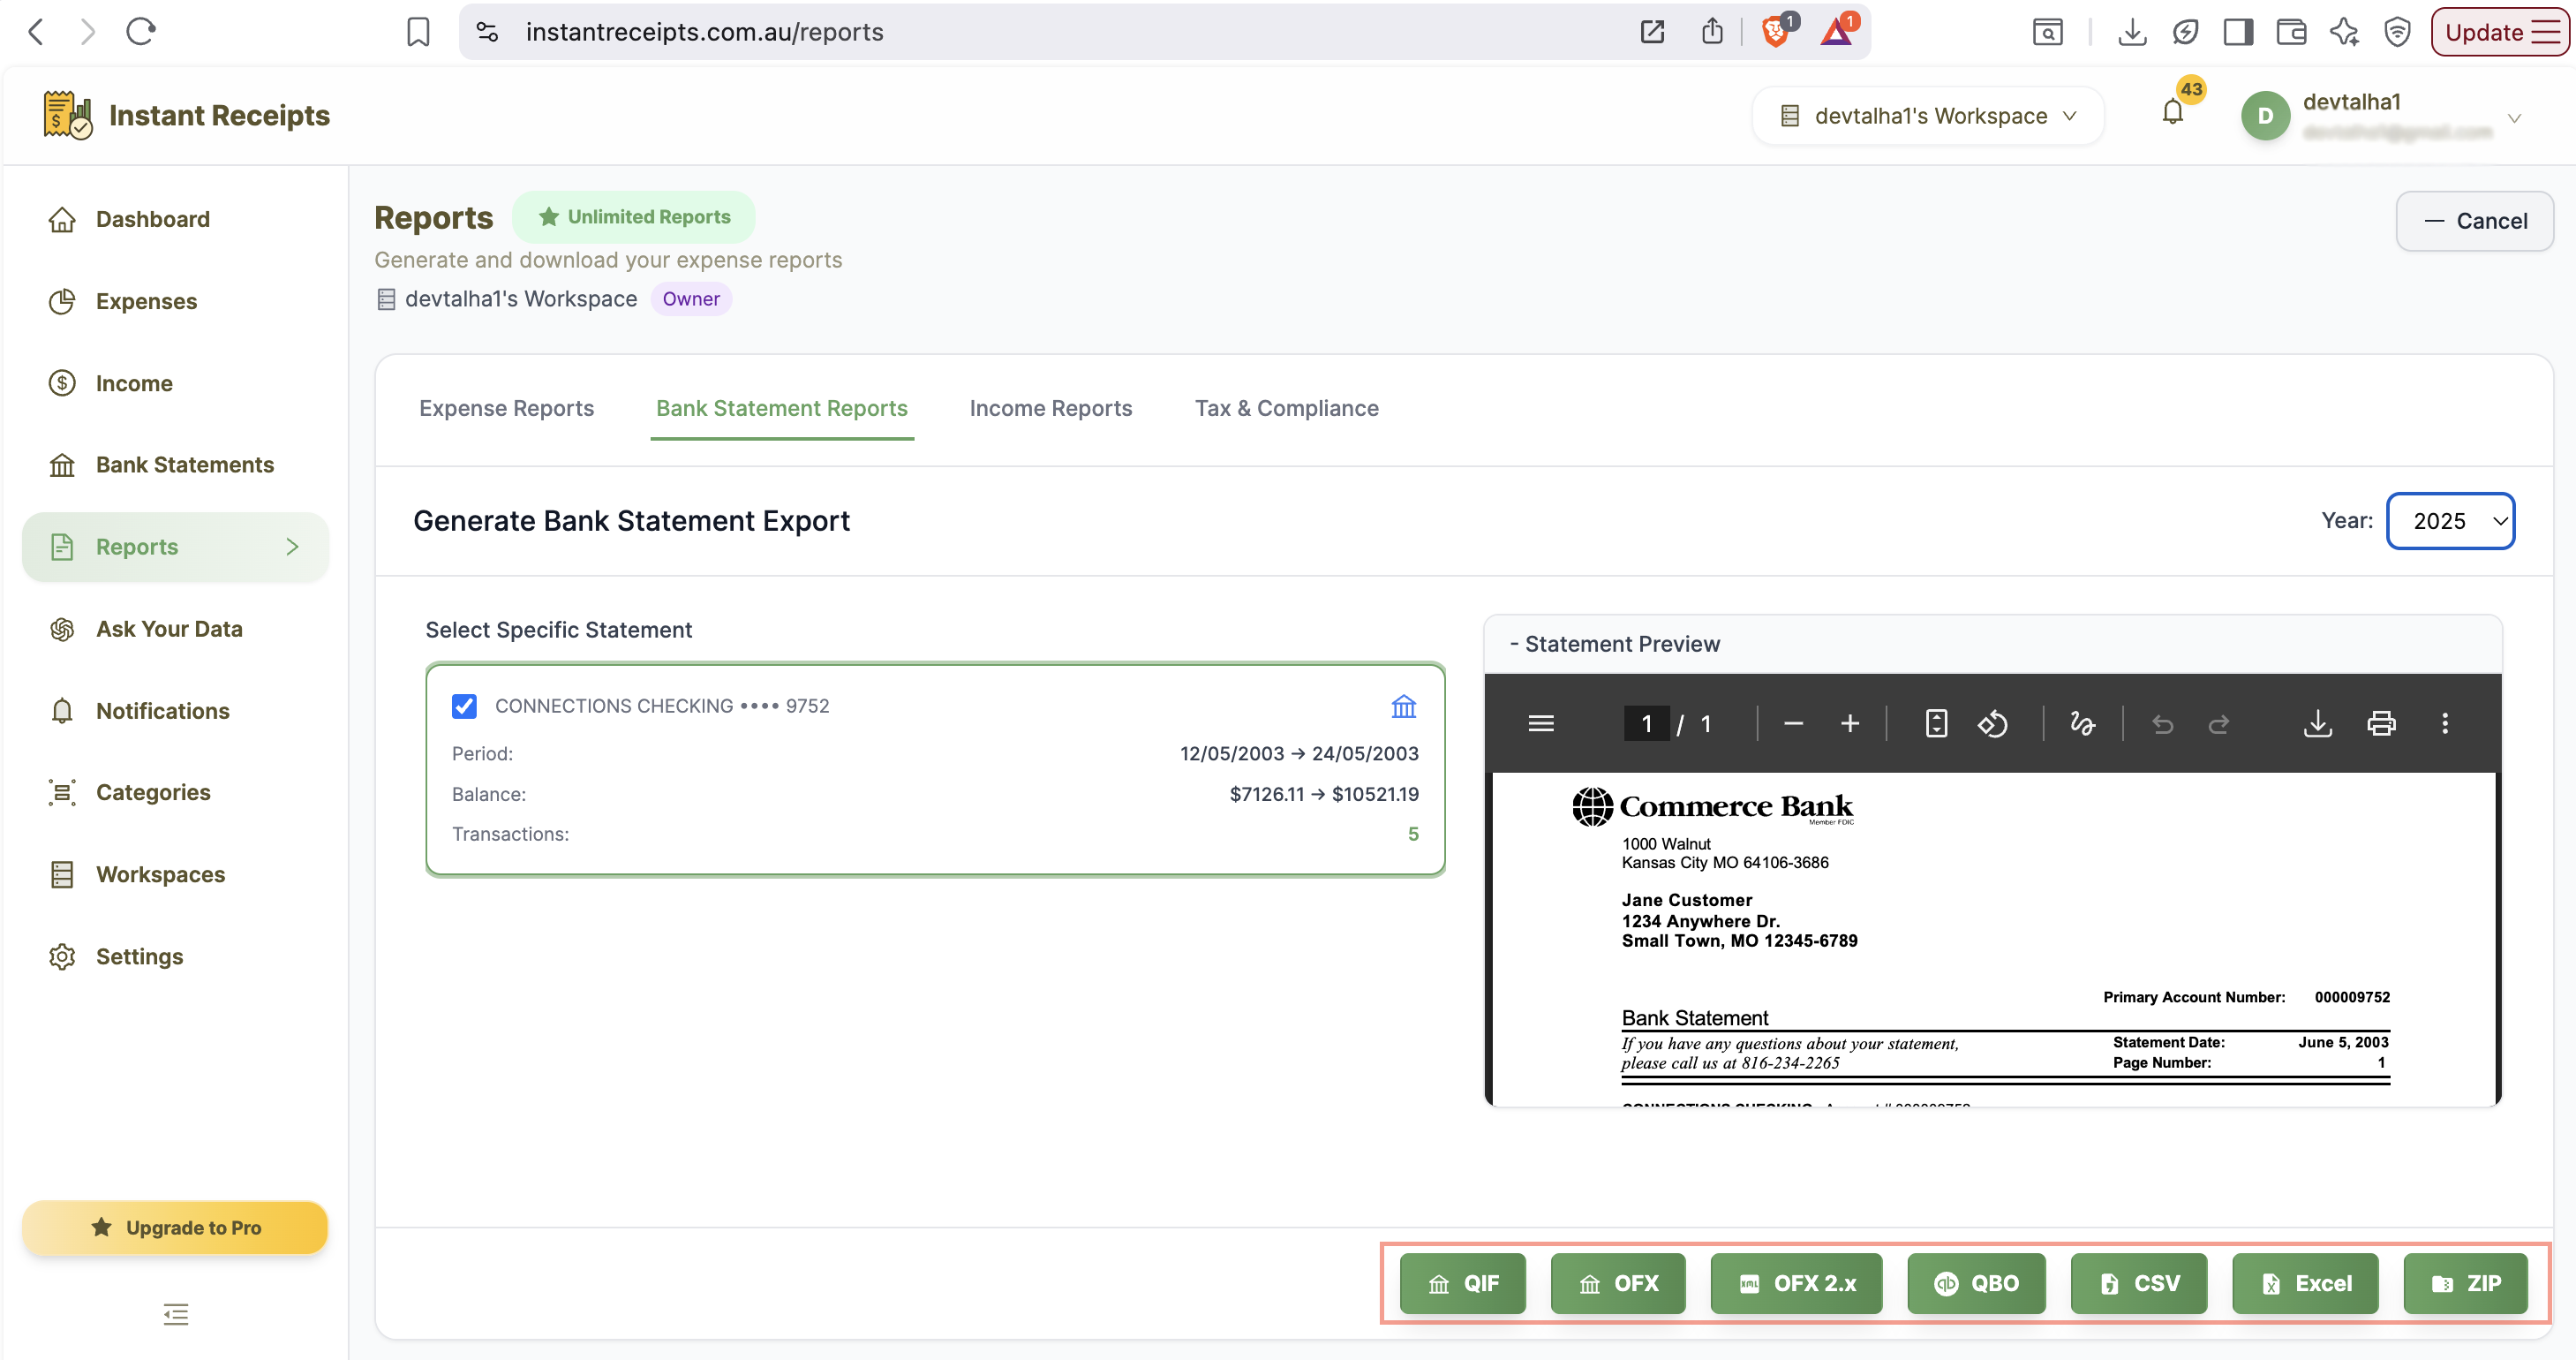
Click QBO Button
Now, from the multiple options available at the bottom of the report generation panel. Please select the QBO format. So you can export your bank statement as QBO format.
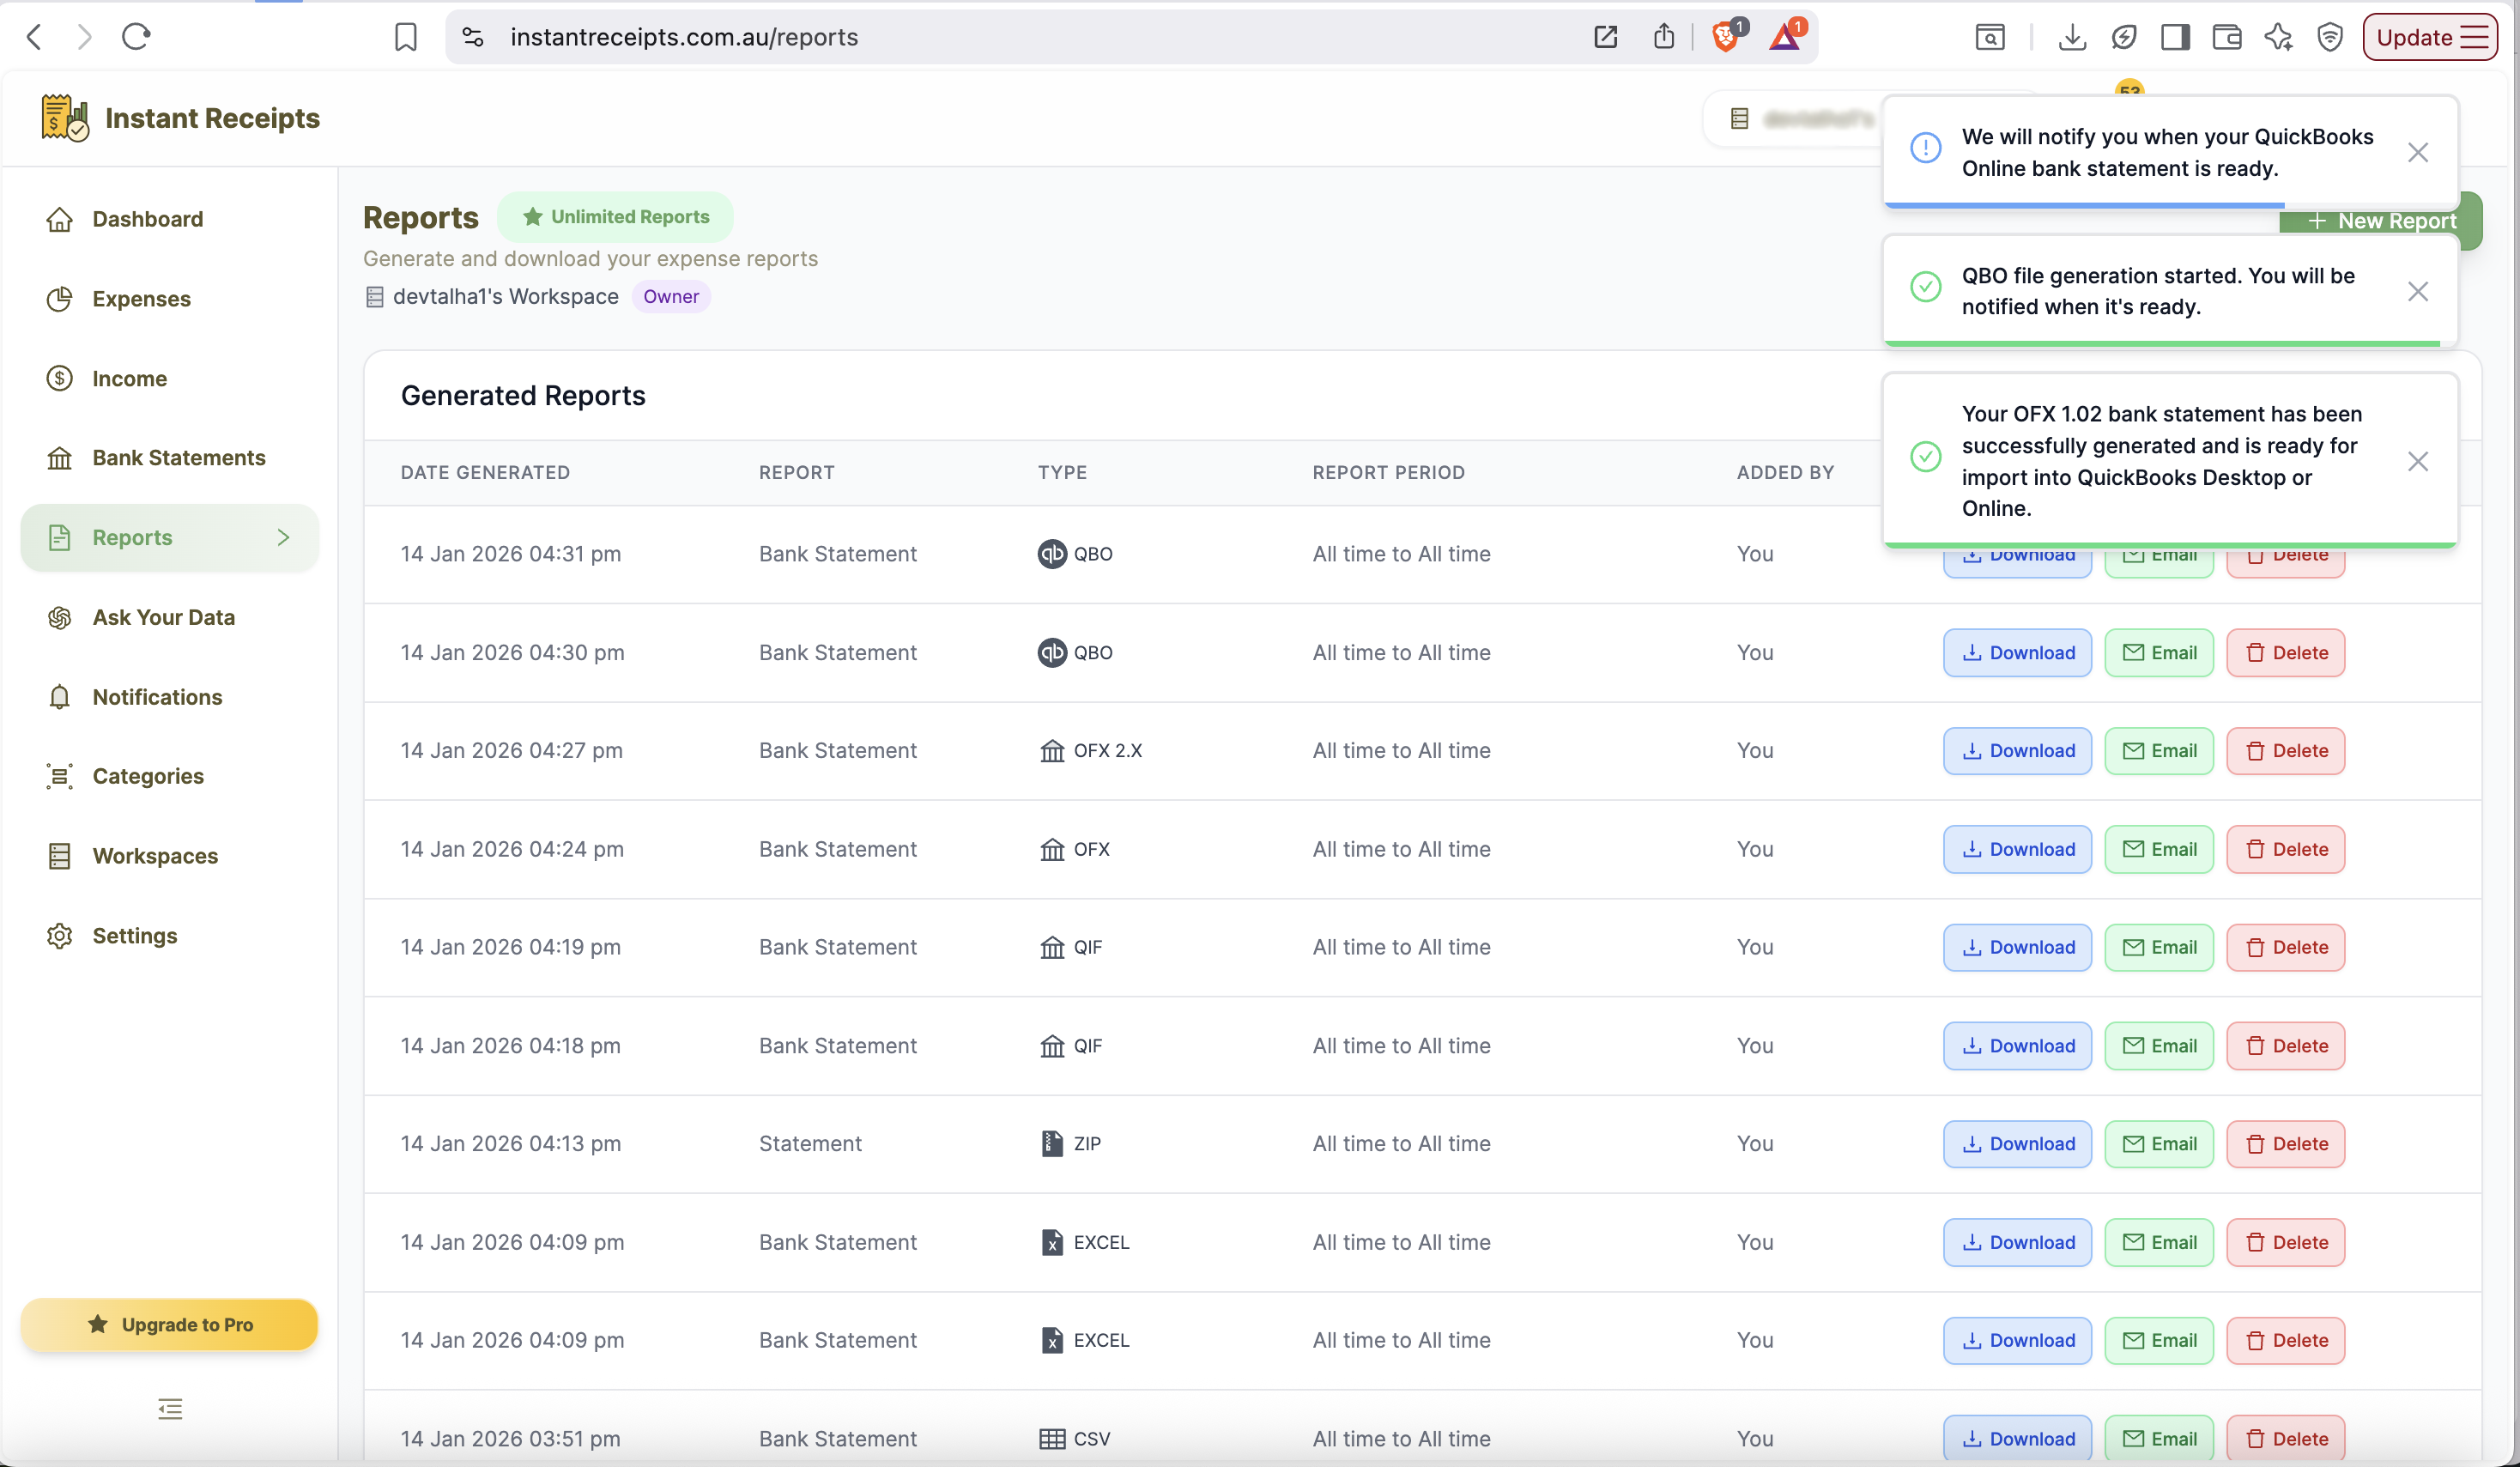
Download Your QBO File
Download the generated QBO file to your computer. Now you'll need this file to import into QuickBooks Online. Here is how you can import it into QuickBooks Online:
Login to QuickBooks Online
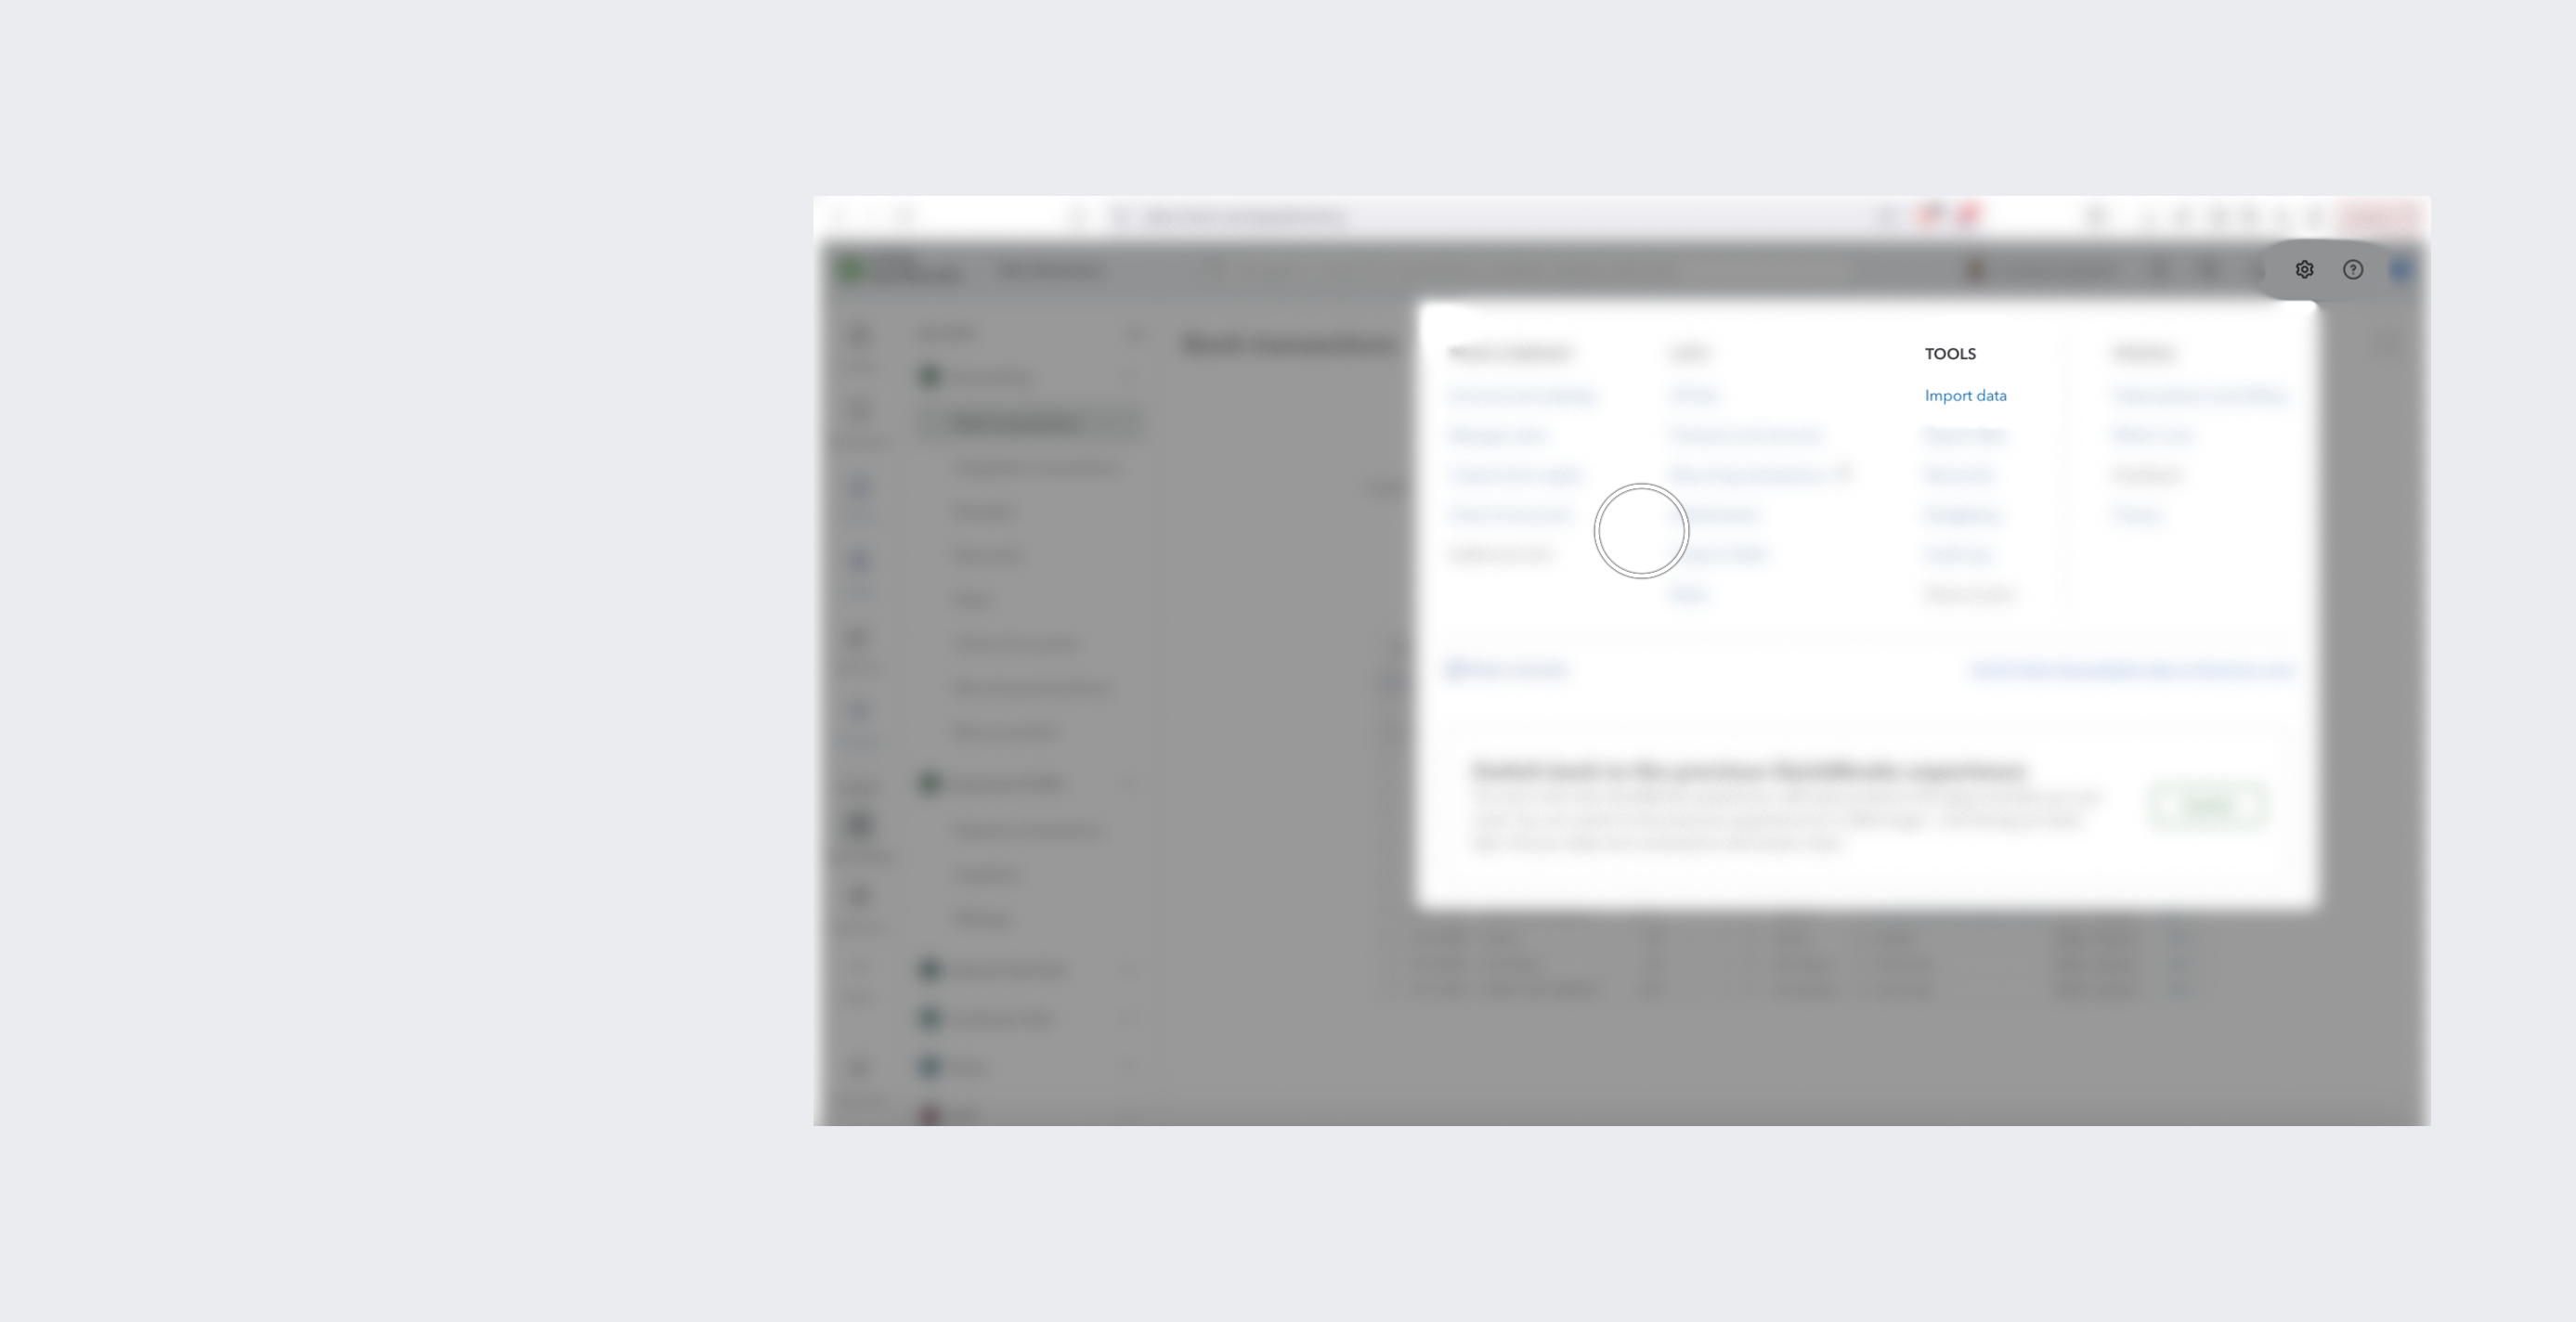
On your browser visit QuickBooks and login to your QuickBooks Online account. After logging in to your dashboard, navigate to the import data settings.
Select Bank Data Import
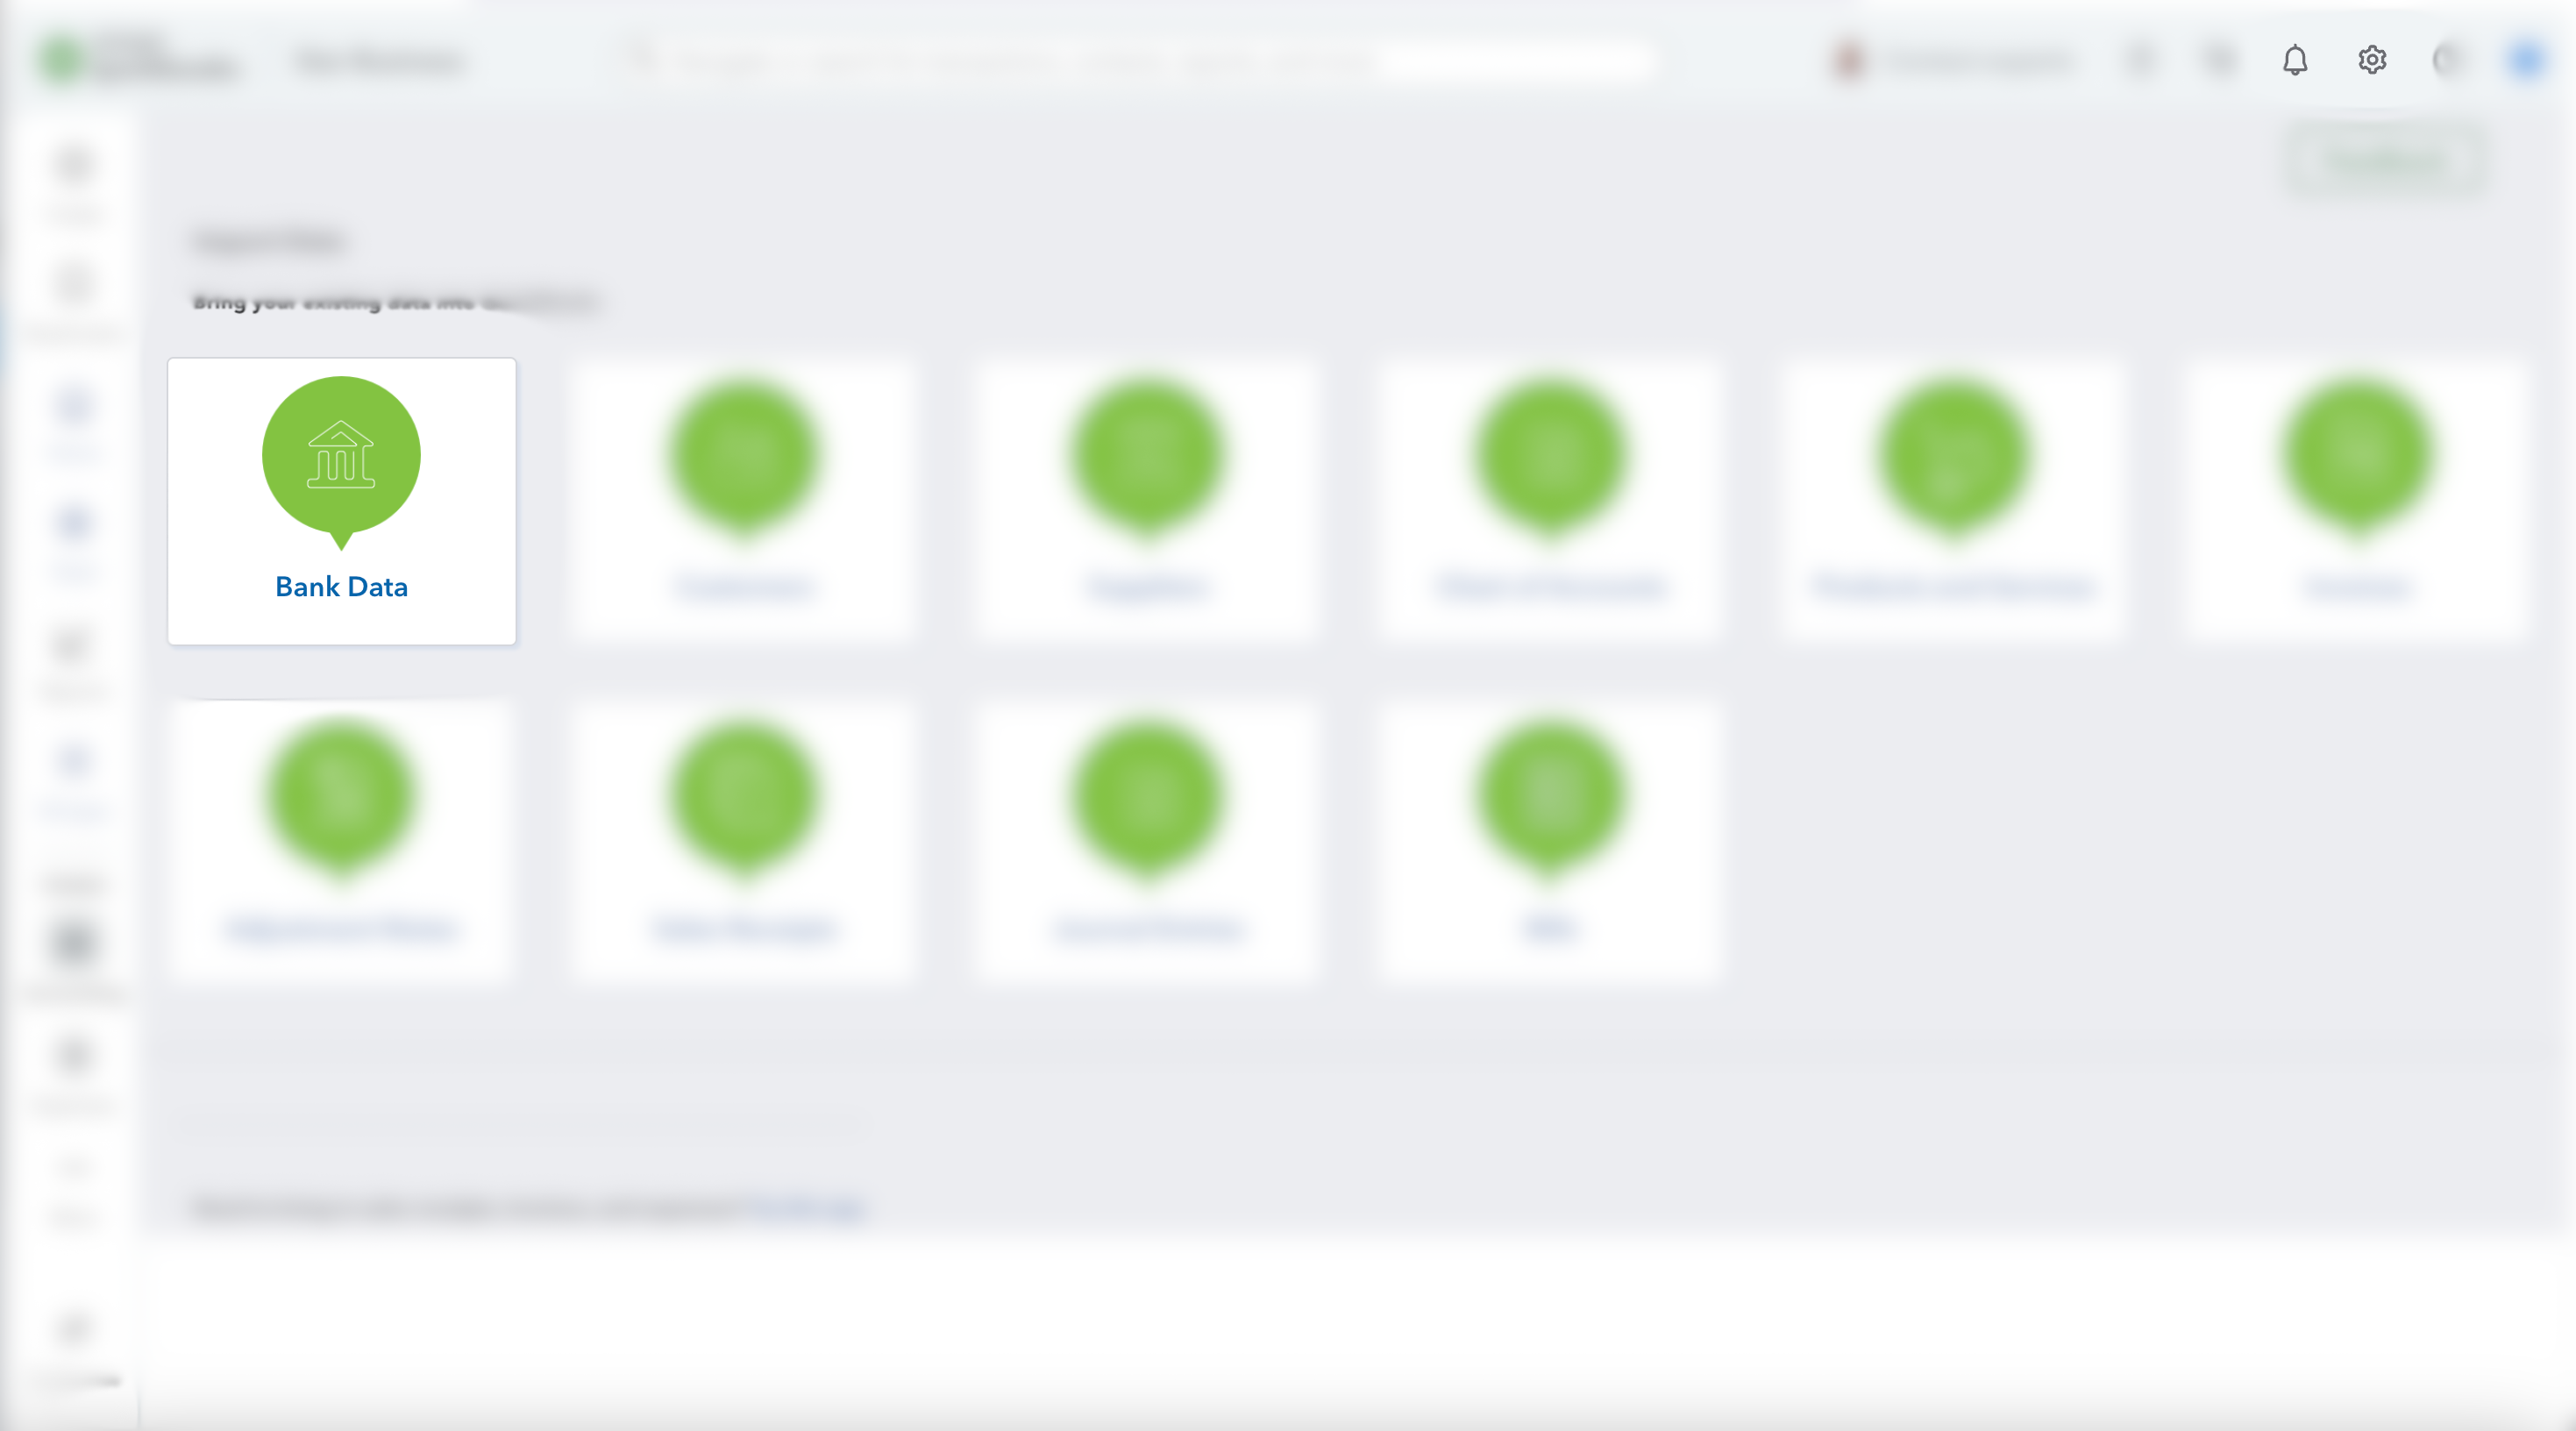
After clicking on import data, you will be taken to a new page where you will see a number of available import types. Now Click on the “Bank Data” bar in QuickBooks Online.
Select Manually Import Option
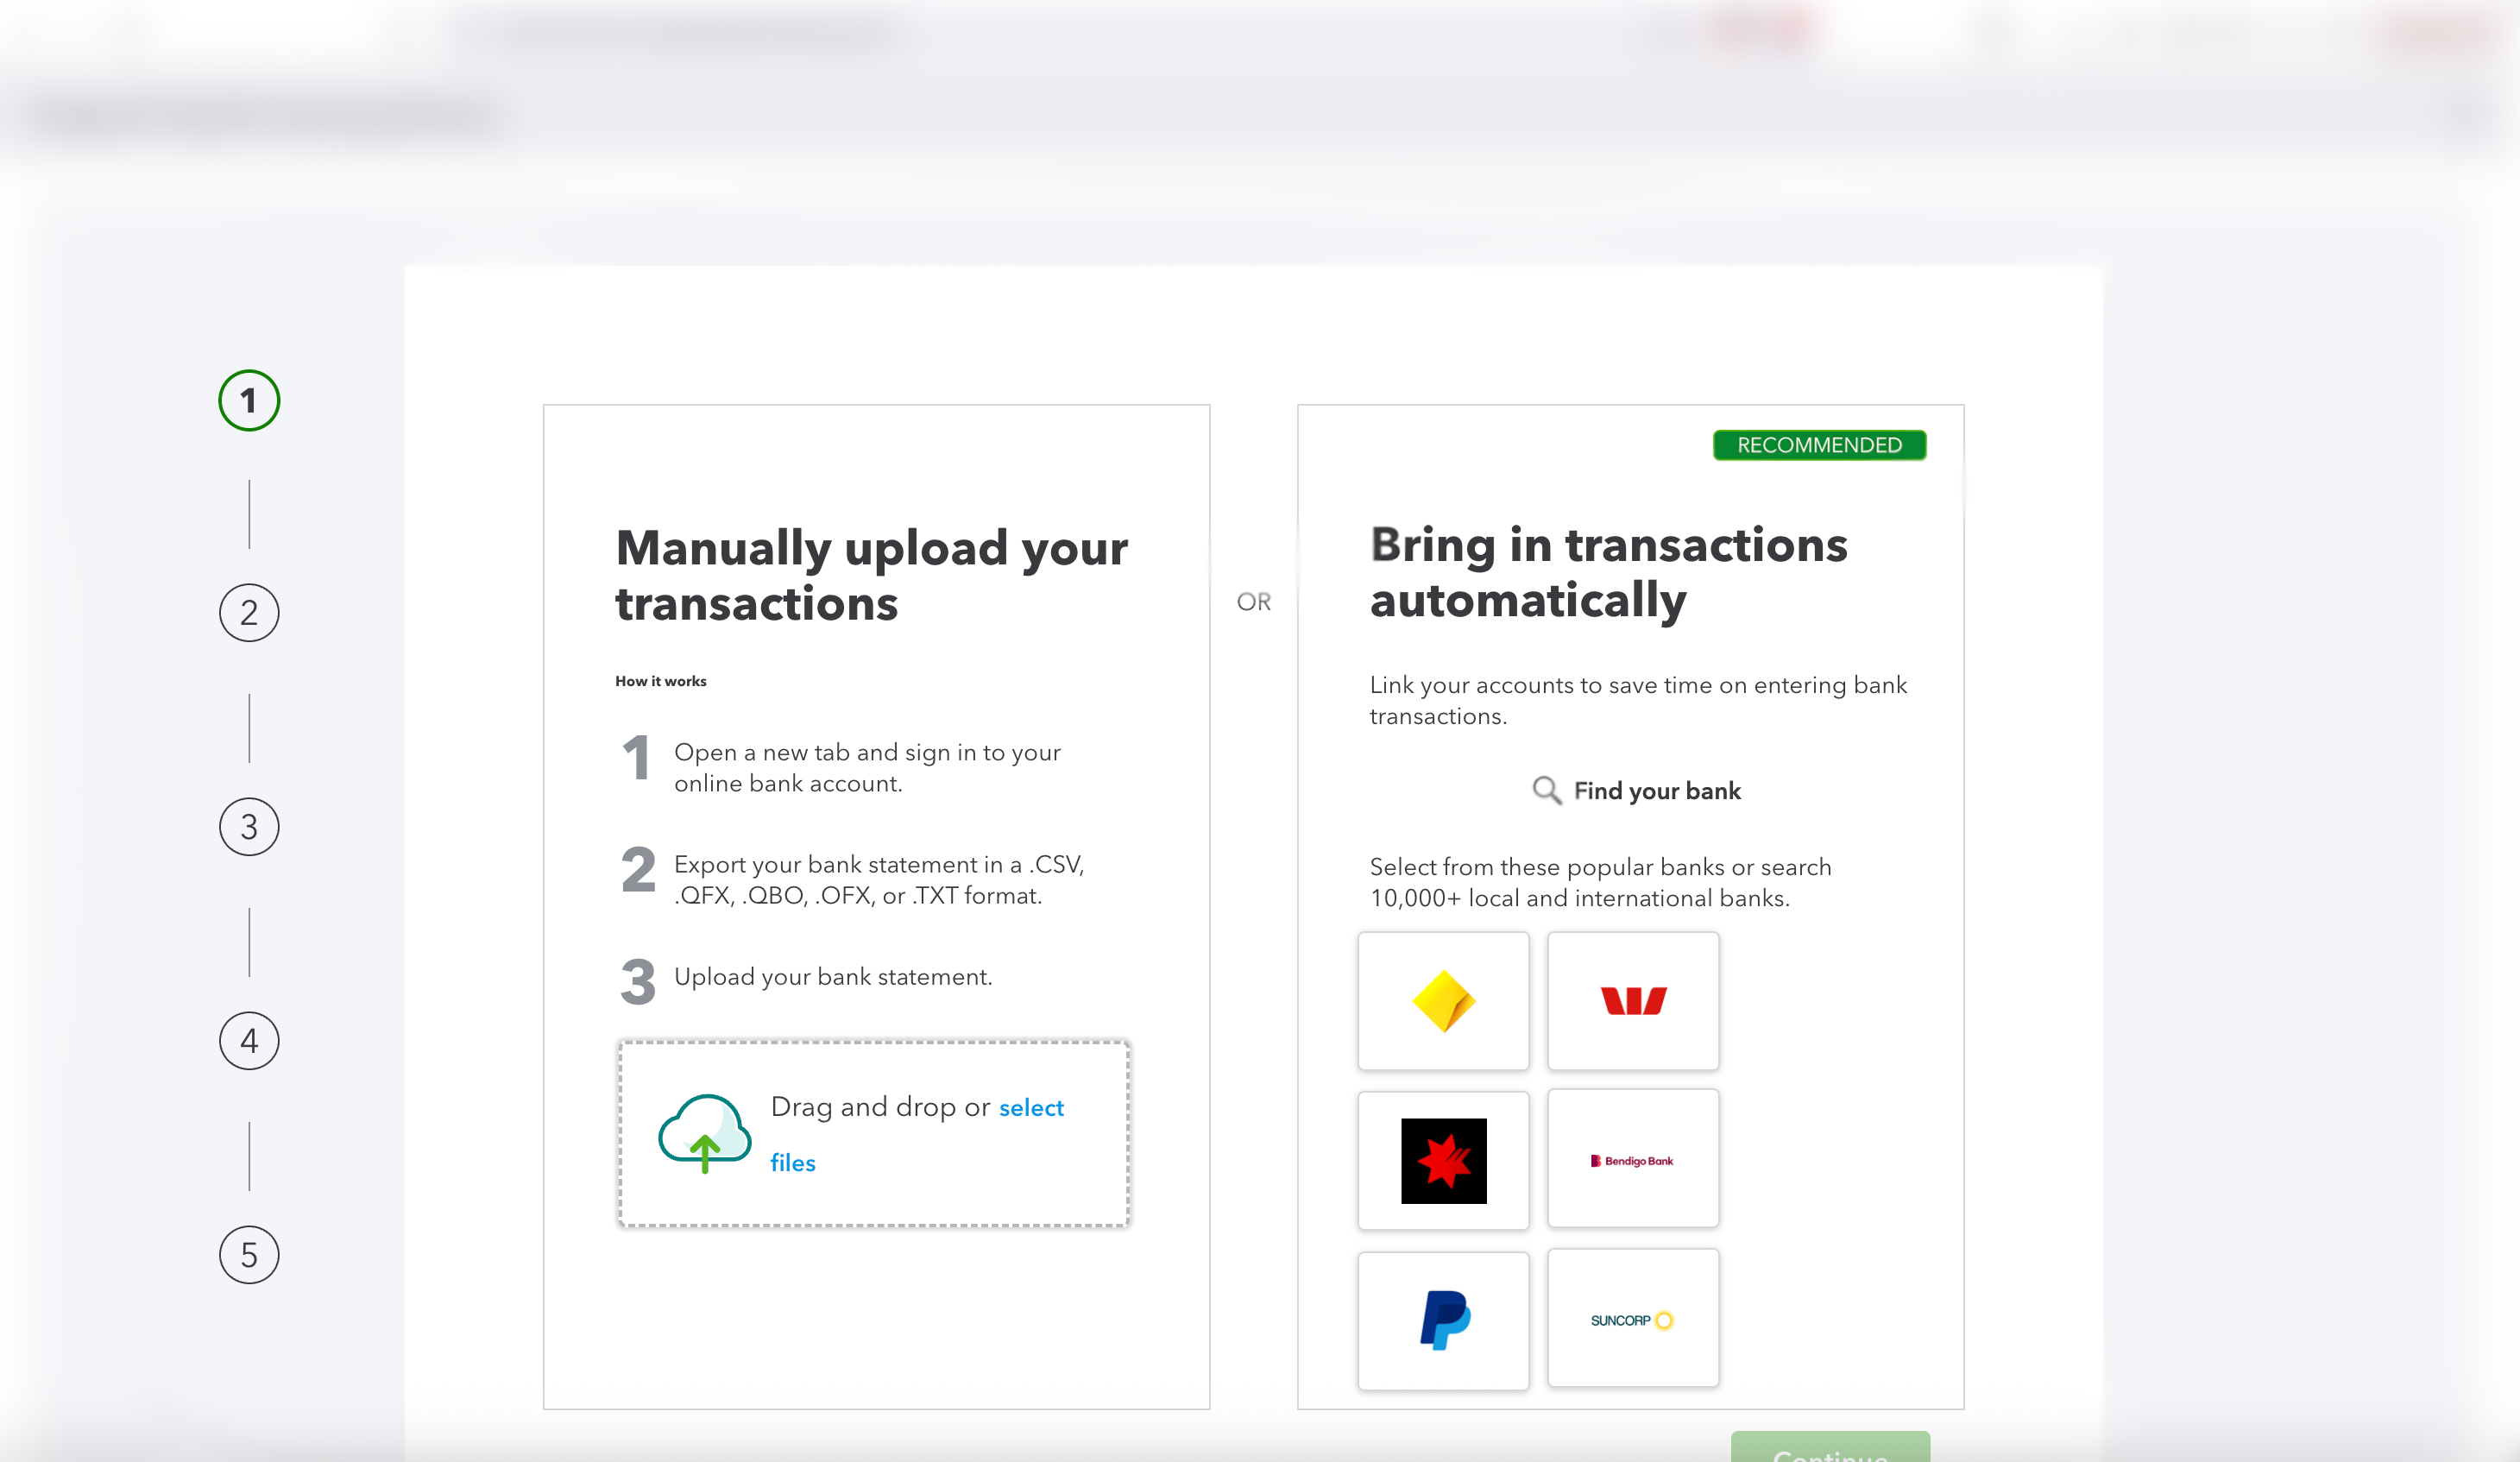
Now you will see two available options: first, “Manually upload your transactions”, second, “Bring in transactions automatically”; from these select manual option to upload your QBO file.
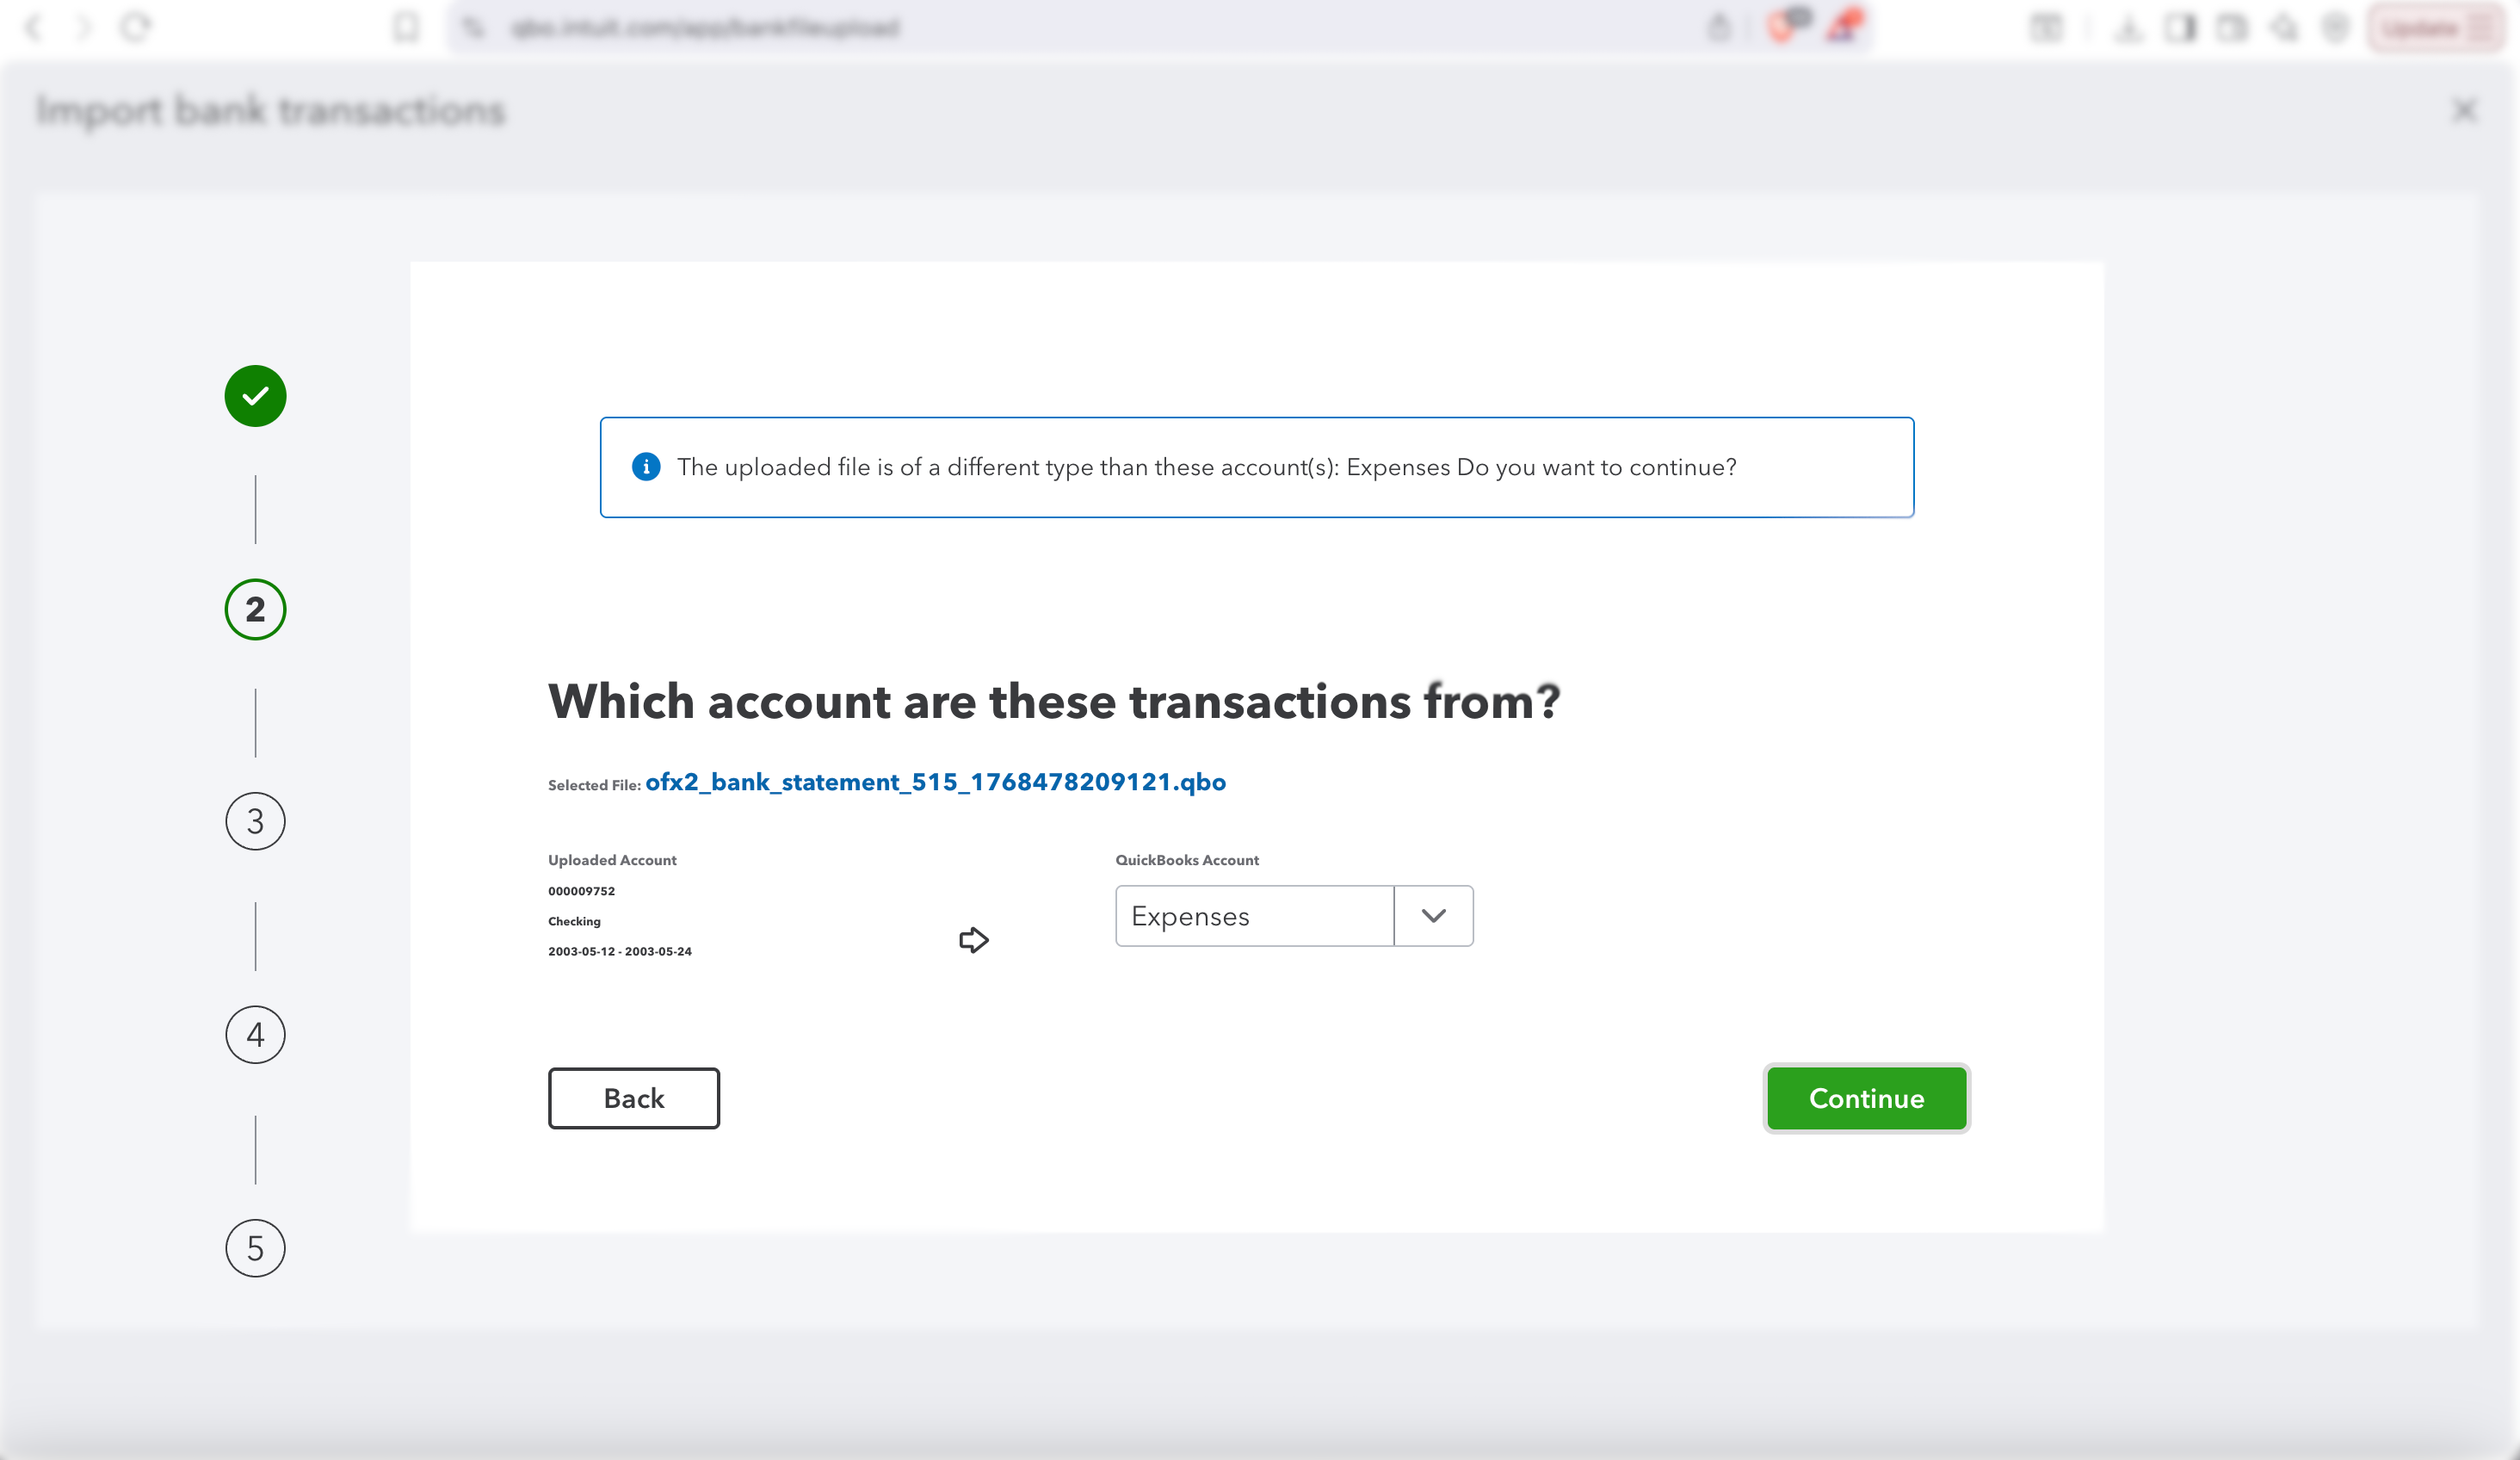
Confirm Account
After selecting the file, you need to select from which account these transactions are. So confirm the account selection before proceeding with the import.
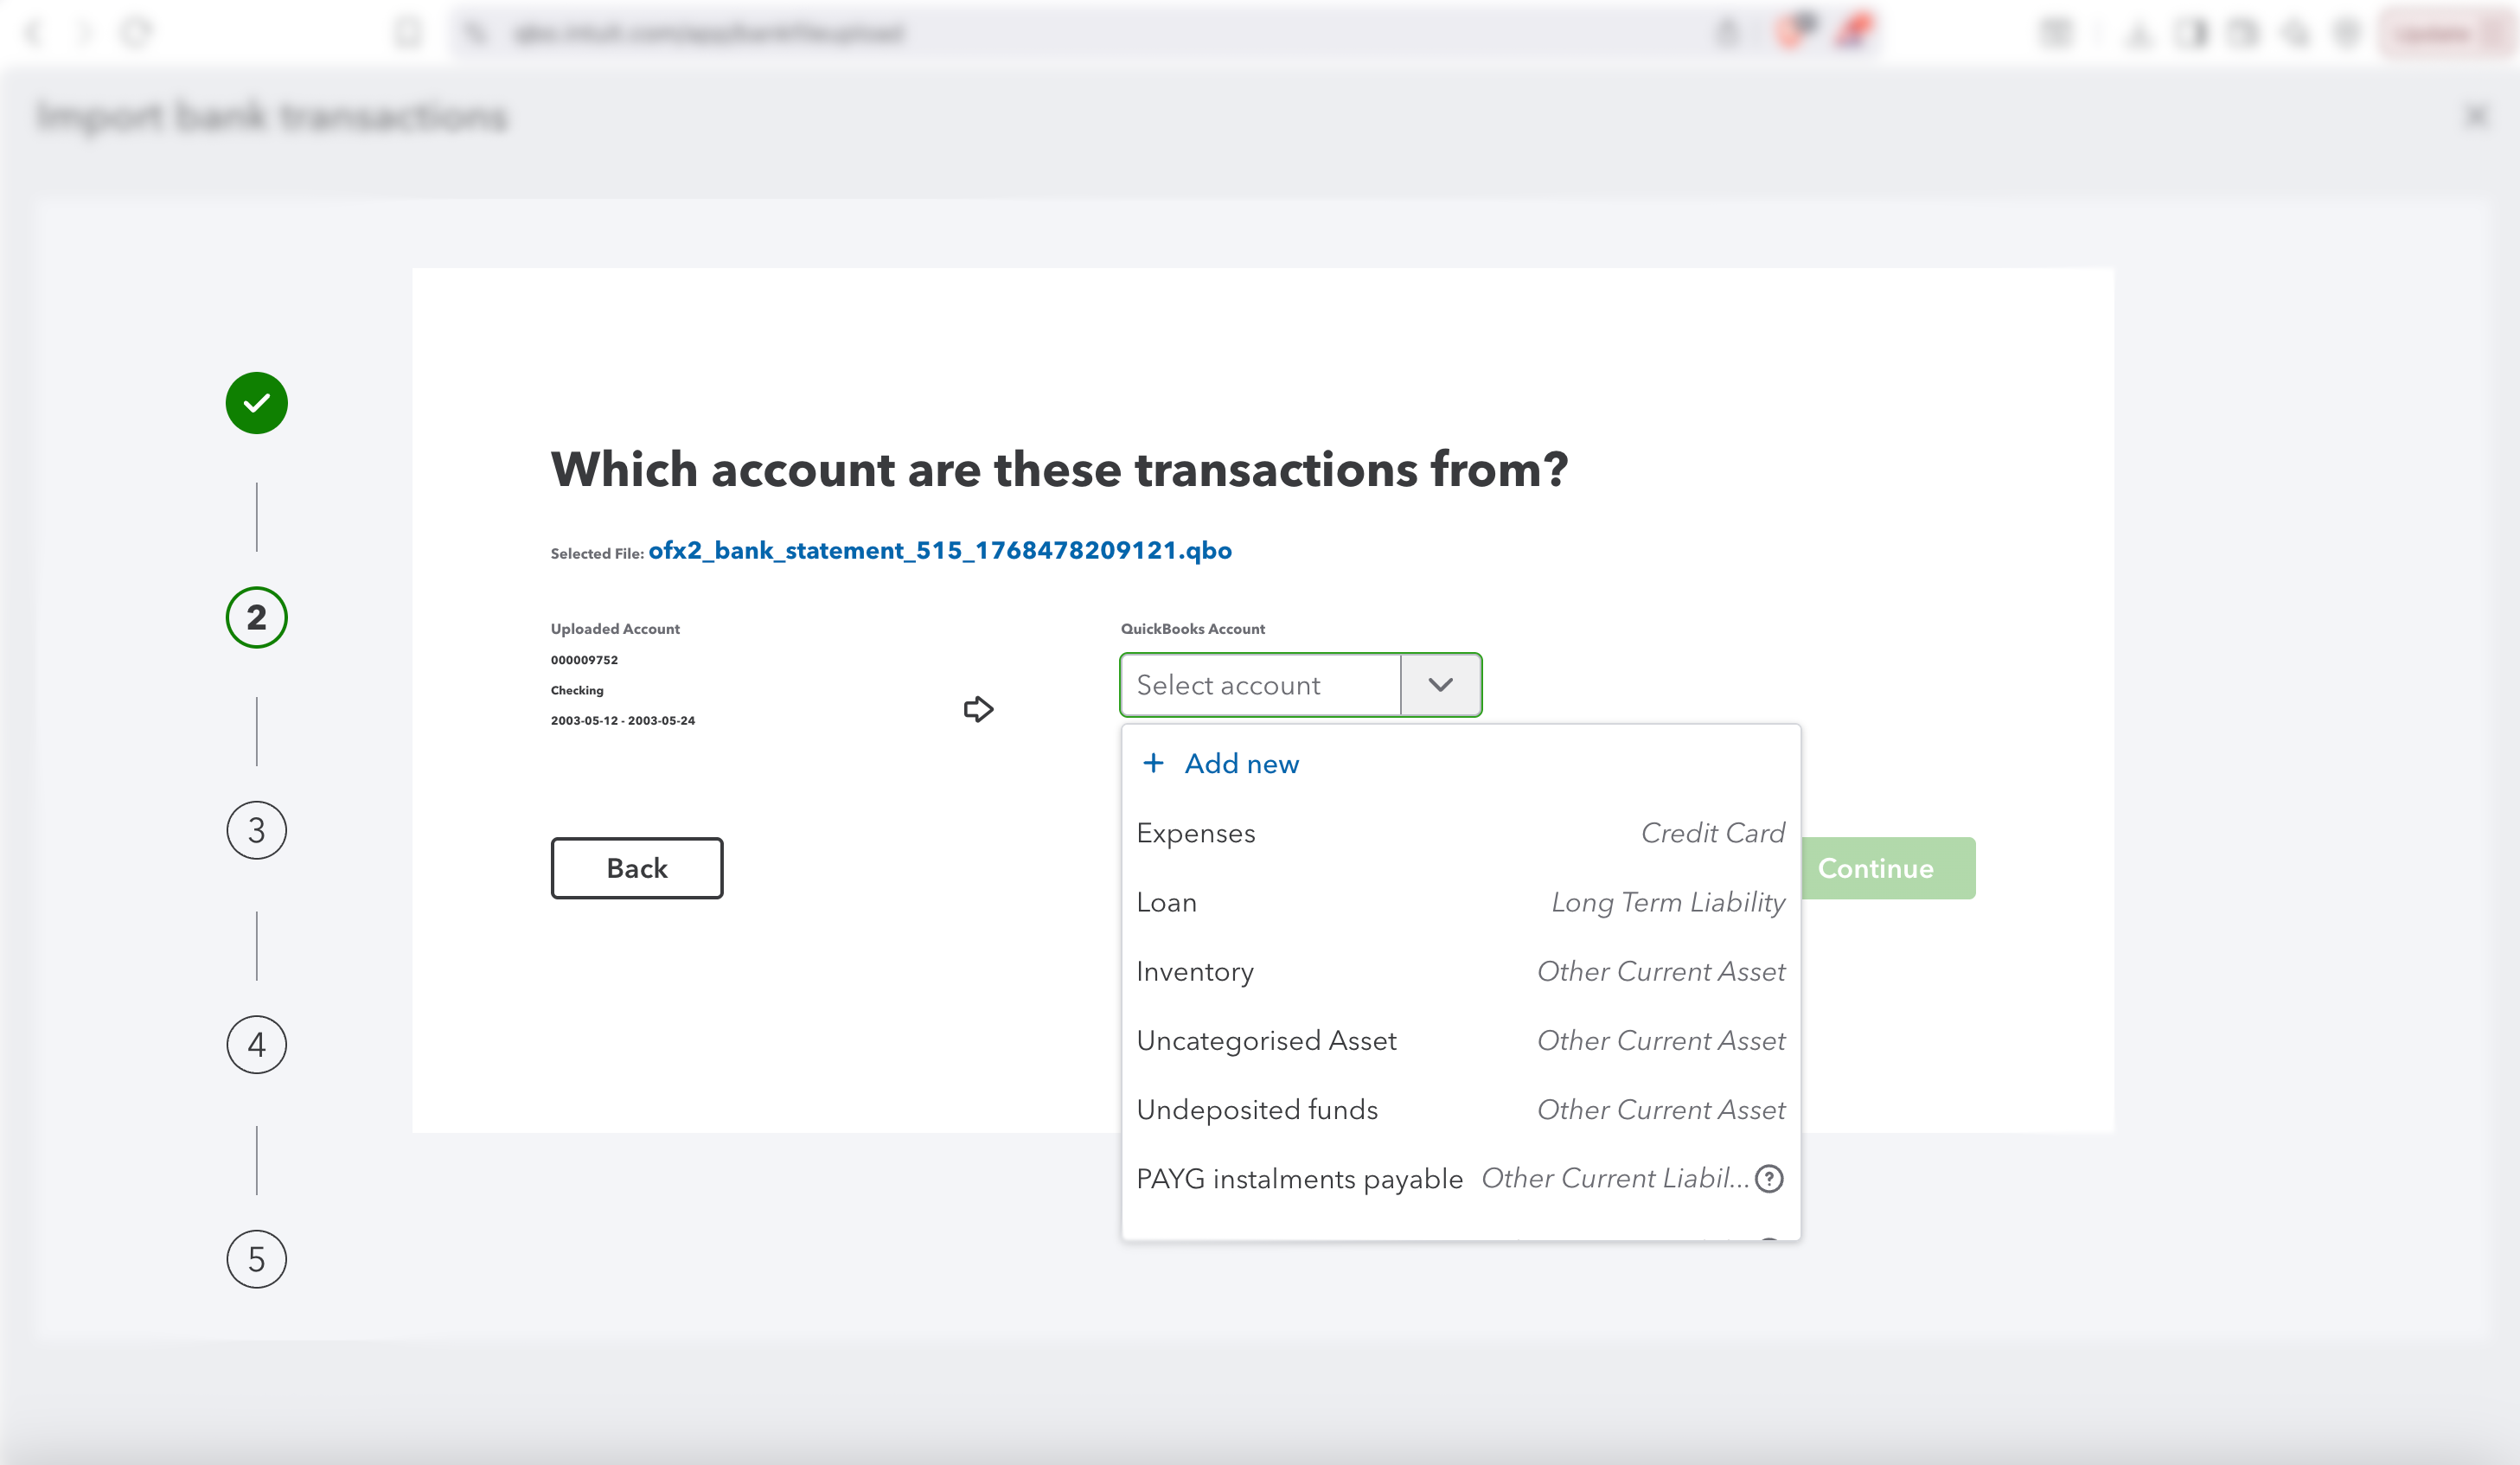
Select Account
From the dropdown menu, select the appropriate account for importing your bank transactions.
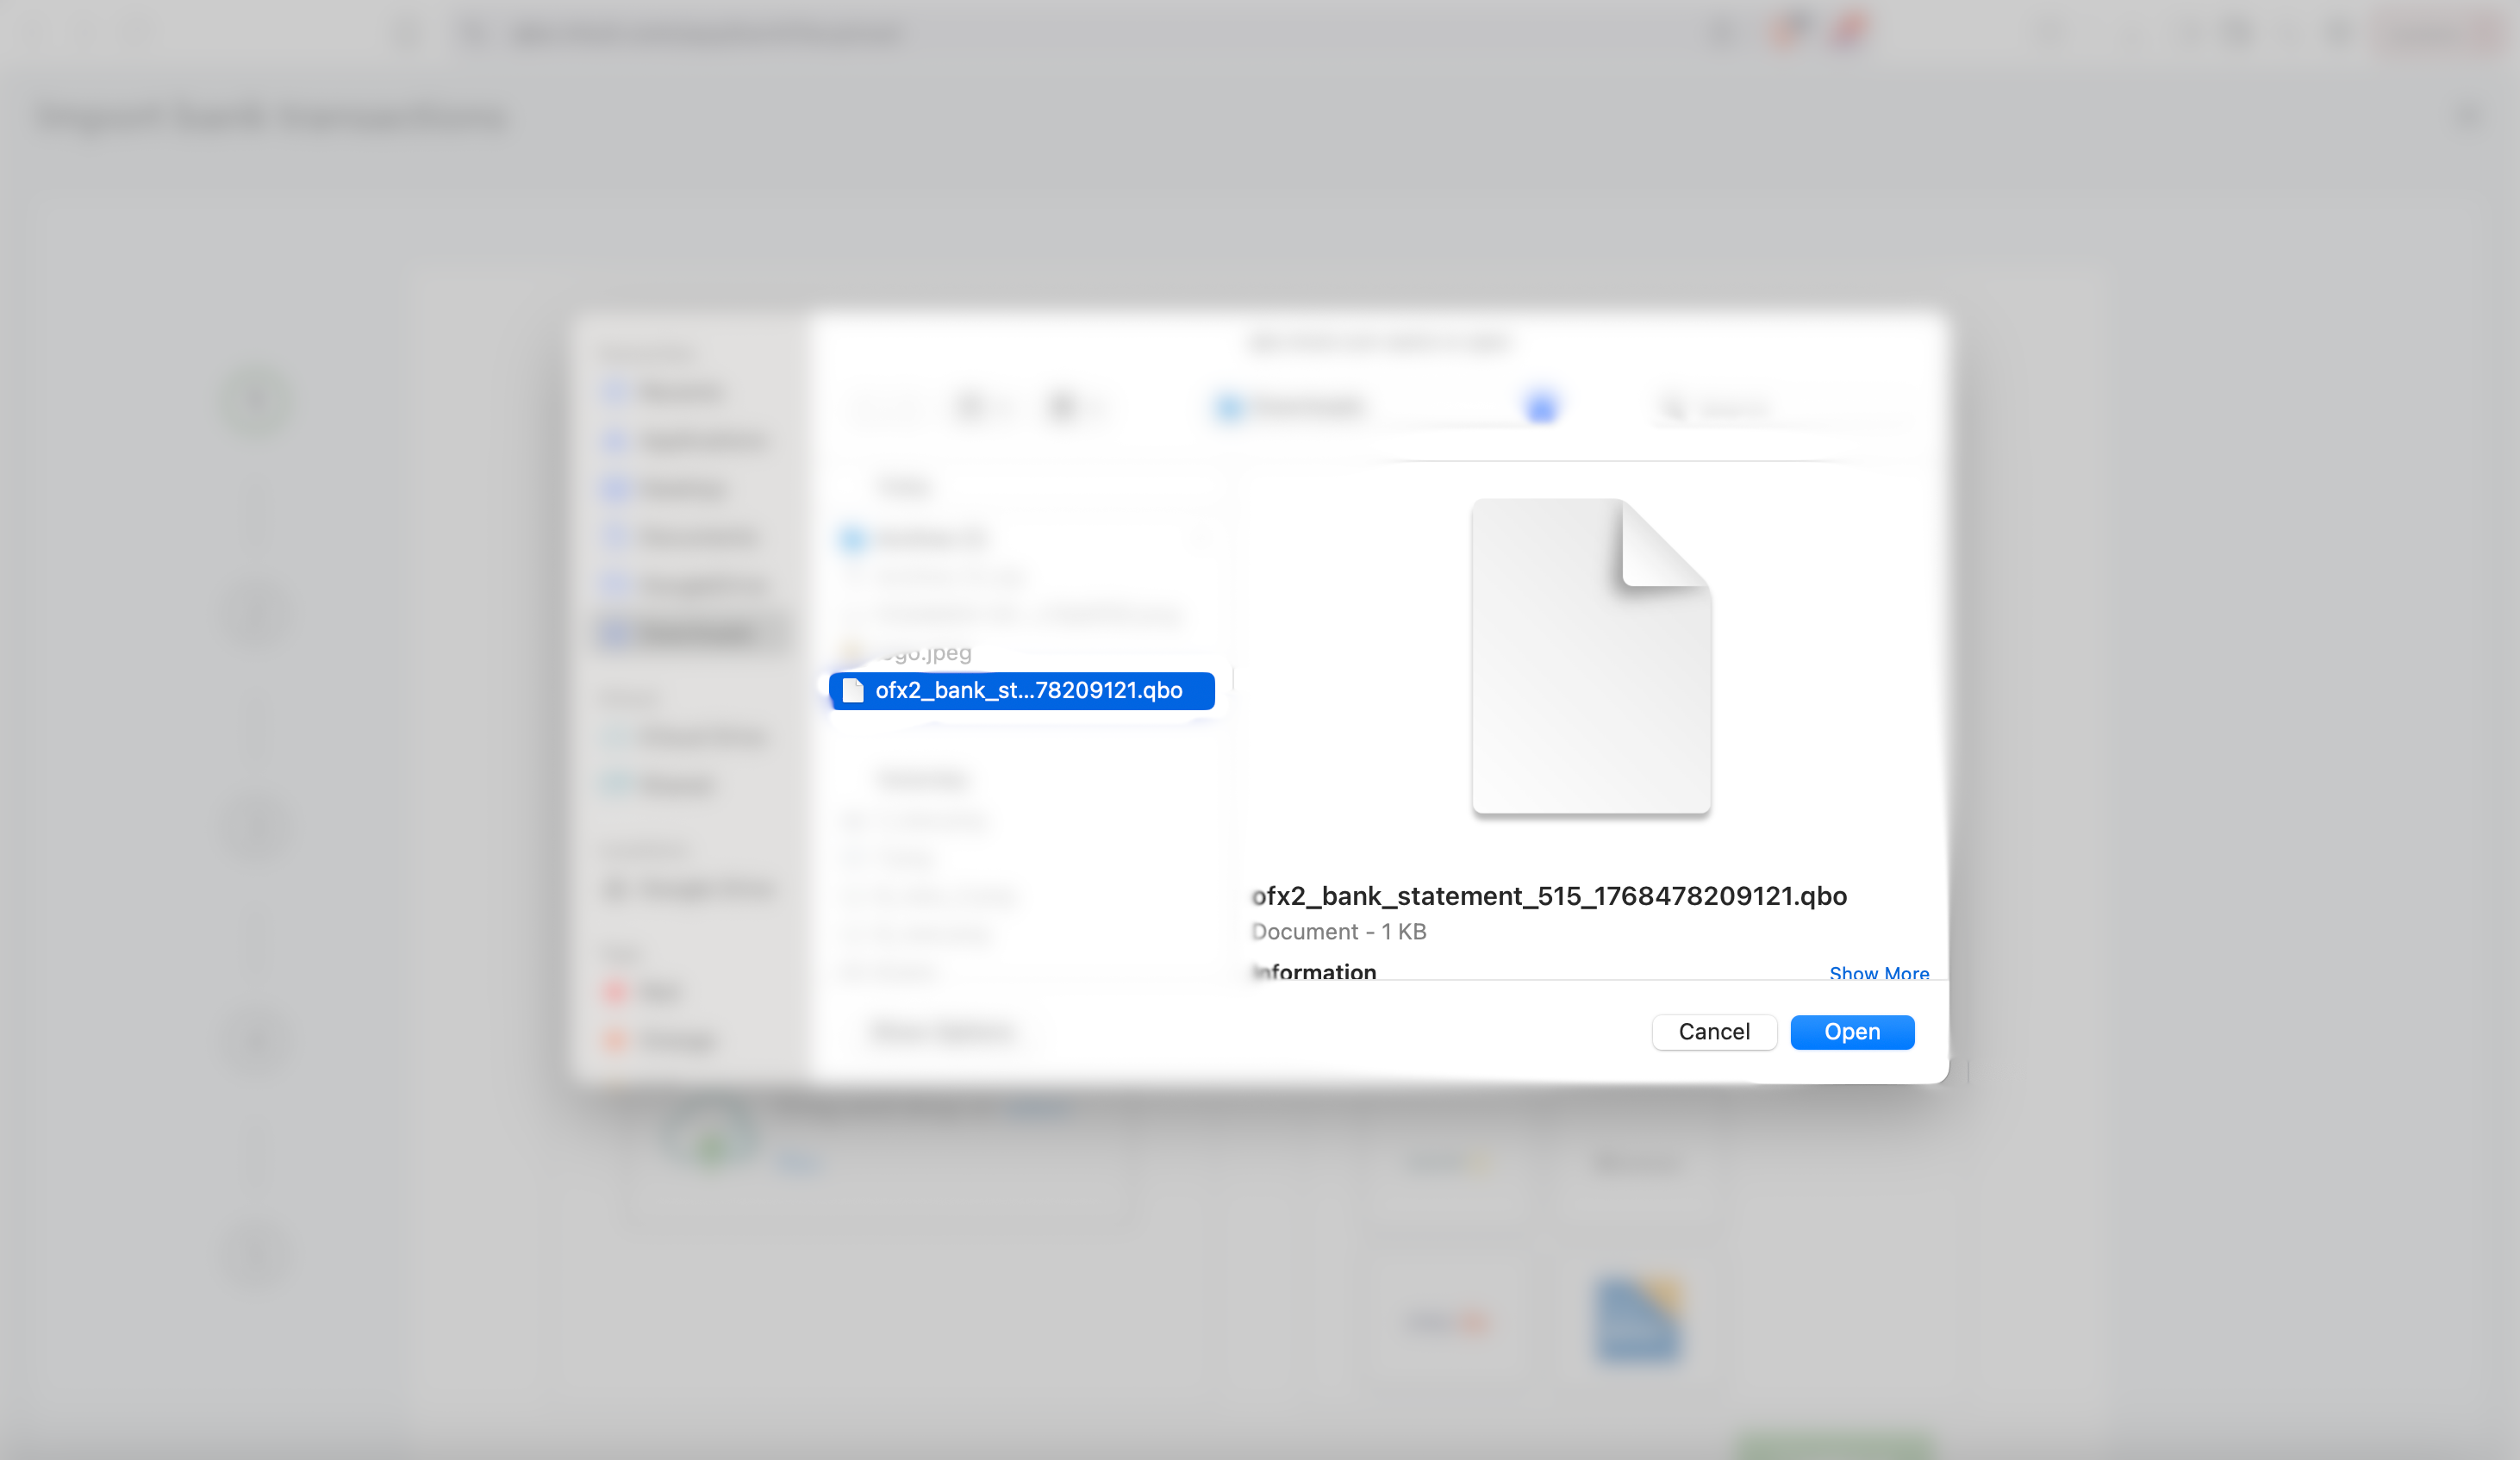
File Selection Dialogue
Now, open the file browser to select your QBO file from your computer.
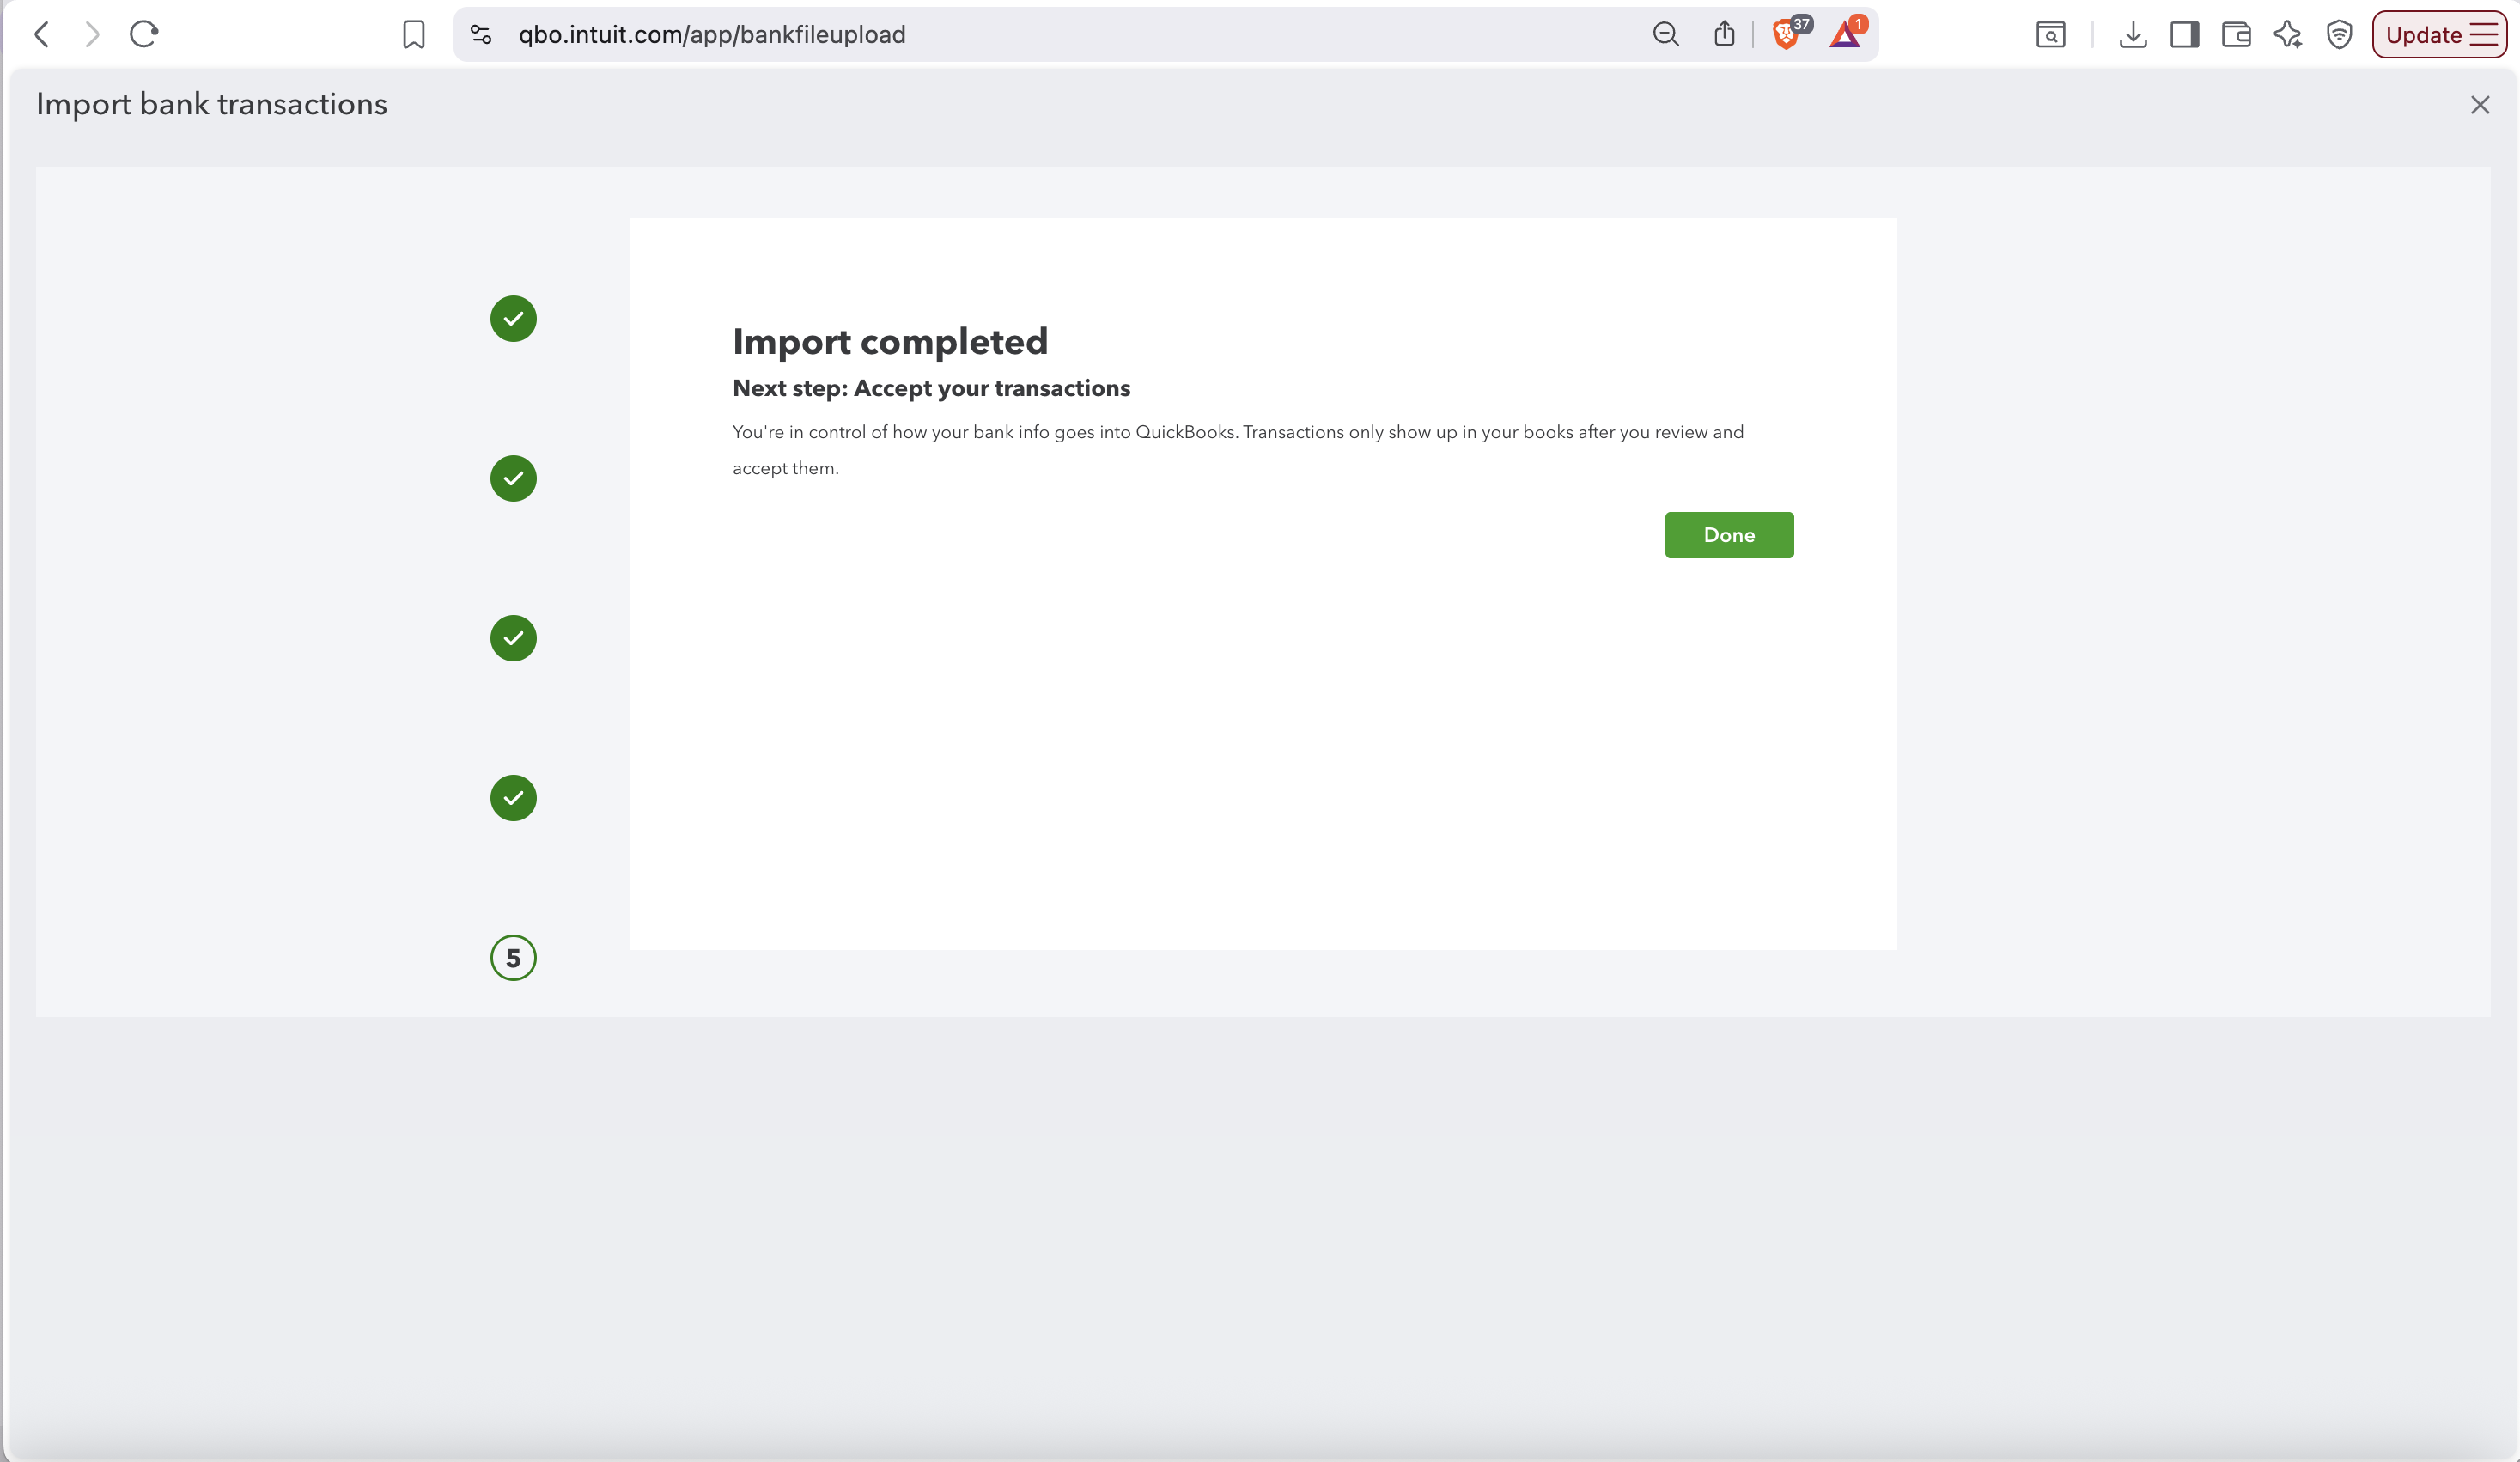
Import Complete
Finally, you can finalise the import and confirm that your bank transactions are now imported into QuickBooks Online.
Troubleshooting
Import fails in QuickBooks Online
If you are unable to import your bank statement into QuickBooks Online. Please check that your bank account is properly configured in QuickBooks Online. Also, make sure the account type matches between systems.
Transactions appear in the wrong account
If your transactions appear in the wrong account. You should verify that you selected the correct bank account during export. Also, check your QuickBooks Online account mapping.
Some transactions didn't import
Even after importing all the expenses have not been imported in the import log in QuickBooks Online due to errors. This is because some transactions may have missing required fields, or duplicate detection may have filtered them.
Need more details?
See How to Import Bank Statements for the complete workflow and all available options.